The spiderweb is the most technical of the classic Halloween motifs and the one most people give up on. It is also the one that looks most impressive when it works, because a web is made of thin lines and thin lines are the hardest thing in nail art.
What you will find here
The good news is that a web does not have to be symmetrical, complete, or centred. Real webs are none of those things. Almost every design below is easier than the full centred web everyone attempts first and abandons.
Why most webs go wrong
- Too much polish on the brush. A web needs the thinnest possible line. Wipe the brush almost clean before every single stroke, not every few strokes.
- Starting in the middle. A web anchored in a corner is far easier than one centred on the nail, because you only need to cover a quarter of the surface and the spokes are shorter.
- Trying to be neat. Even spacing and identical curves read as a pattern, not a web. Uneven is correct here.
- Using polish instead of paint. Acrylic paint thinned with water flows better through a fine brush than nail polish does, and it wipes off skin with water.
22 spider web nail designs
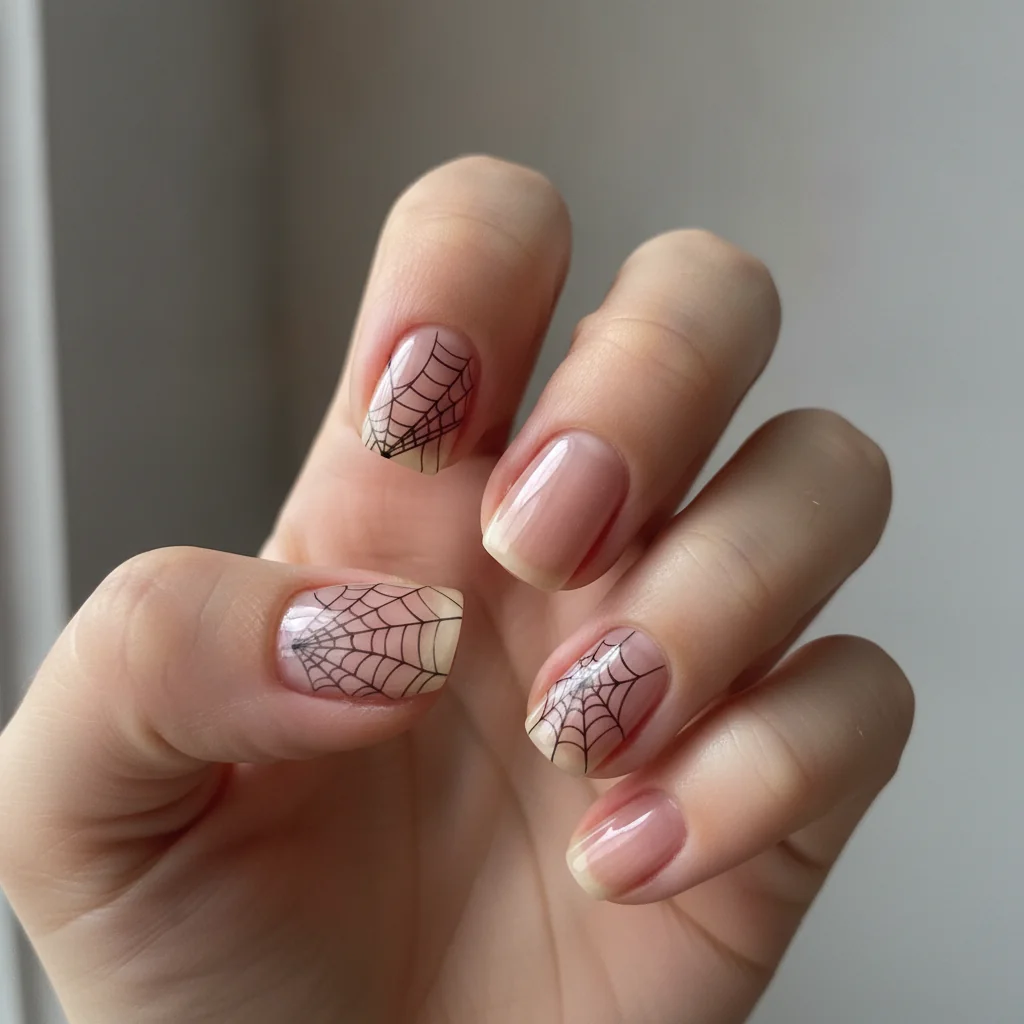
1 Corner web on nude
A web anchored in one upper corner over a sheer nude base, covering maybe a third of the nail. The easiest web design there is and the best starting point. The negative space also keeps short nails looking long.
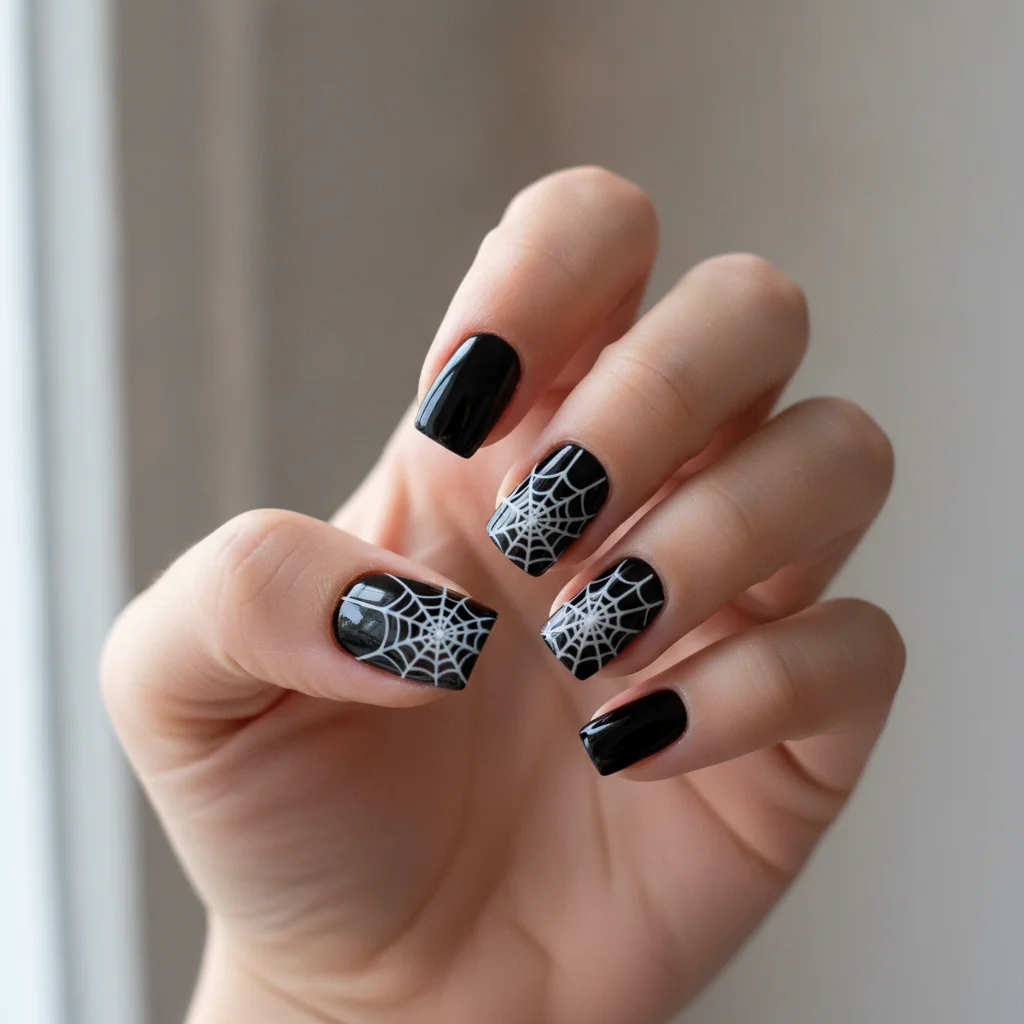
2 White web on black
The full classic: white web across a glossy black nail. High contrast, high effort, and the version everyone pictures. Do it on two nails rather than ten unless you have a free evening.
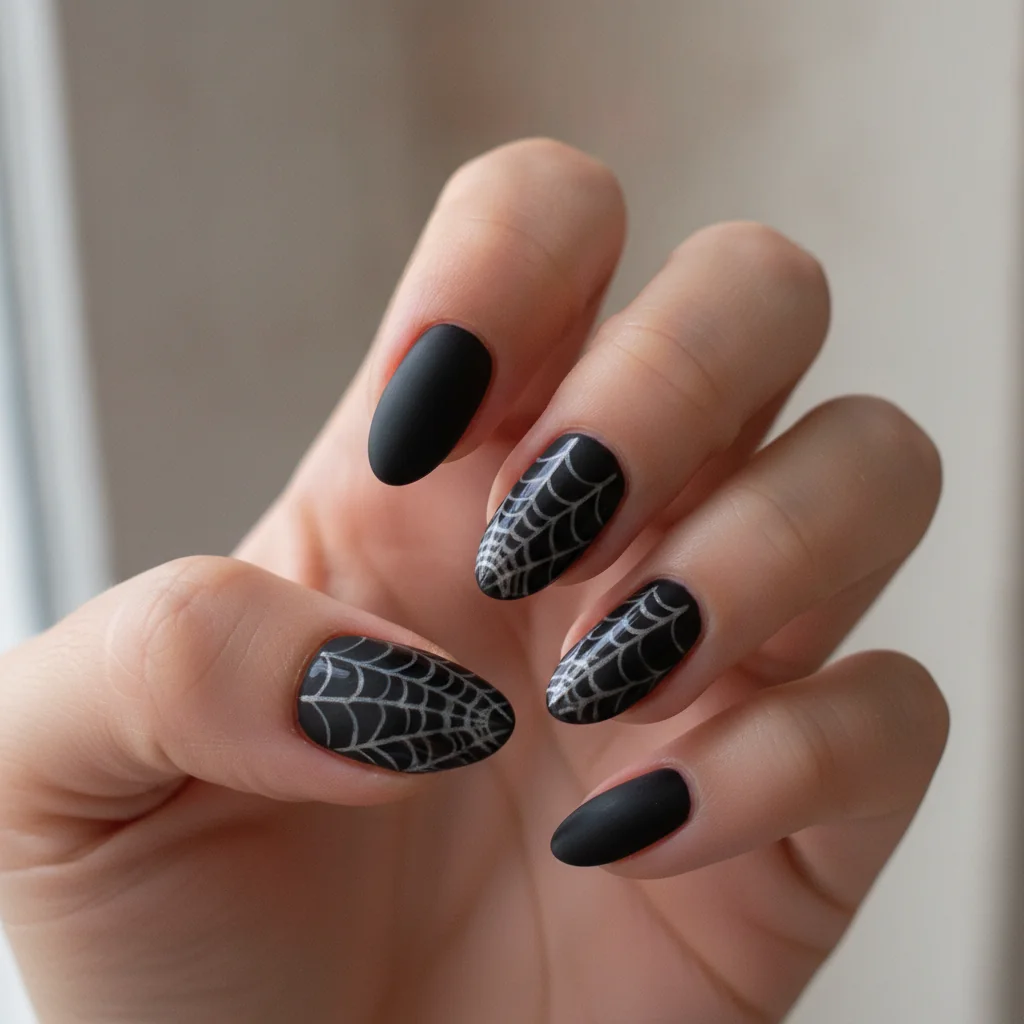
3 Tonal web in clear top coat
Matte black nails with the web painted in glossy clear top coat. It only appears when light hits it. This is the most forgiving design on the list, because a clear line hides its own imperfections completely.
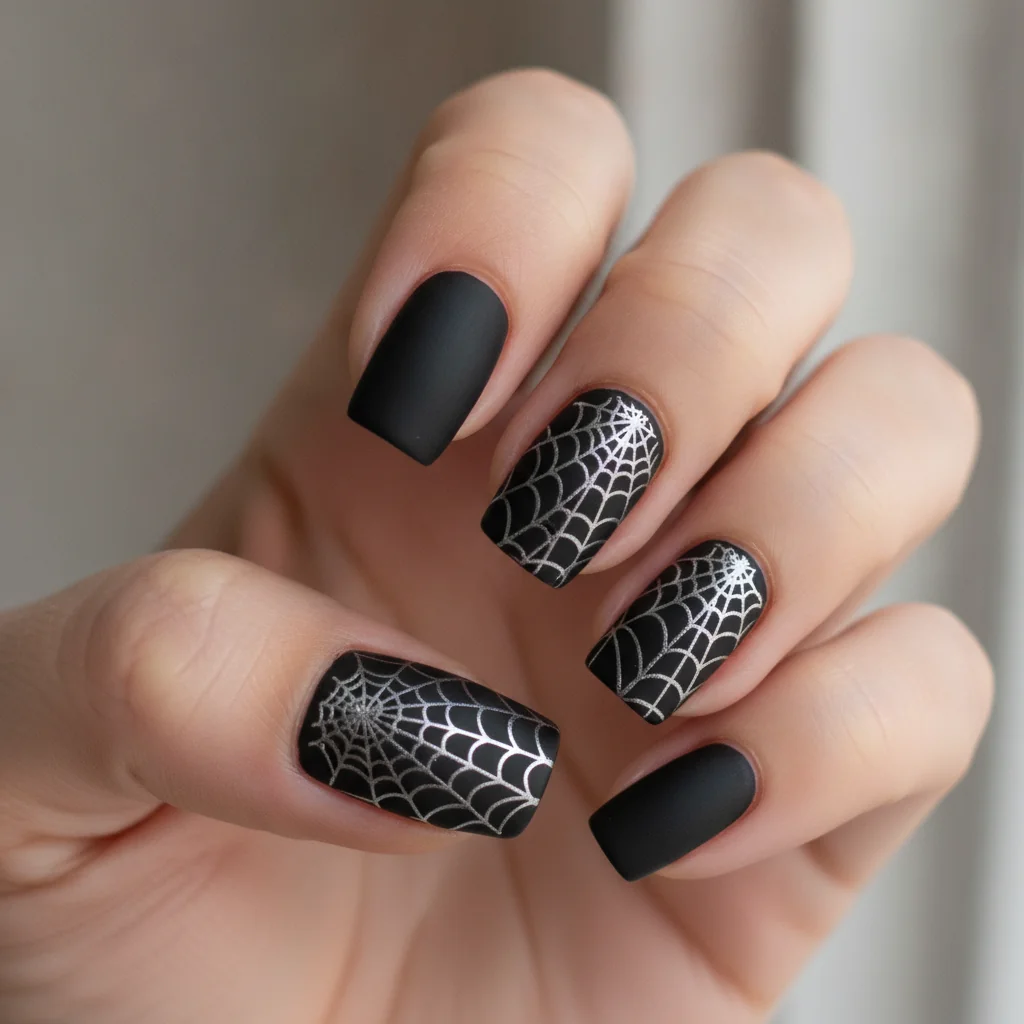
4 Silver chrome web
A web in mirror chrome over matte black. The most expensive-looking version here, and the most involved, since it needs gel and a steady hand at the same time.
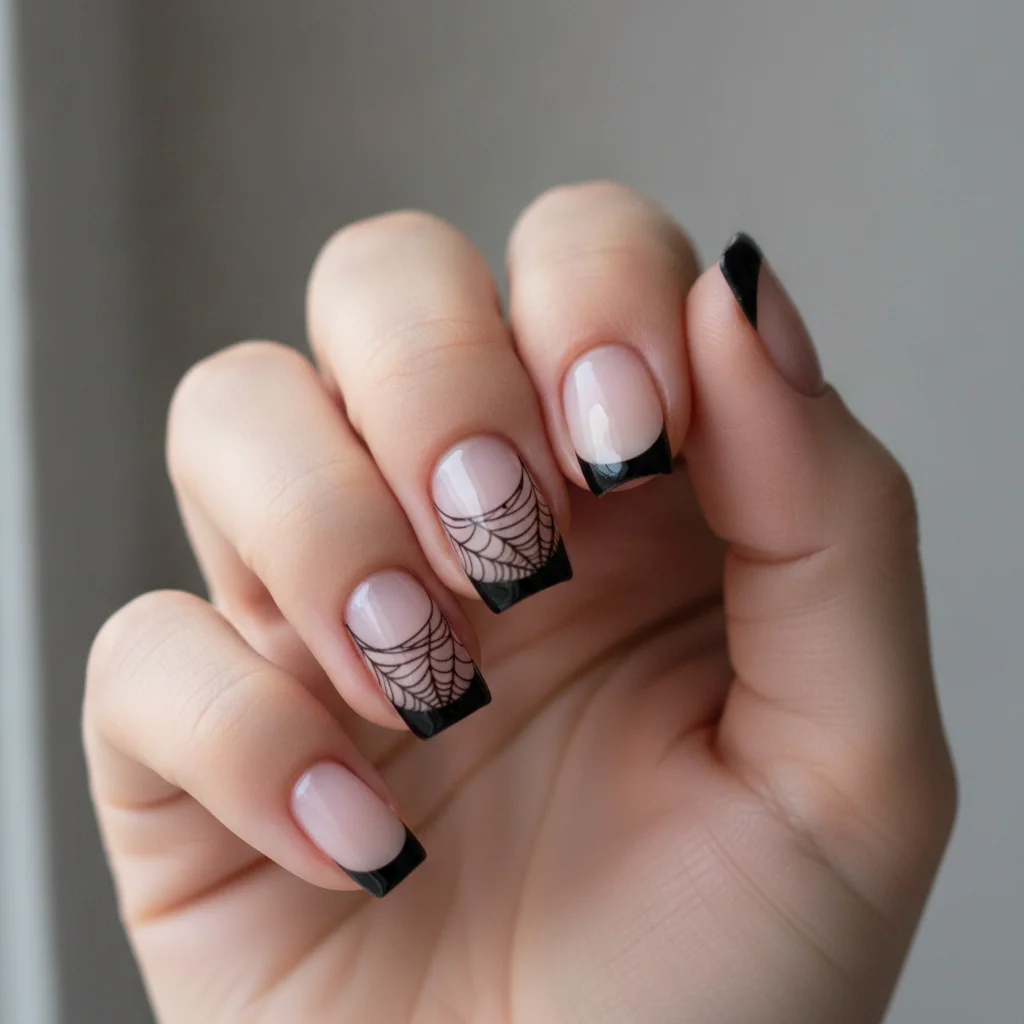
5 Web French tip
A normal black French tip that unravels into a web at one corner. Keeps the manicure shape recognisable while giving you somewhere to put the detail, which makes it the most wearable web here.
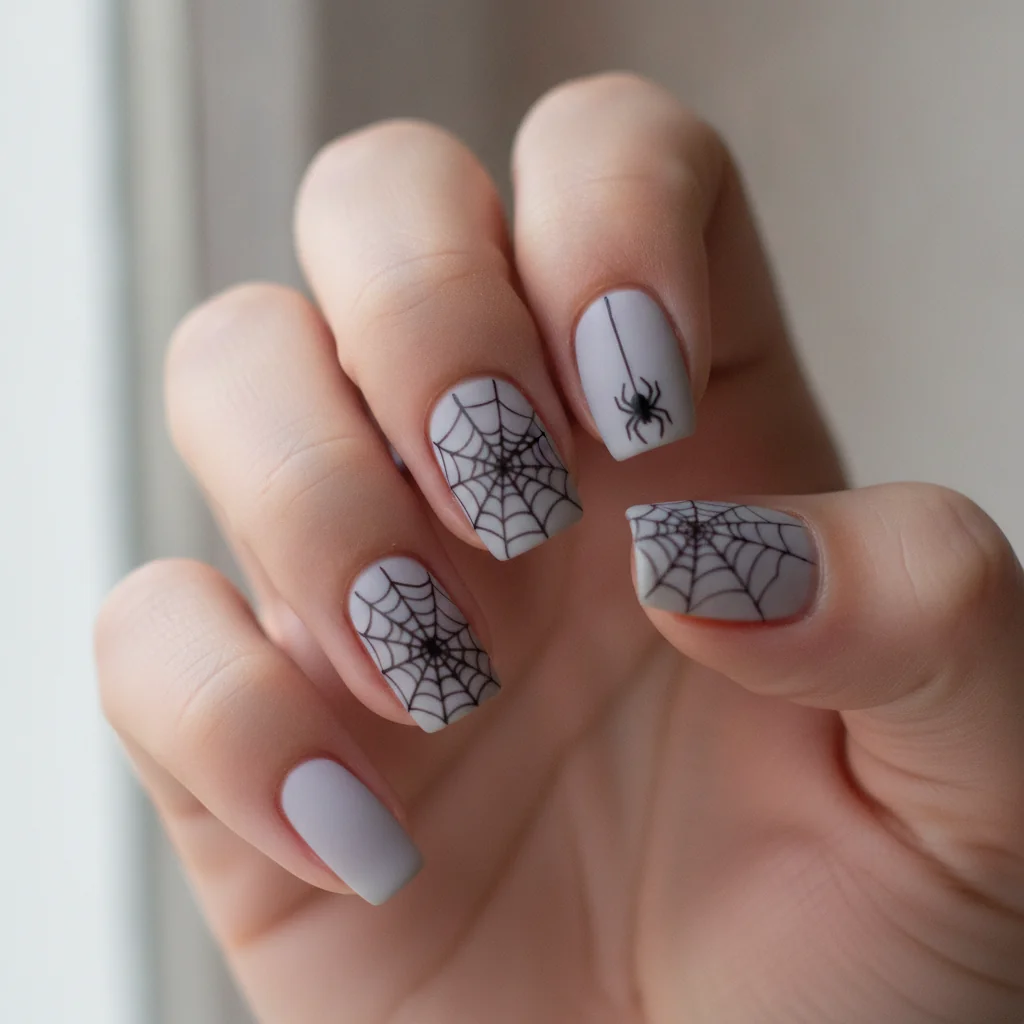
6 Web with a hanging spider
A web on one nail and, on the next, a single spider hanging from a thread that runs off the top of the nail. The thread crossing between two nails is what makes it, and it is one line.
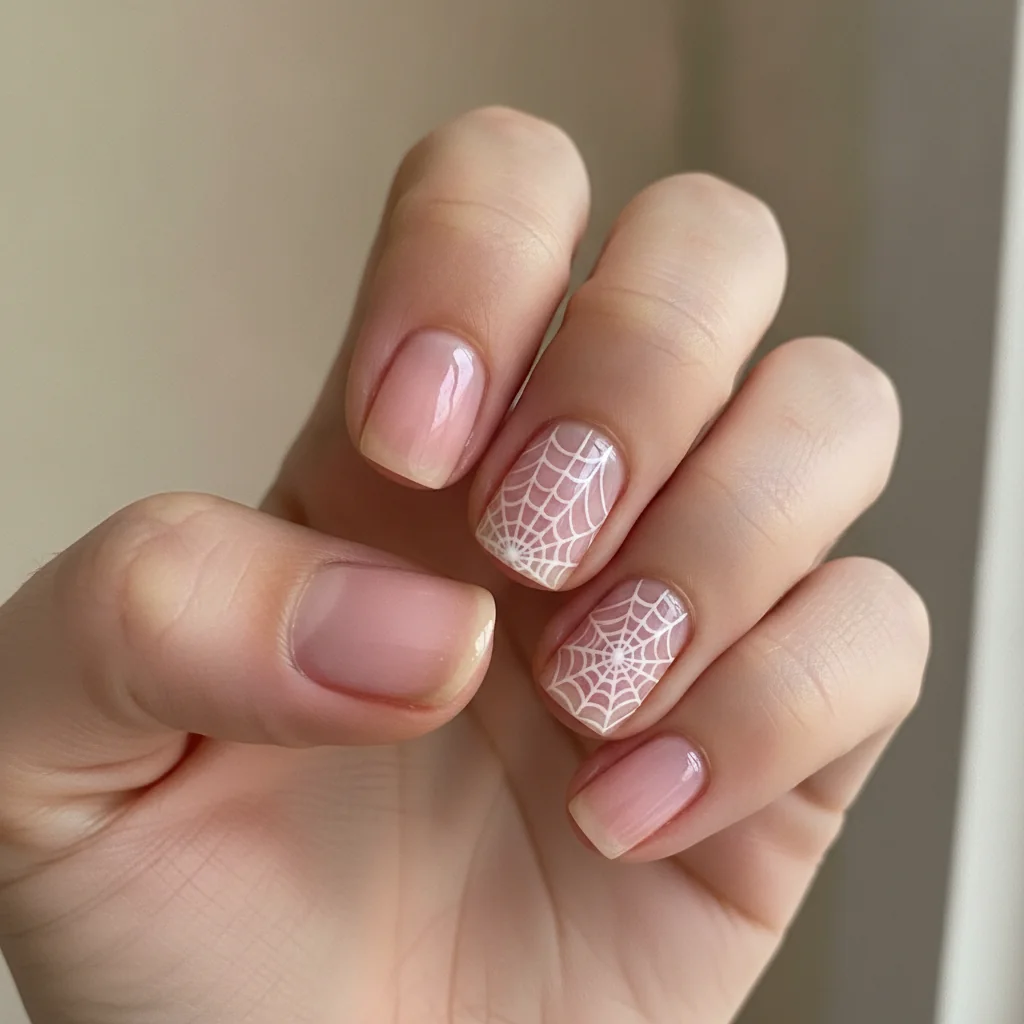
7 White web on sheer pink
Soft pink base, fine white web on two accent nails only. The pink pulls the whole thing away from spooky and towards pretty, which is the single easiest way to make a web wearable.
You may also like: Short Halloween Nails: 22 Designs That Actually Work on Short Nails
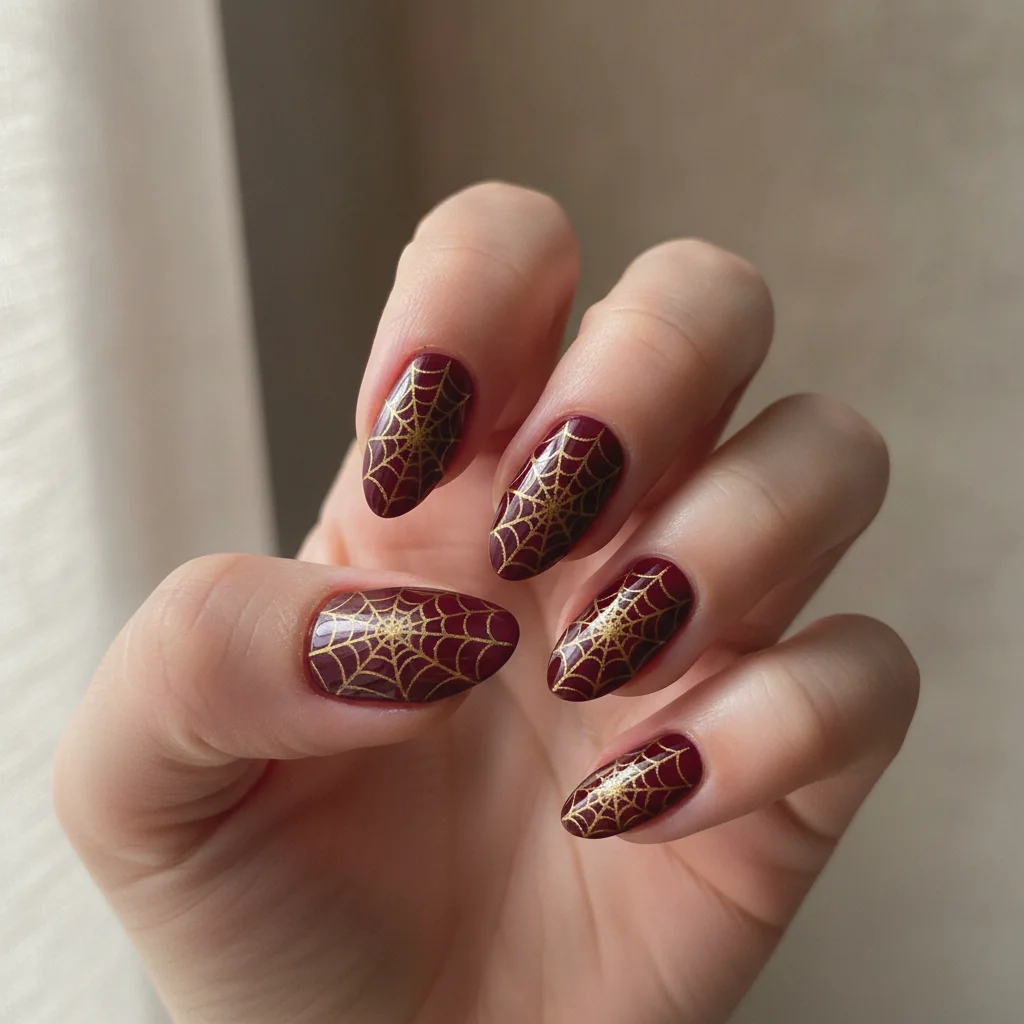
8 Gold web on burgundy
Deep burgundy with a fine gold web. Reads as ornamental rather than seasonal, and it is the one design here you could plausibly still be wearing at Christmas.
9 Web across two nails
One continuous web spanning two adjacent nails, so the lines meet when the fingers are together. Looks far more complex than it is, and it is genuinely the best photograph of any design in this post.
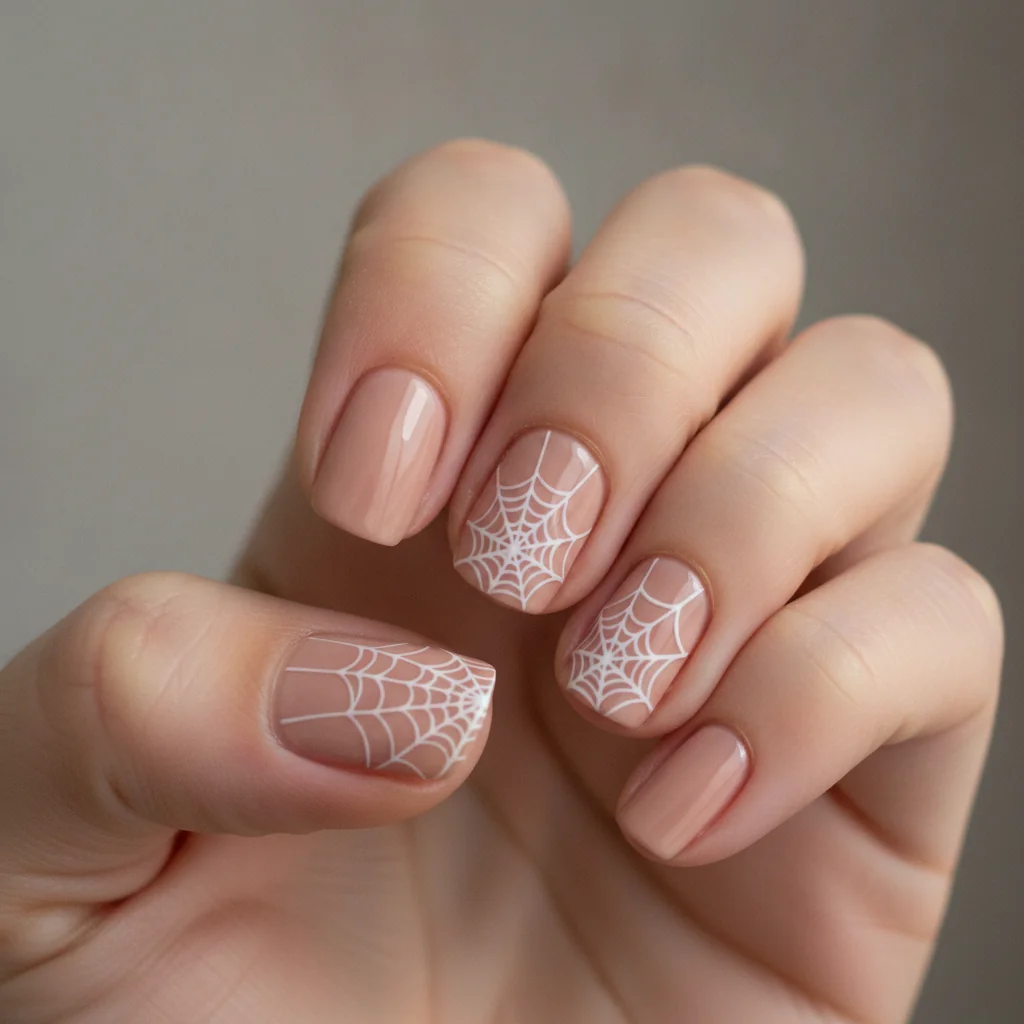
10 Negative space web
Instead of drawing the web, paint around it, leaving the bare nail showing through as the strands. Much harder to plan and much more striking when it works.
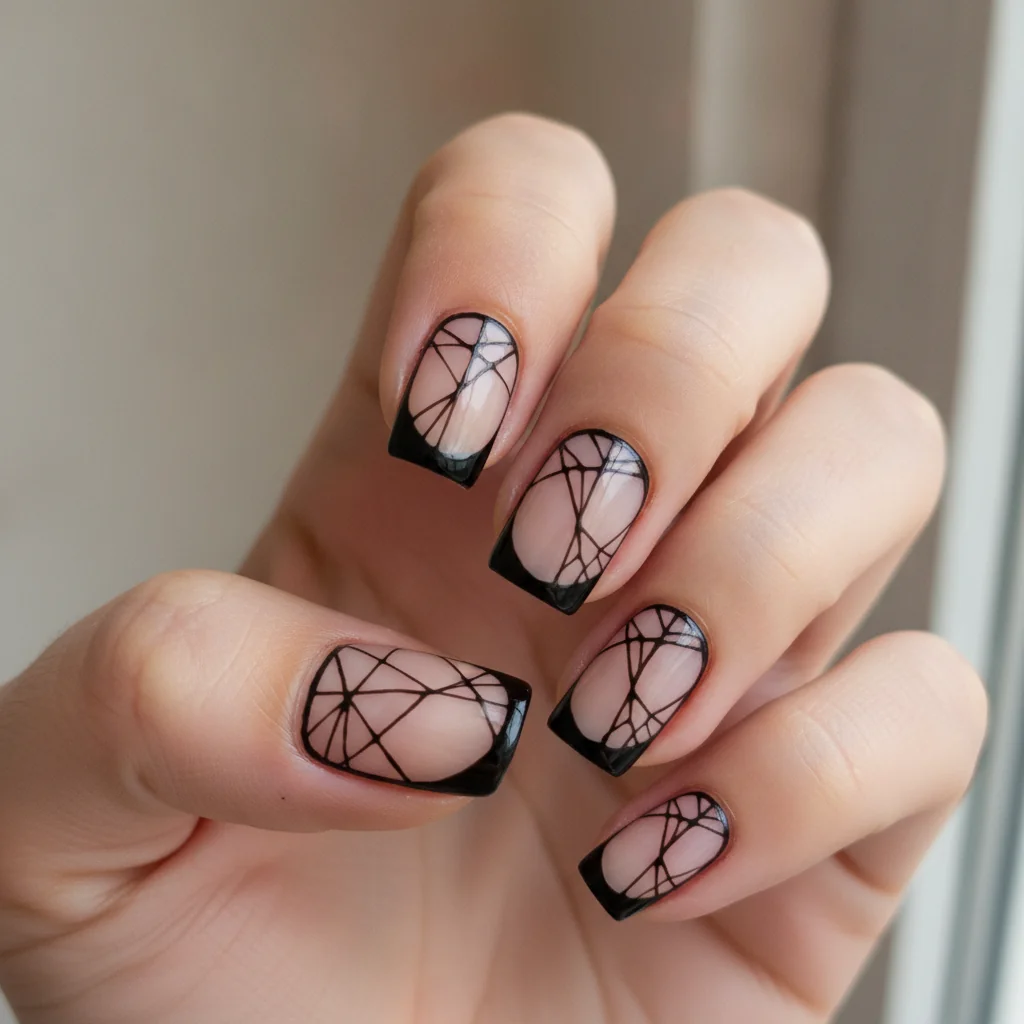
11 Glitter web
The web drawn in fine silver glitter polish over black. The glitter thickens the line slightly, which hides unevenness, so this is a good option if your lines are not yet reliable.
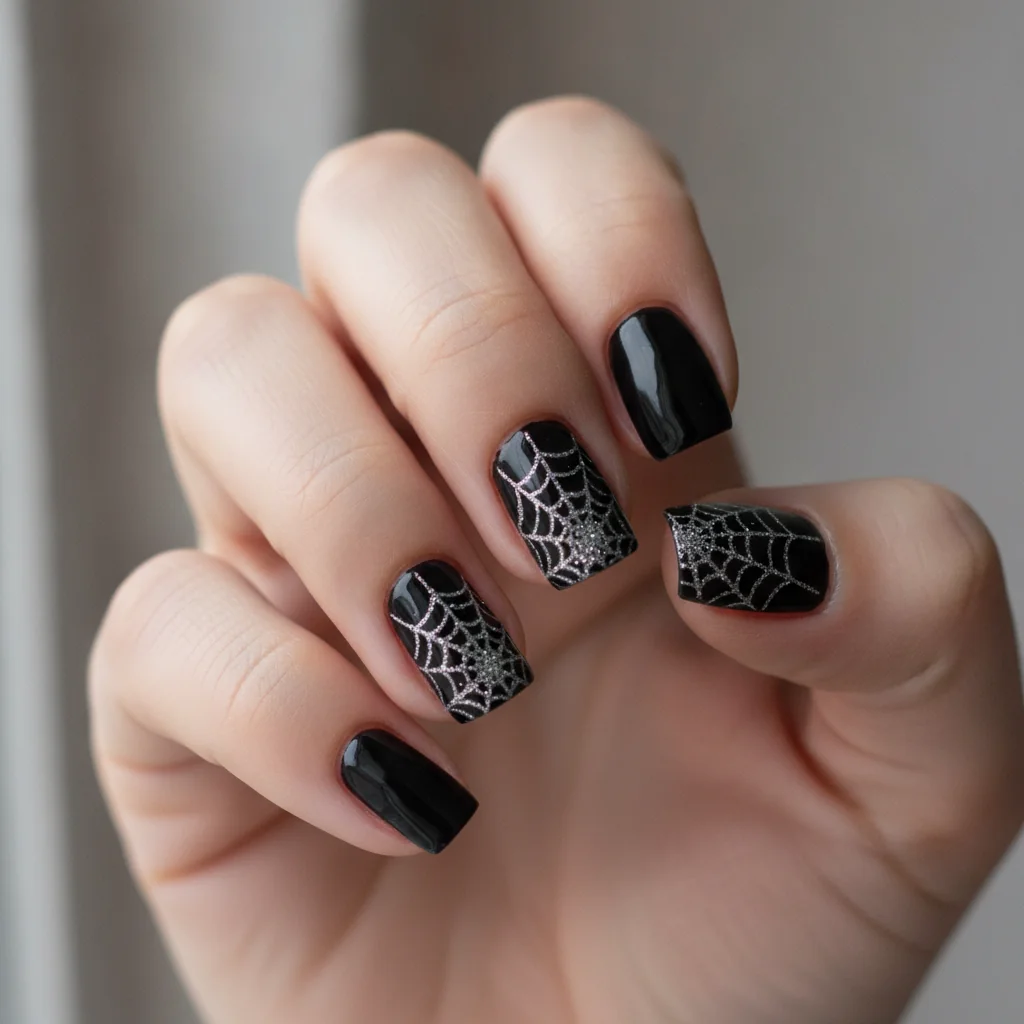
12 Red web on matte black
Blood red web on flat black. The most aggressive design in this post and the only one that genuinely reads as horror rather than Halloween.
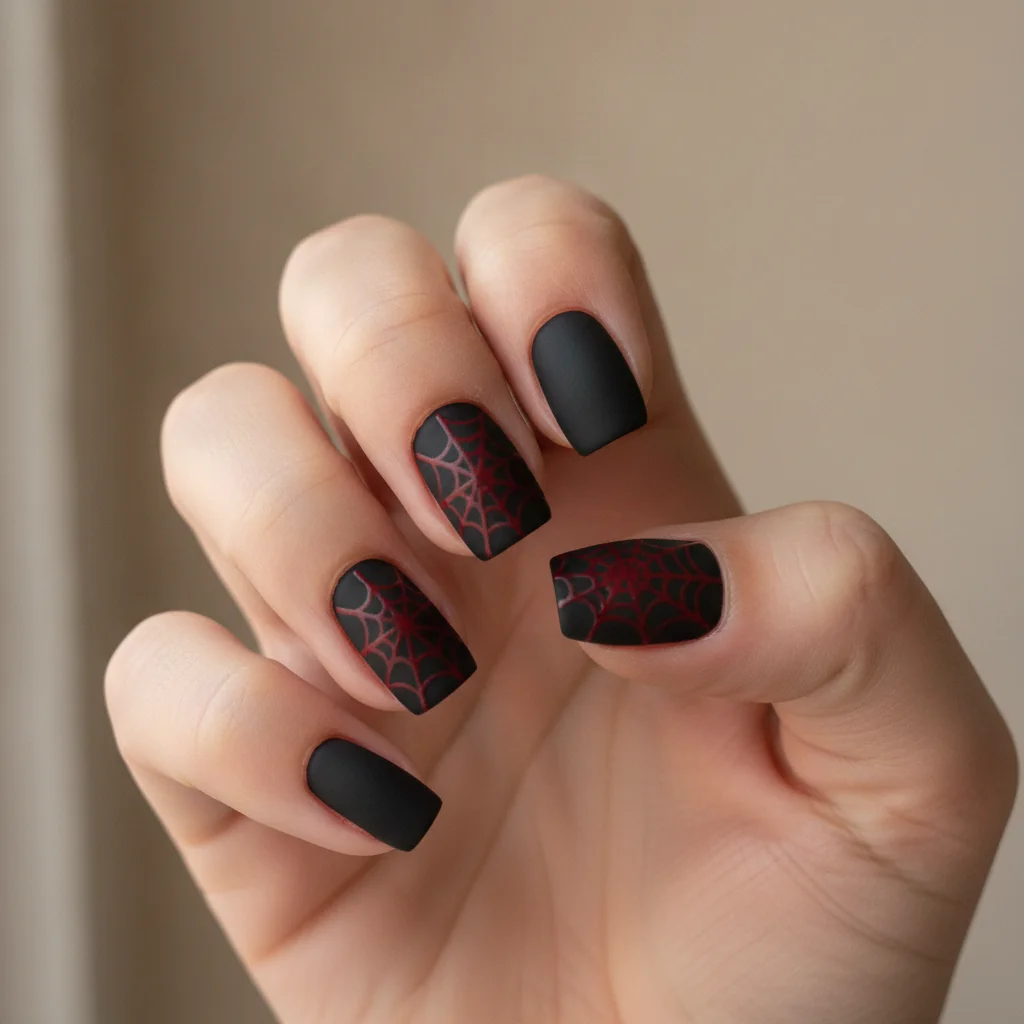
13 Single Accent Web
Nine plain nails and one web. The lowest commitment version, and the one to choose if your line work is not yet reliable, because you only have to get it right once.
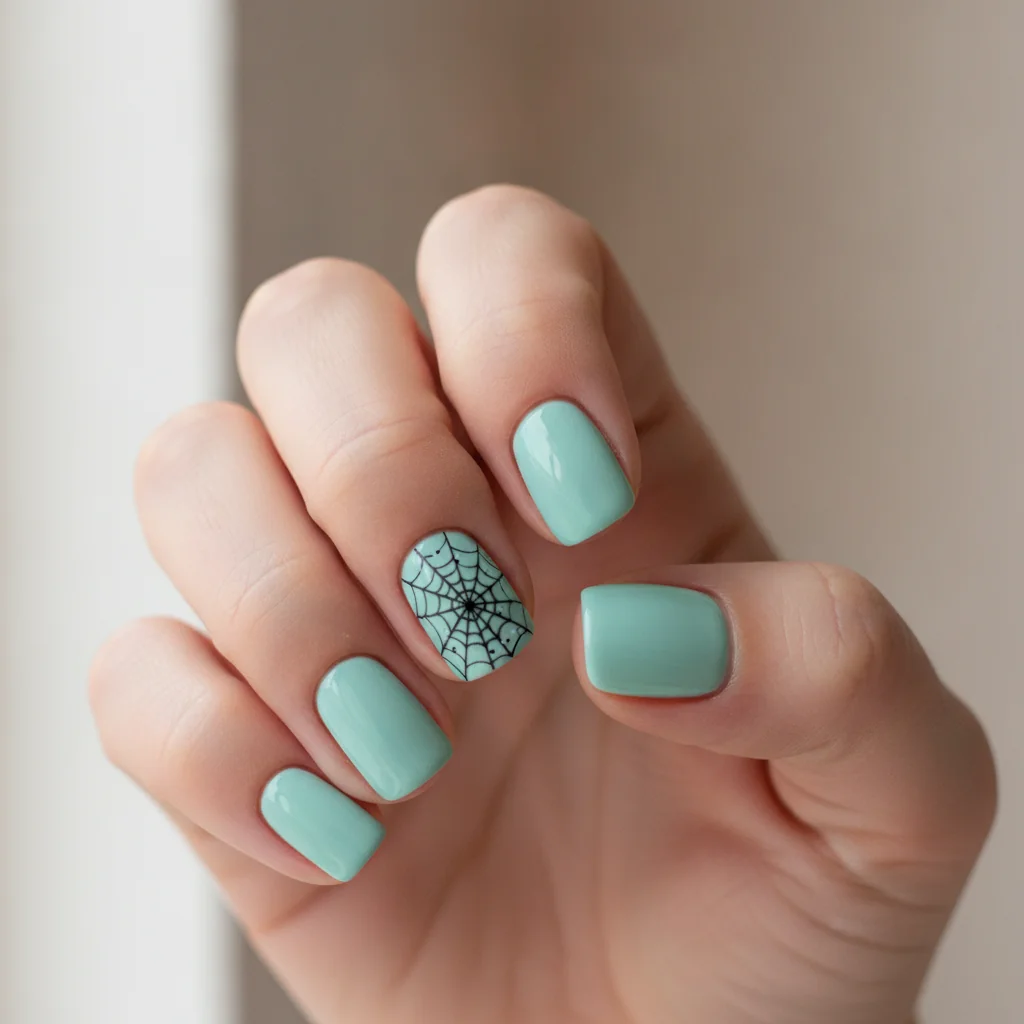
14 Lilac Web on Grey
Pale purple web over a soft grey base. The colour pairing pulls the design away from Halloween entirely and towards something closer to lace.
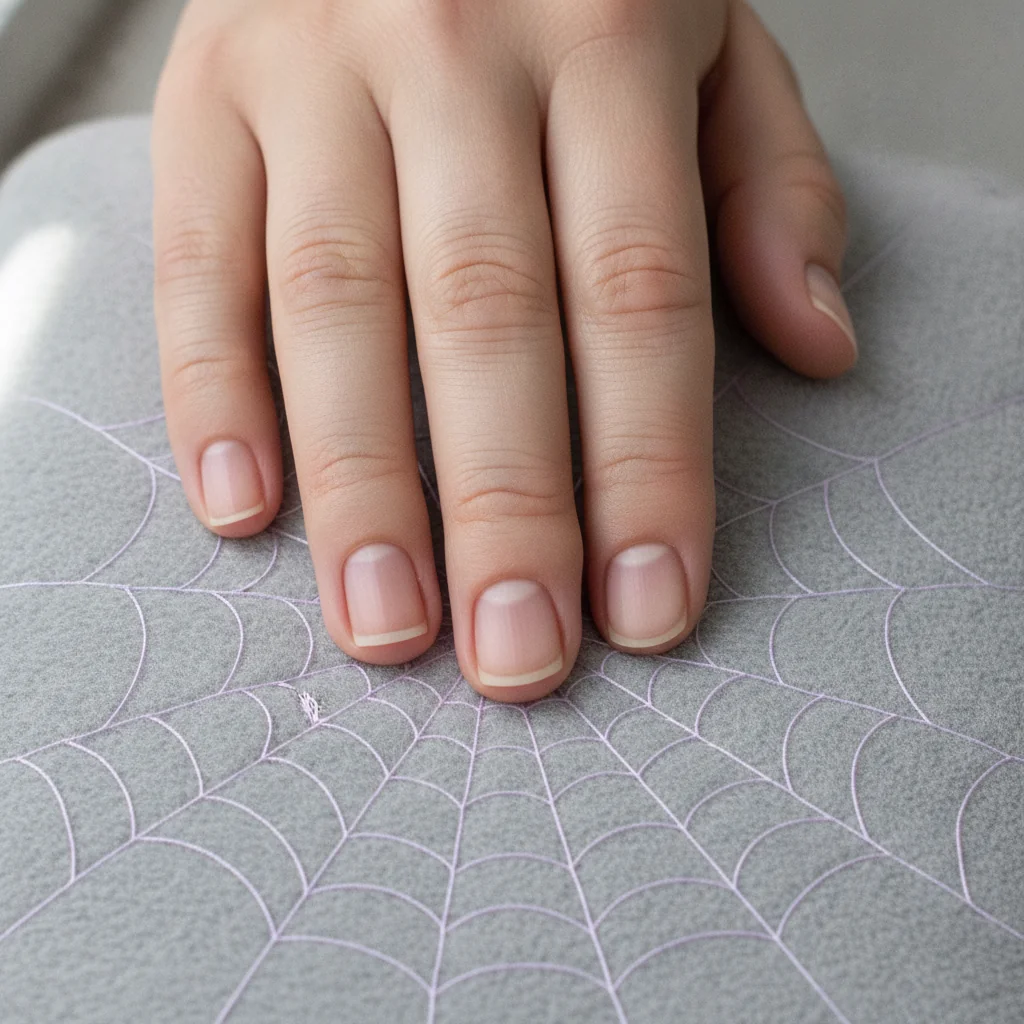
15 Web with Dew Drops
A black web with three or four tiny clear rhinestones set on the strands. Ask your tech to place them where lines cross, not randomly.
More like this: Cute Ghost Nails and Halloween French Tip Nails
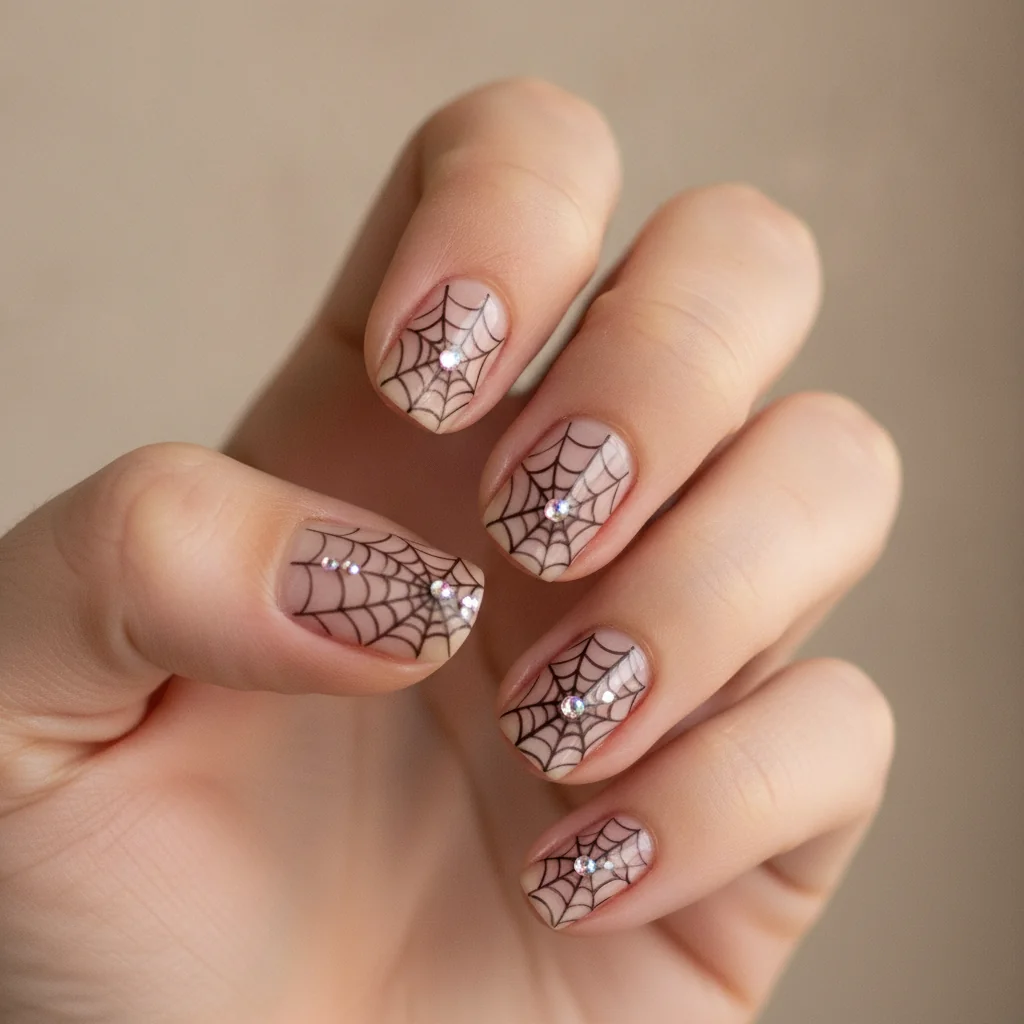
16 Half Web from the Cuticle
The web anchored at the cuticle rather than a corner, radiating outward towards the tip. Inverts the usual layout and leaves the tip clean.
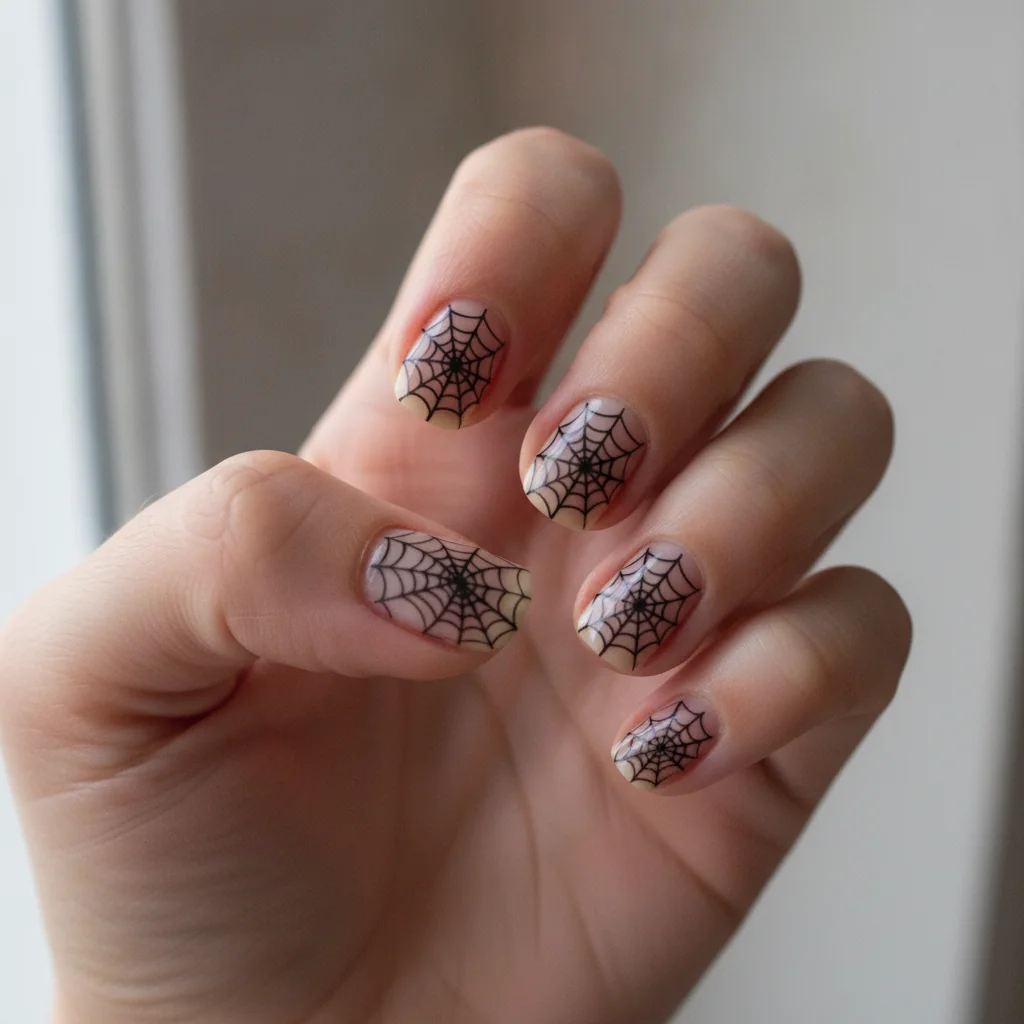
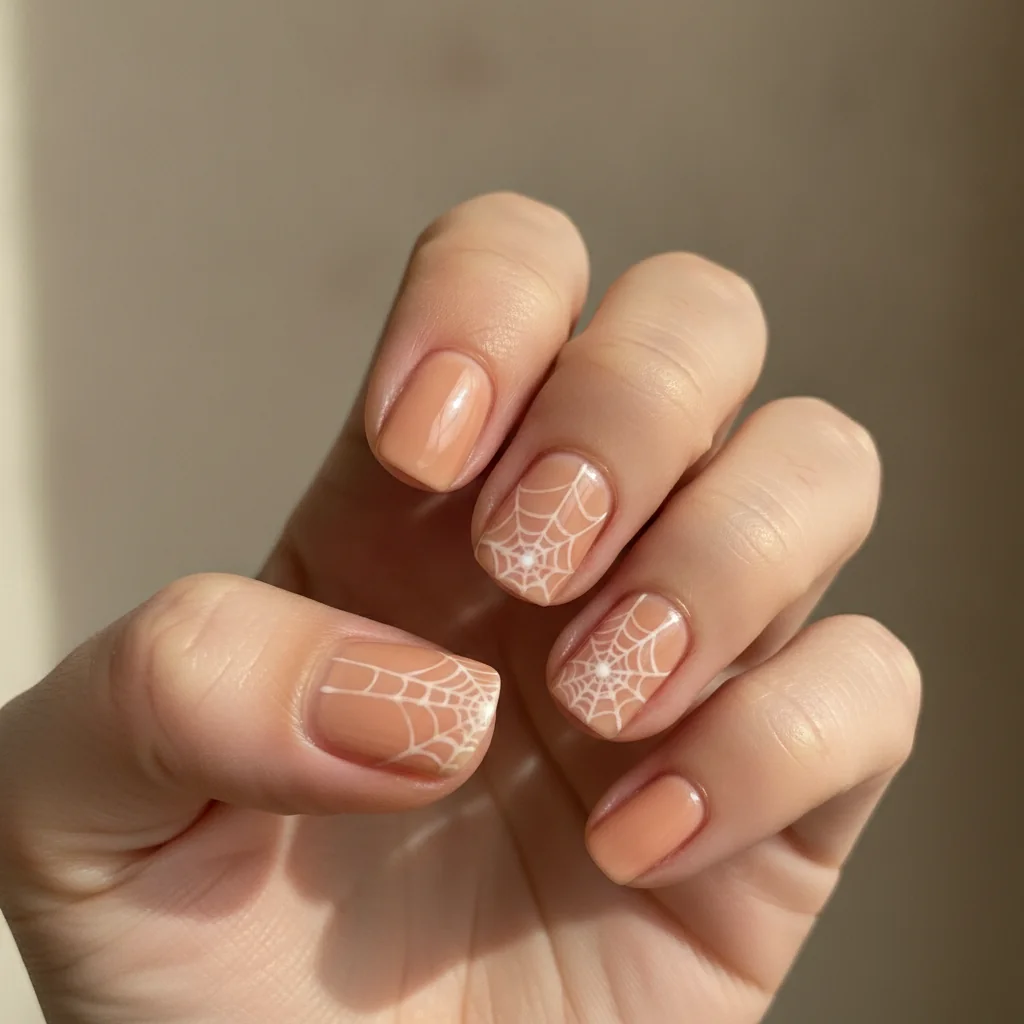
17 Soft White Web on Nude
Off-white web on a warm nude base. Low contrast, which makes small mistakes almost invisible, and it is the most office-tolerable web here.
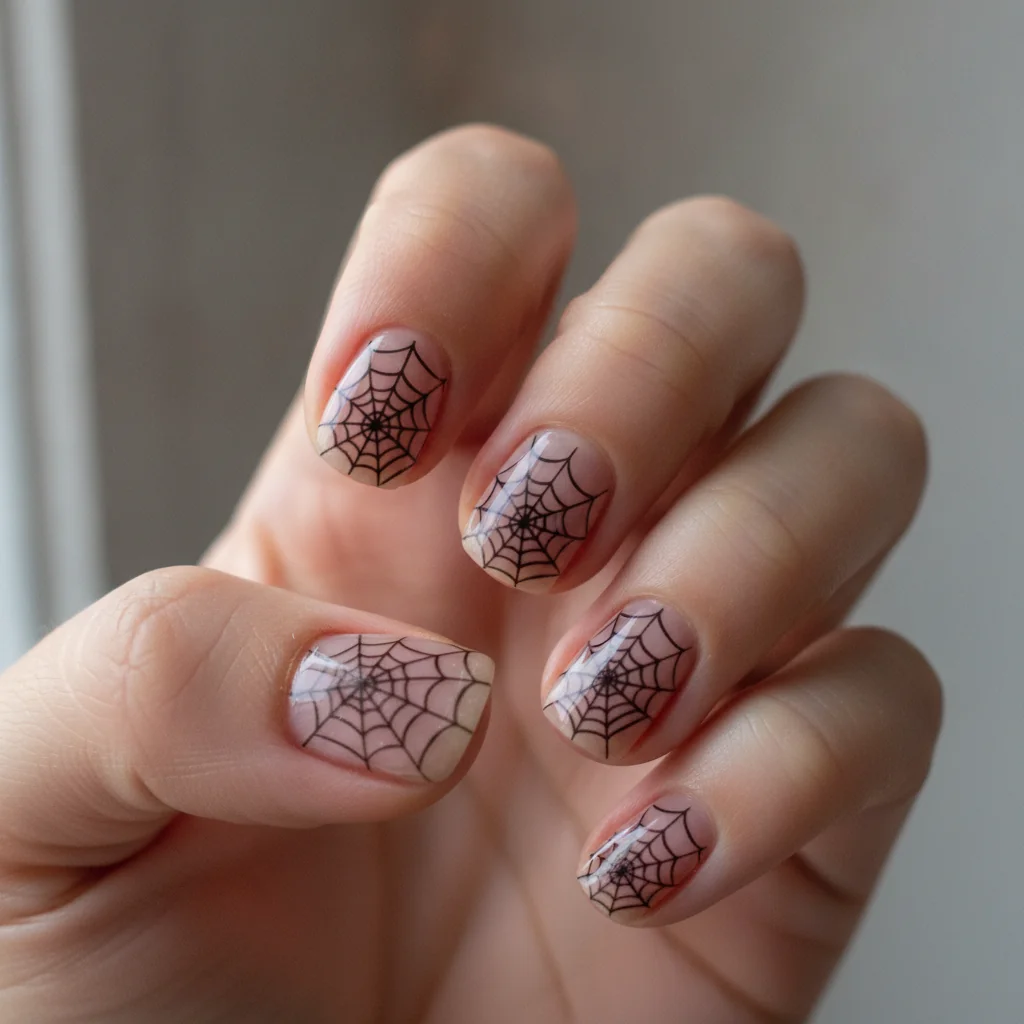
18 Encased Web
The web painted, then covered with a sheer coloured top layer so it sits under glass. Adds depth and hides any wobble in the lines.
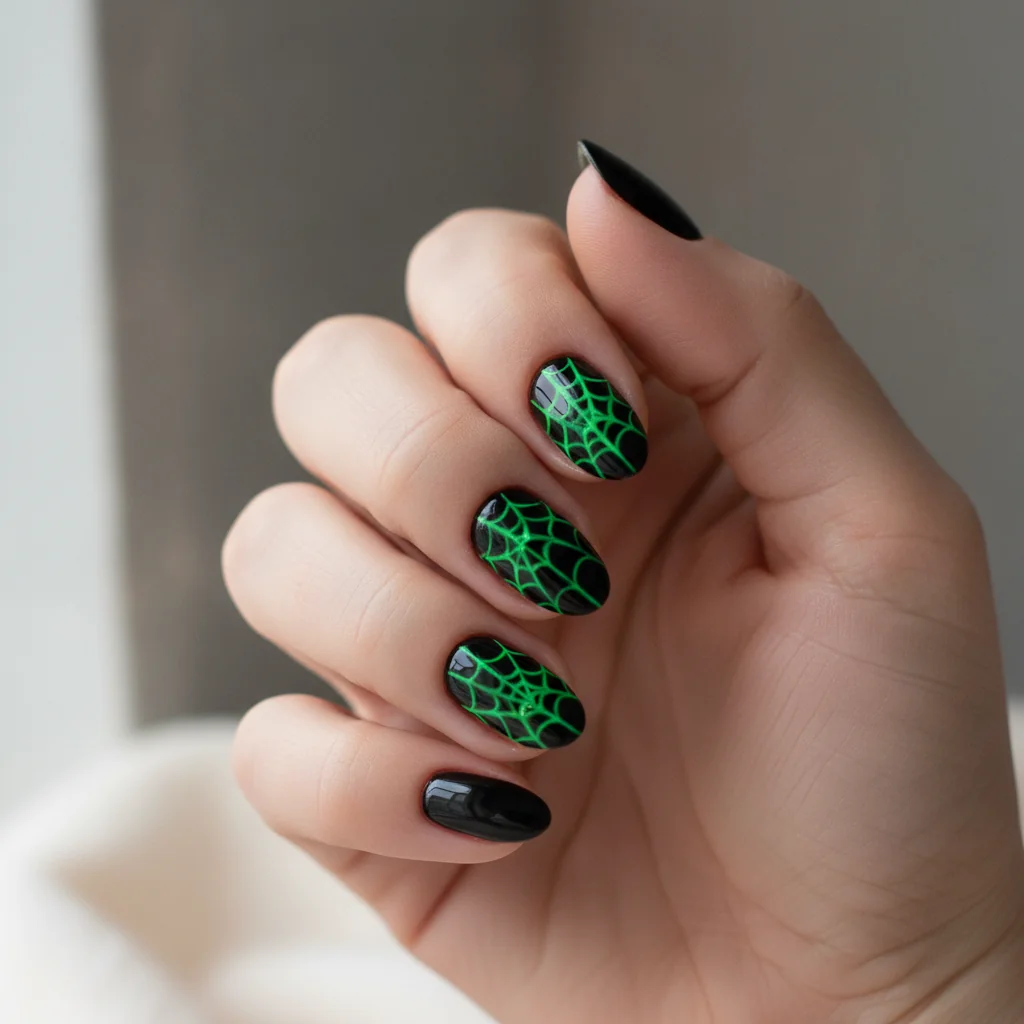
19 Acid Green Web on Black
Bright green web over glossy black. The most graphic combination on the list and the one that photographs best in low light.
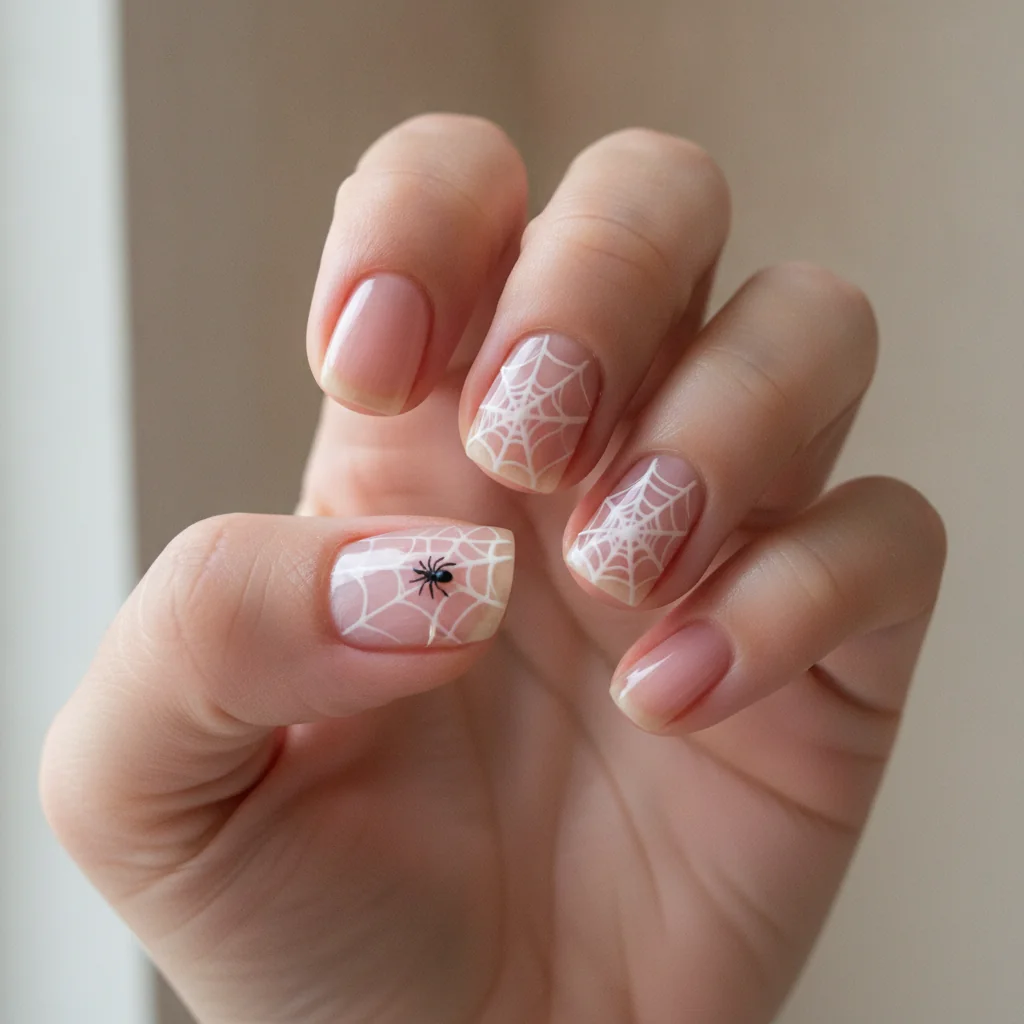
20 Web with a Tiny Spider
Fine web on sheer pink with one very small black spider sitting off centre. Keep the spider small. A large one turns the design into a cartoon.
21 Matte Web
Any web finished with a flat matte top coat. Matte thickens the lines very slightly, which hides unevenness, and it changes the whole mood.
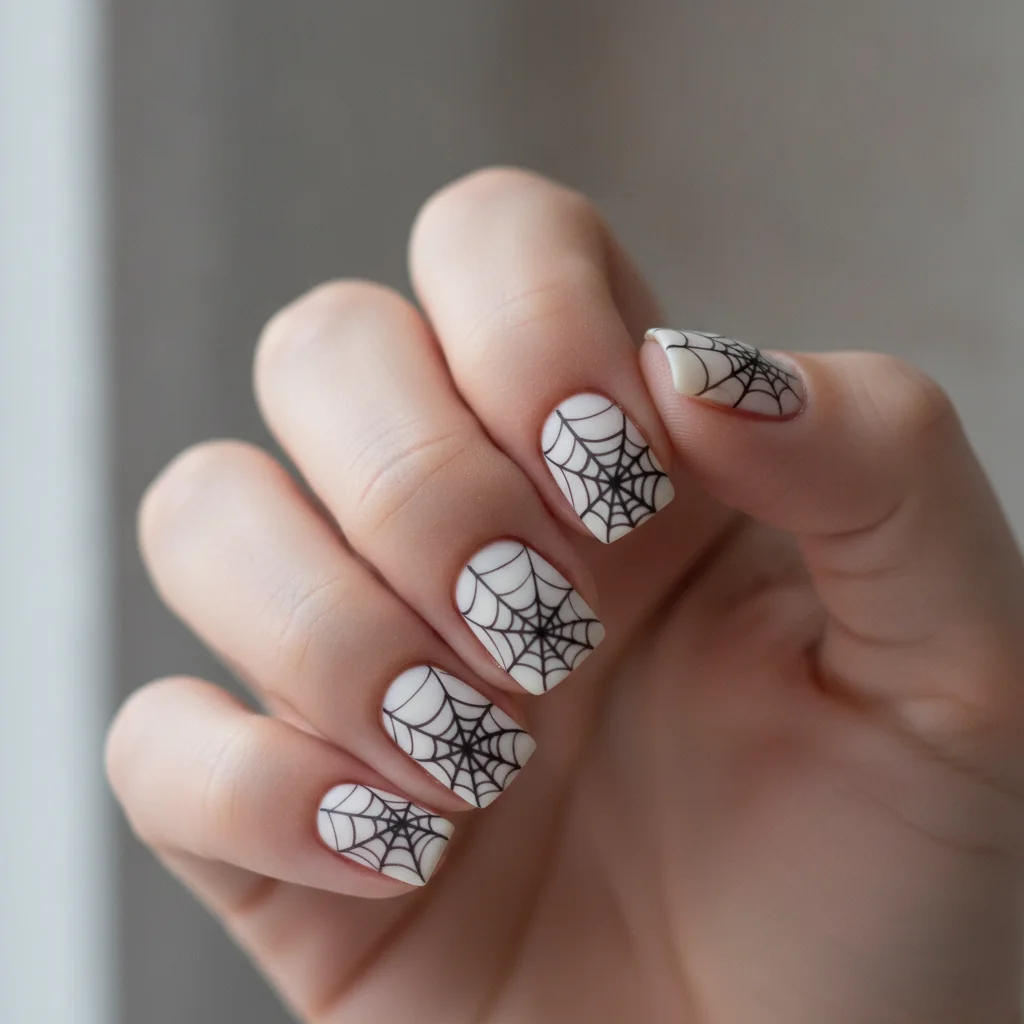
22 Double Corner Web
Two small webs anchored in opposite corners of the same nail, meeting loosely in the middle. Looks complex and is just the corner design done twice.
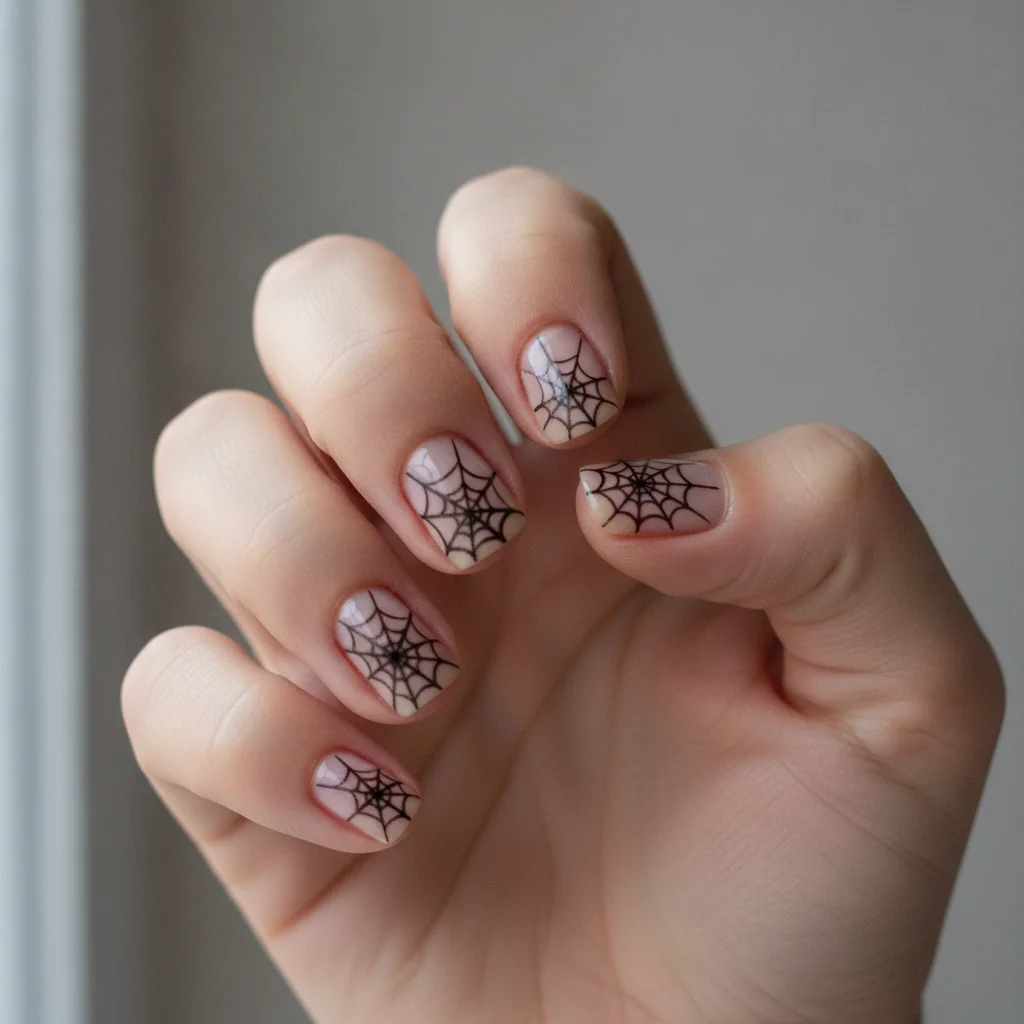
How to draw a spiderweb on a nail
Order matters more than skill here. Spokes first, curves second. Doing it the other way round is why most attempts fail.
- Base colour on, fully dry. A web painted onto tacky polish will smear on the first curve.
- Pick your anchor point, ideally a corner near the cuticle. This is where all the spokes will meet.
- Draw three or four straight spokes radiating out from the anchor to the edges of the nail. Uneven angles between them look more natural than even ones.
- Wipe the brush almost dry and connect the spokes with shallow curves that sag towards the anchor point. This sag is the entire trick. Straight connecting lines make a wheel, not a web.
- Add a second and third row of curves further out, spacing them a little wider each time.
- Stop earlier than you want to. Overworked webs turn into a solid mass.
- Let it dry fully, then top coat with a floating brush so you do not drag the lines.
Common questions
What brush do I need for spiderweb nails?
A fine liner, sometimes sold as a striper or detail brush, with bristles around seven to ten millimetres long. Longer bristles hold more paint and give a steadier line than the very short brushes in cheap nail art sets.
My lines come out shaky. What helps?
Brace the heel of your painting hand against the table and move the finger being painted, not the brush. Most shake comes from holding a hand in mid-air. Thinning the paint slightly also helps, because a thinner medium drags less.
Do spiderweb nails work on short nails?
Corner webs do, and they look good. Full centred webs do not, because there is not enough surface for the curves to read as a web rather than a scribble. On short nails, stay with designs one, three or five.
How do I make a web look less like Halloween?
Change the colours. A gold web on burgundy or a white web on sheer pink reads as decorative lace rather than cobweb. It is the black and white combination that fixes it to October.