The French manicure is the most recognisable nail shape there is, which makes it the best possible smuggling device for Halloween. Everything below keeps the familiar silhouette and changes only what happens at the tip, so the result reads as a manicure first and a costume second.
What you will find here
That matters if you have a job, a wedding to attend, or simply no interest in explaining your nails to people. It is also why Halloween French tips outlast almost every other seasonal design: swap the black for a burgundy in November and nobody would know where it came from.
Getting the tip line right first
Every design here depends on a clean tip, so it is worth fixing that before adding anything decorative.
- Paint the smile line from the sides inward, not left to right in one stroke. Two curves meeting in the middle is far easier to control than one long arc.
- Thin the tip, not the base. A thick tip line makes the nail look shorter. Keep it to roughly the top fifth of the nail.
- Match the curve to your cuticle. A tip line that mirrors the cuticle shape looks deliberate. One that fights it looks like a mistake even when it is neat.
- Clean up after, not during. A small brush dipped in remover cuts a crisp edge once everything is dry. Trying to fix a wet line just spreads it.
22 Halloween French tip designs
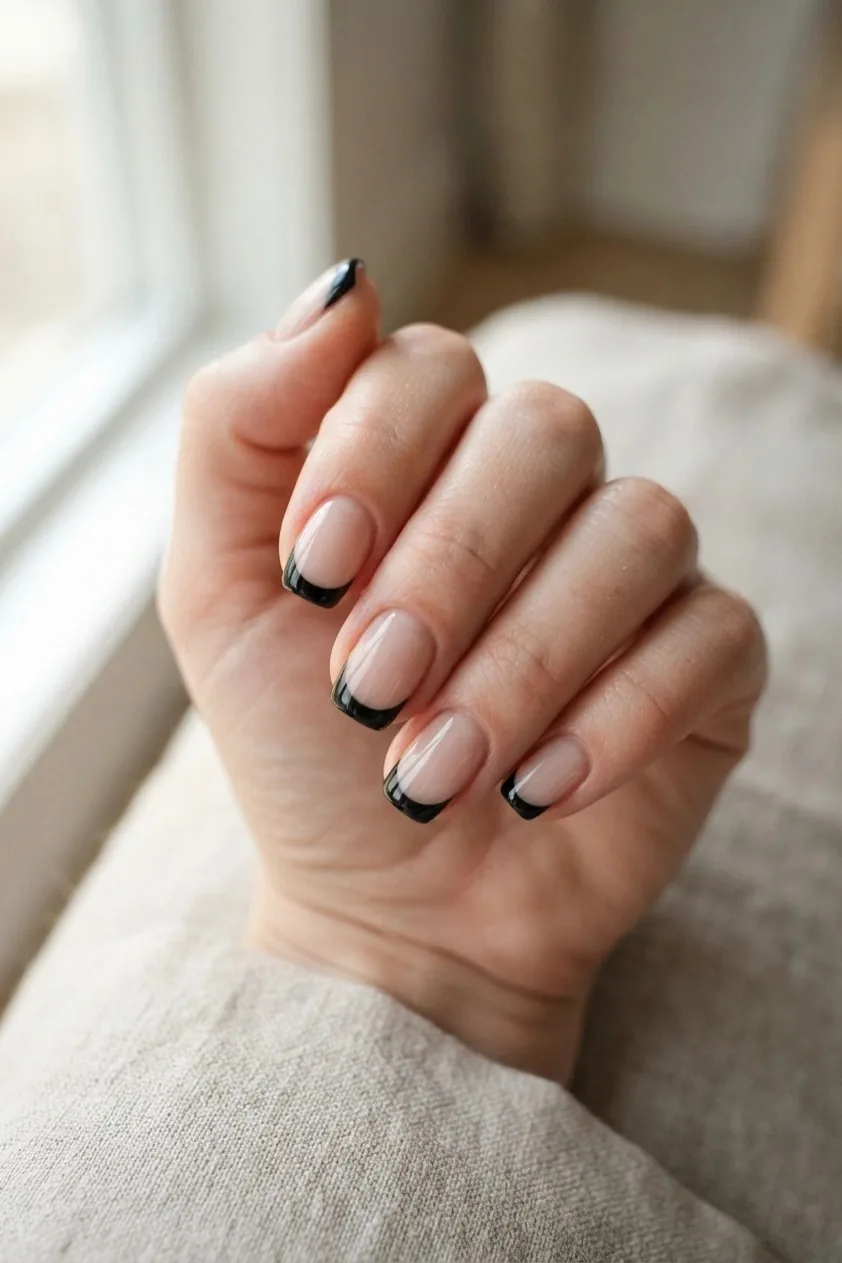
1 Black tip, sheer nude base
The whole design is one color swap and it still reads as Halloween in October. Start here if you want the least possible commitment, or if you are practicing your smile line before attempting anything else on this list.
2 Bat tips
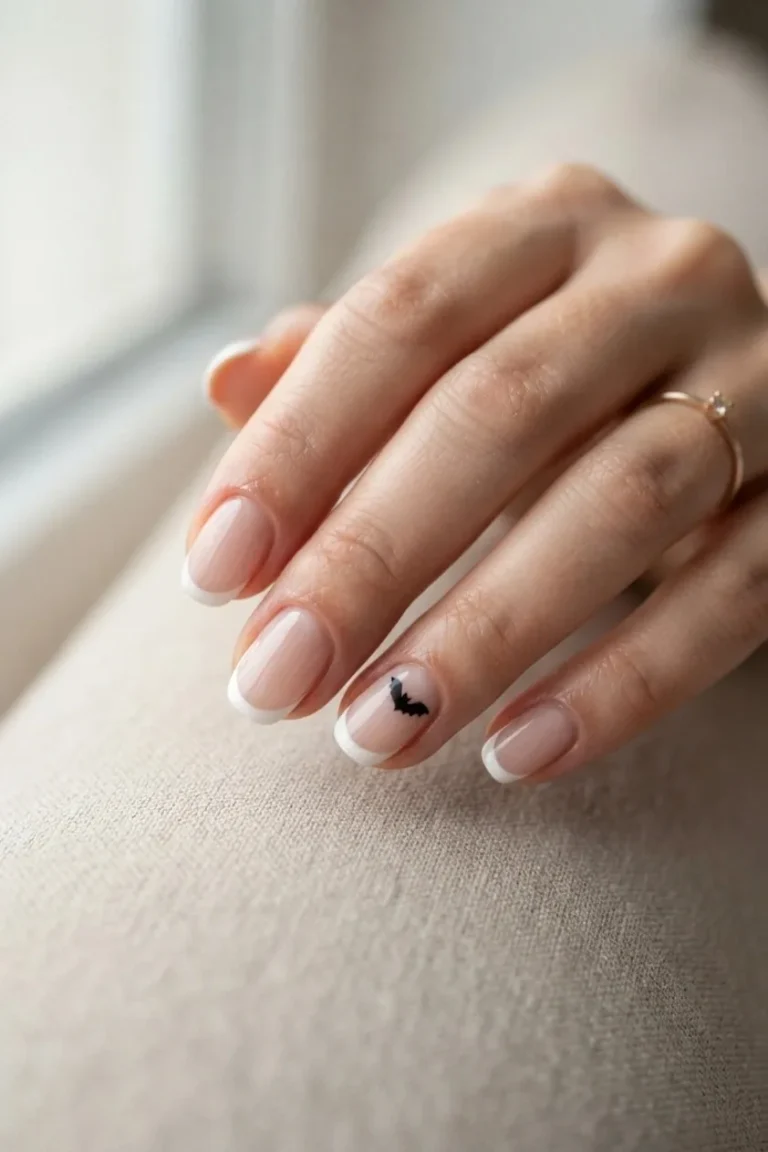
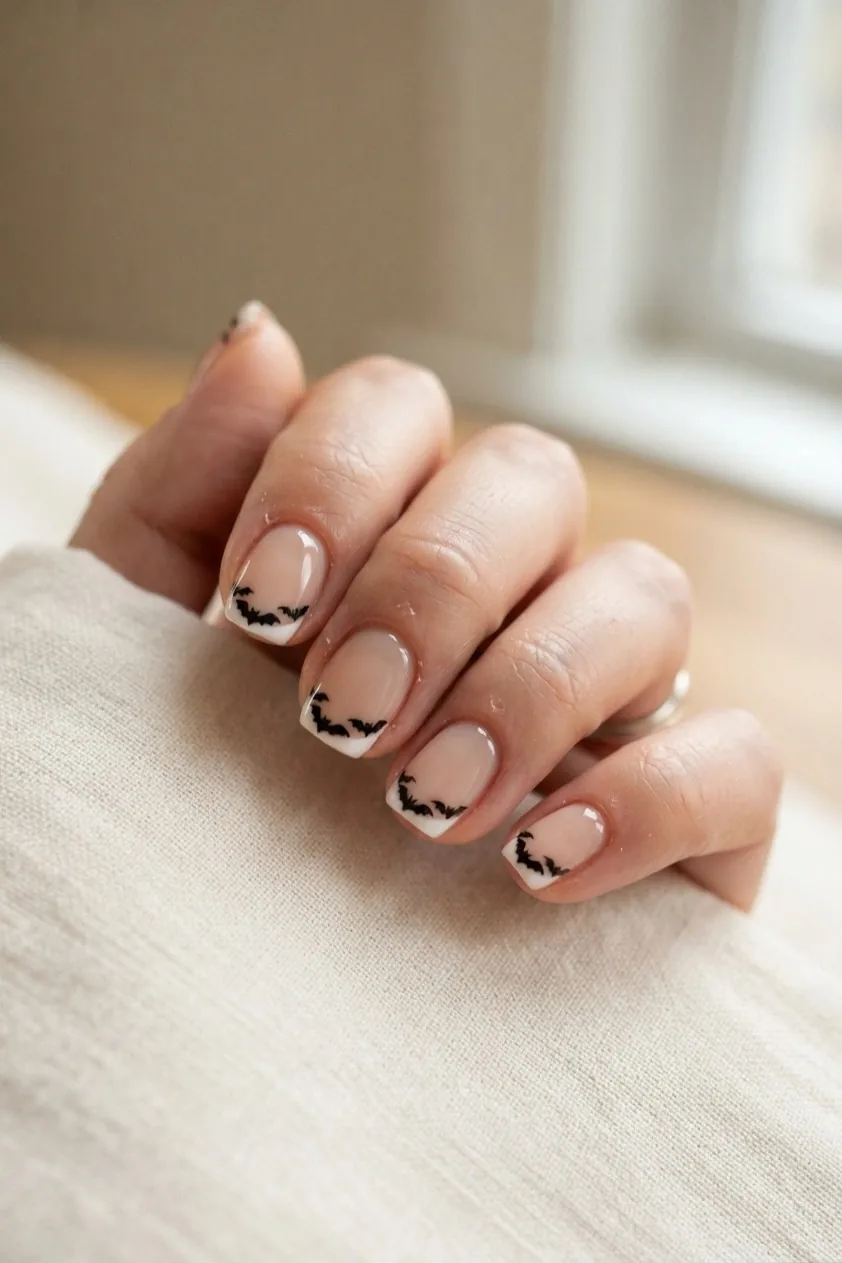
The tip line is replaced by a row of small black bats. This is the design that gets saved. Keep the bats simple, a shallow curve with two peaks, and let the spacing be slightly uneven.
3 Ghost hem
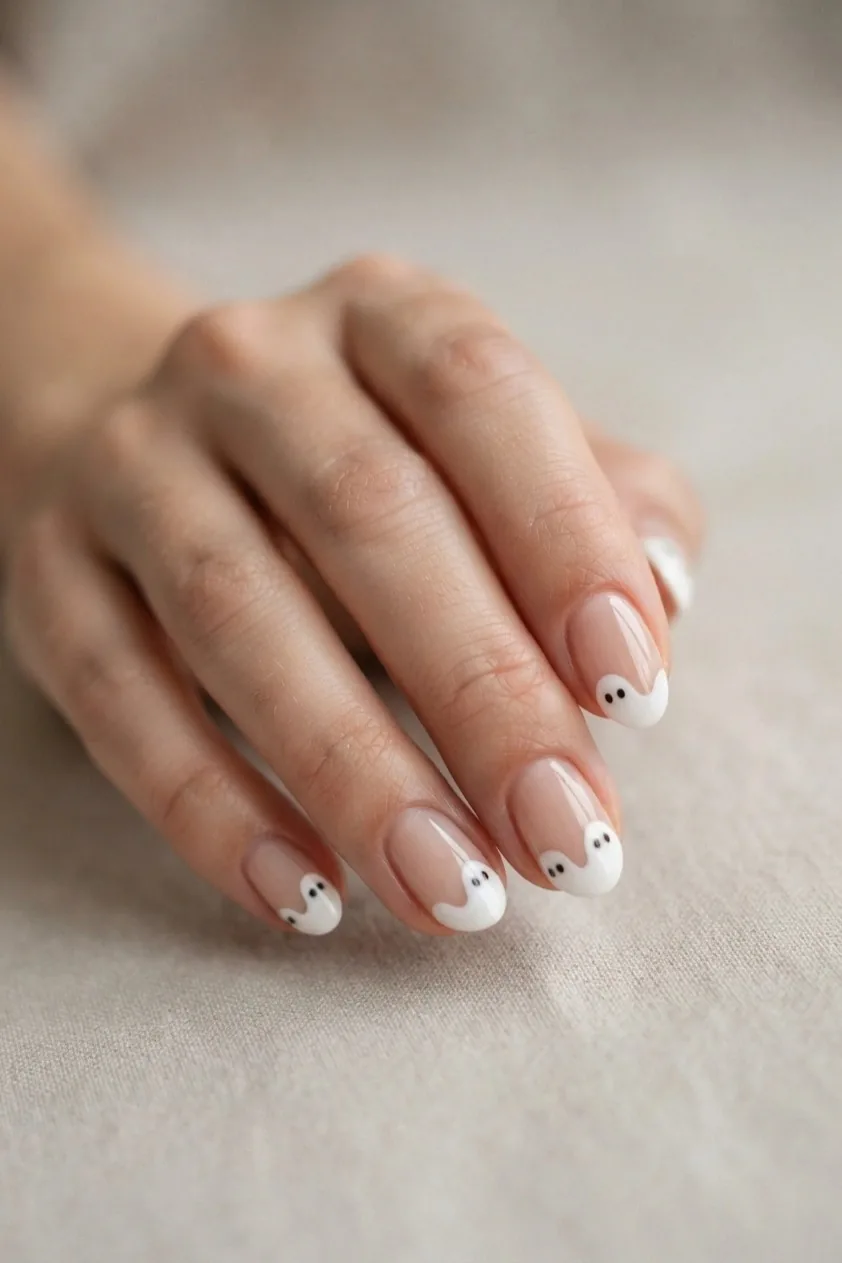
The white tip painted with a wavy bottom edge so it reads as a ghost, with two dots for eyes. Cute rather than spooky, and the version most likely to still look good in a photograph a week later.
4 Blood drip tip
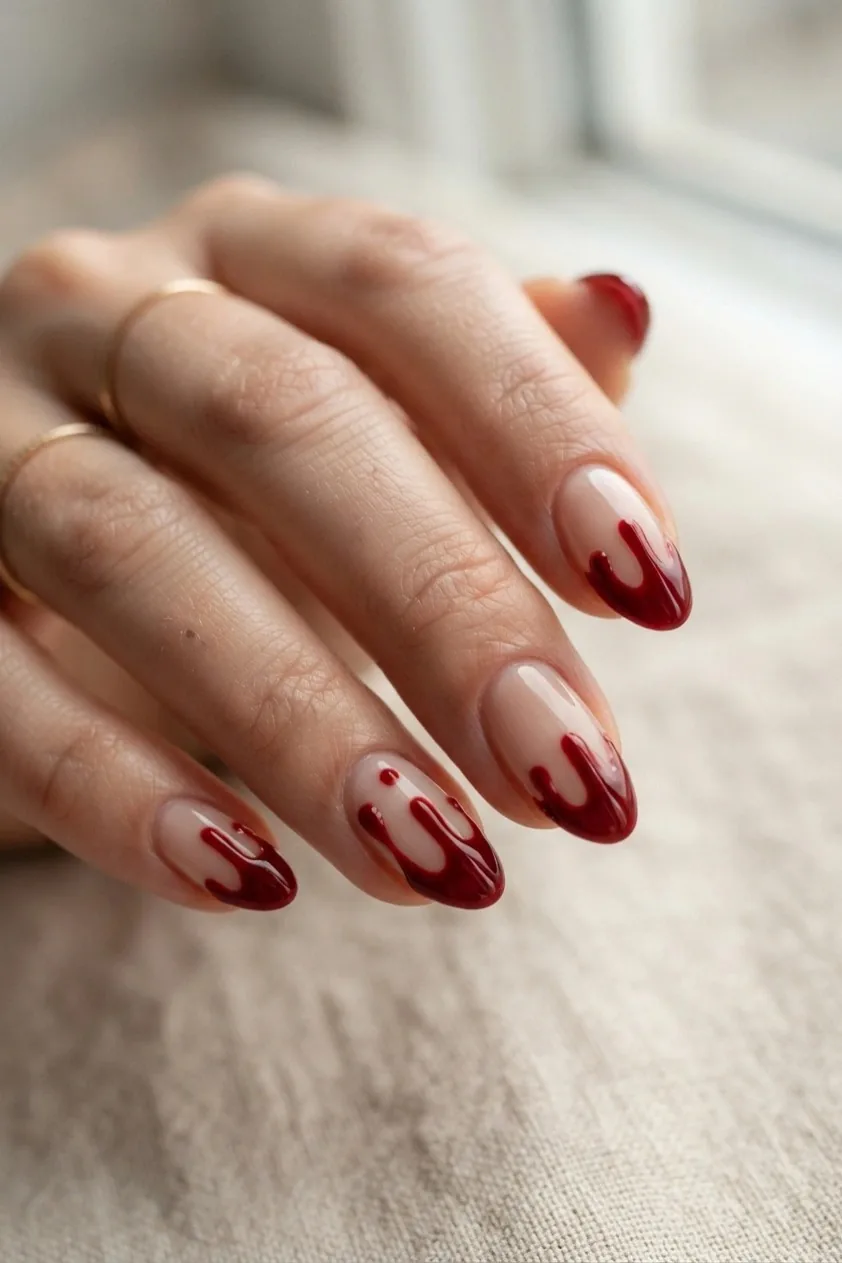
A deep red tip with three or four drips running back down the nail. Vary the drip lengths. Evenly spaced identical drips look like a pattern rather than something spilled.
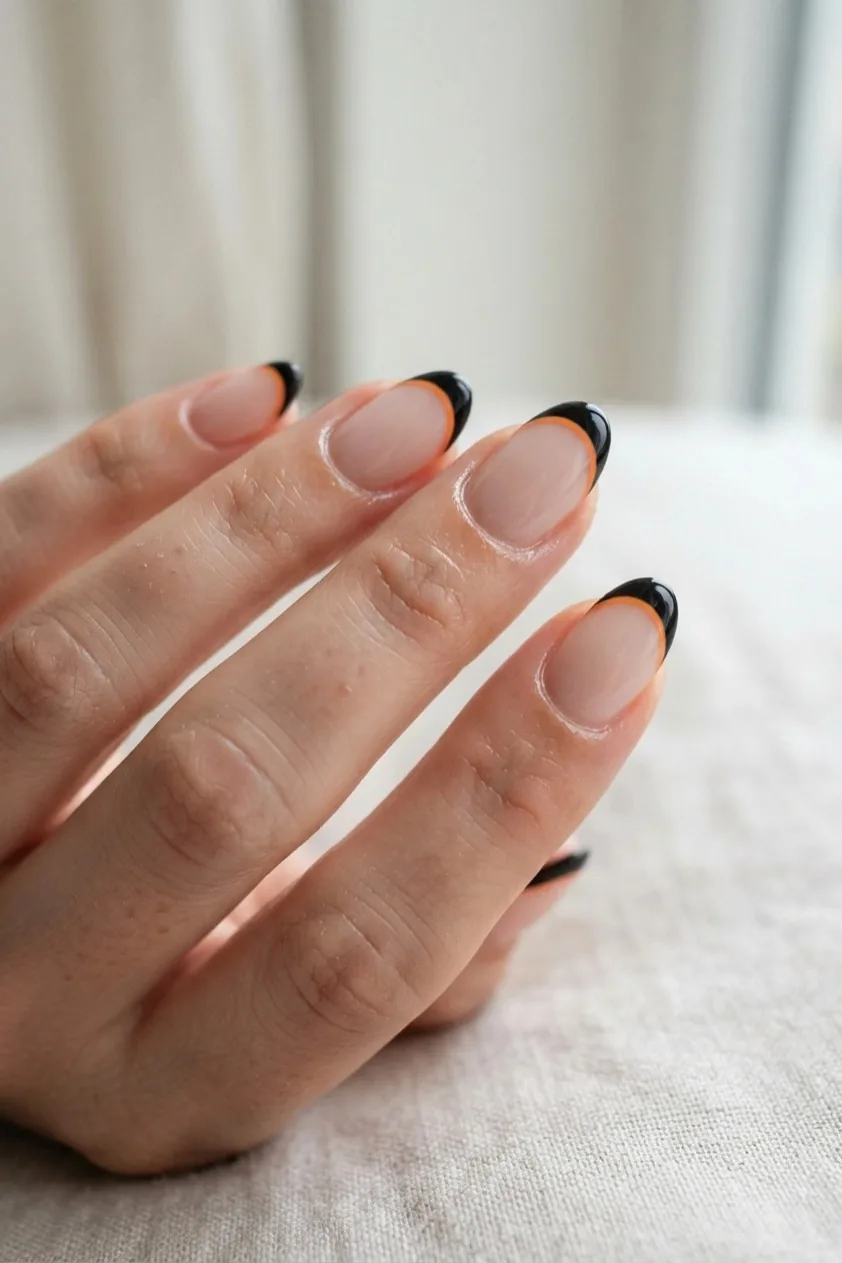
5 Double French in orange and black
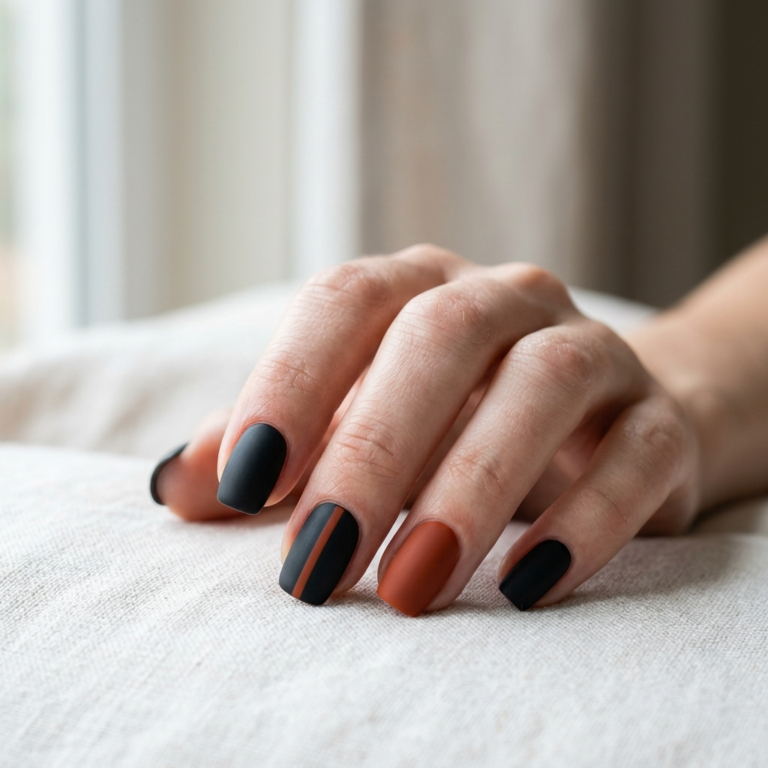
Two stacked tip lines, black at the very edge and a thin orange line just below it. The classic color pair without the full orange nail, which is what makes it wearable.
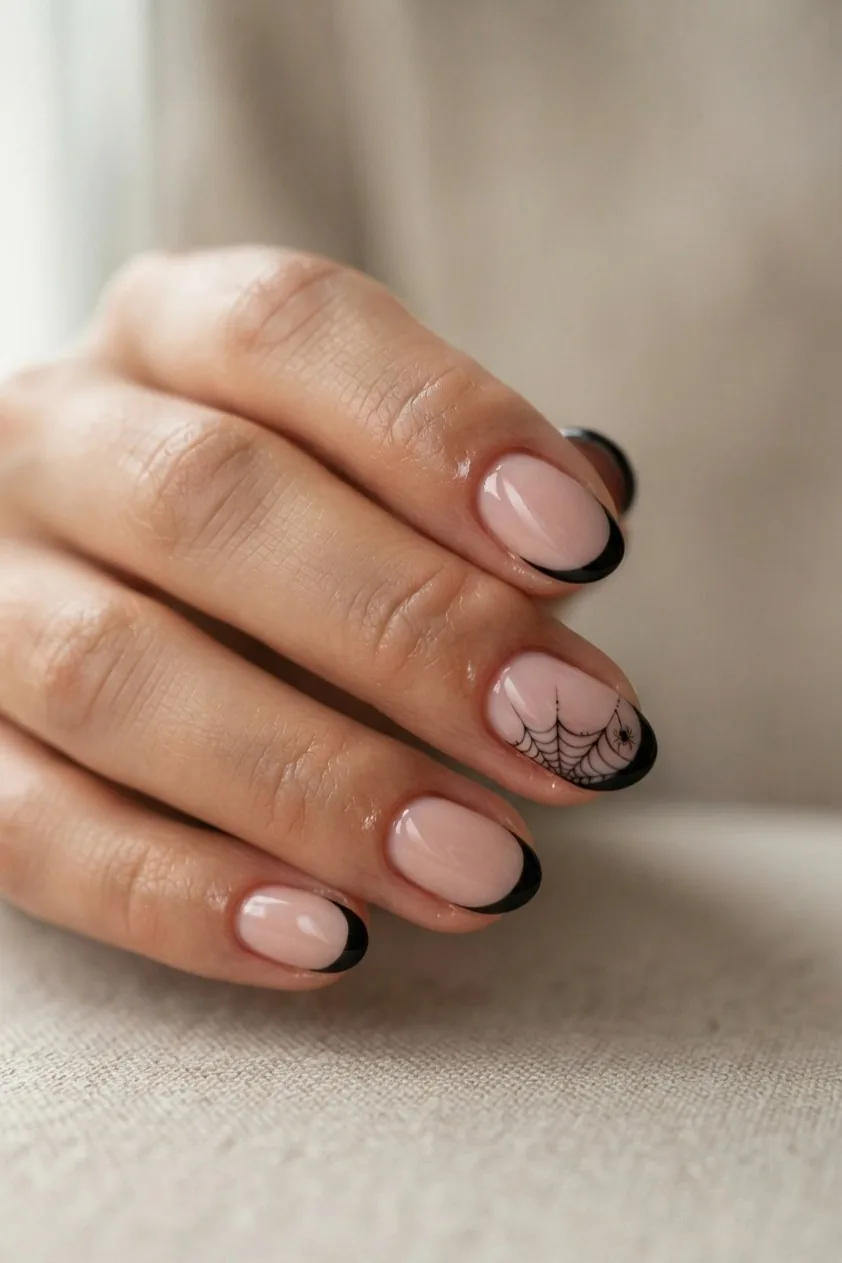
6 Spiderweb corner tip
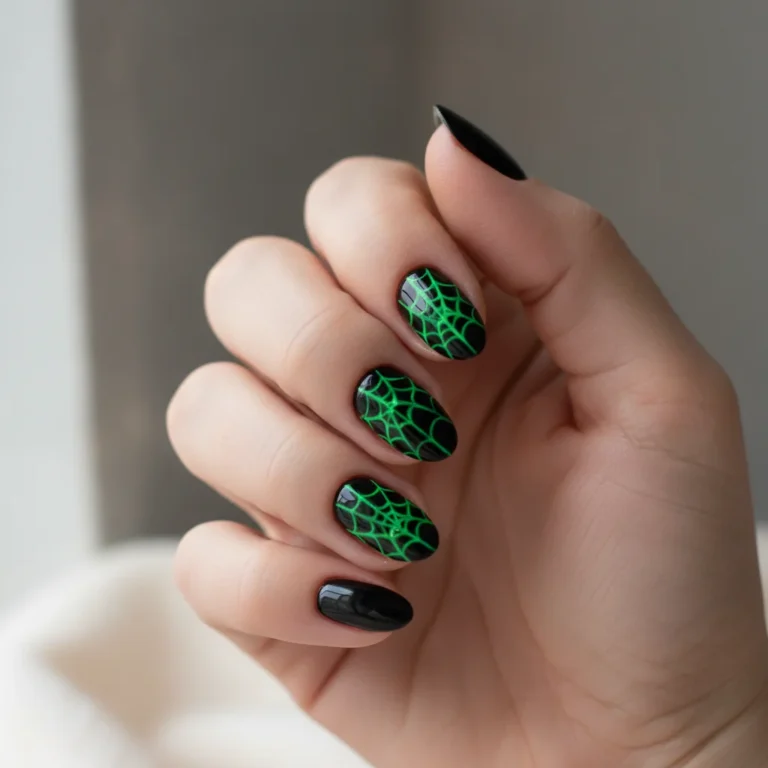
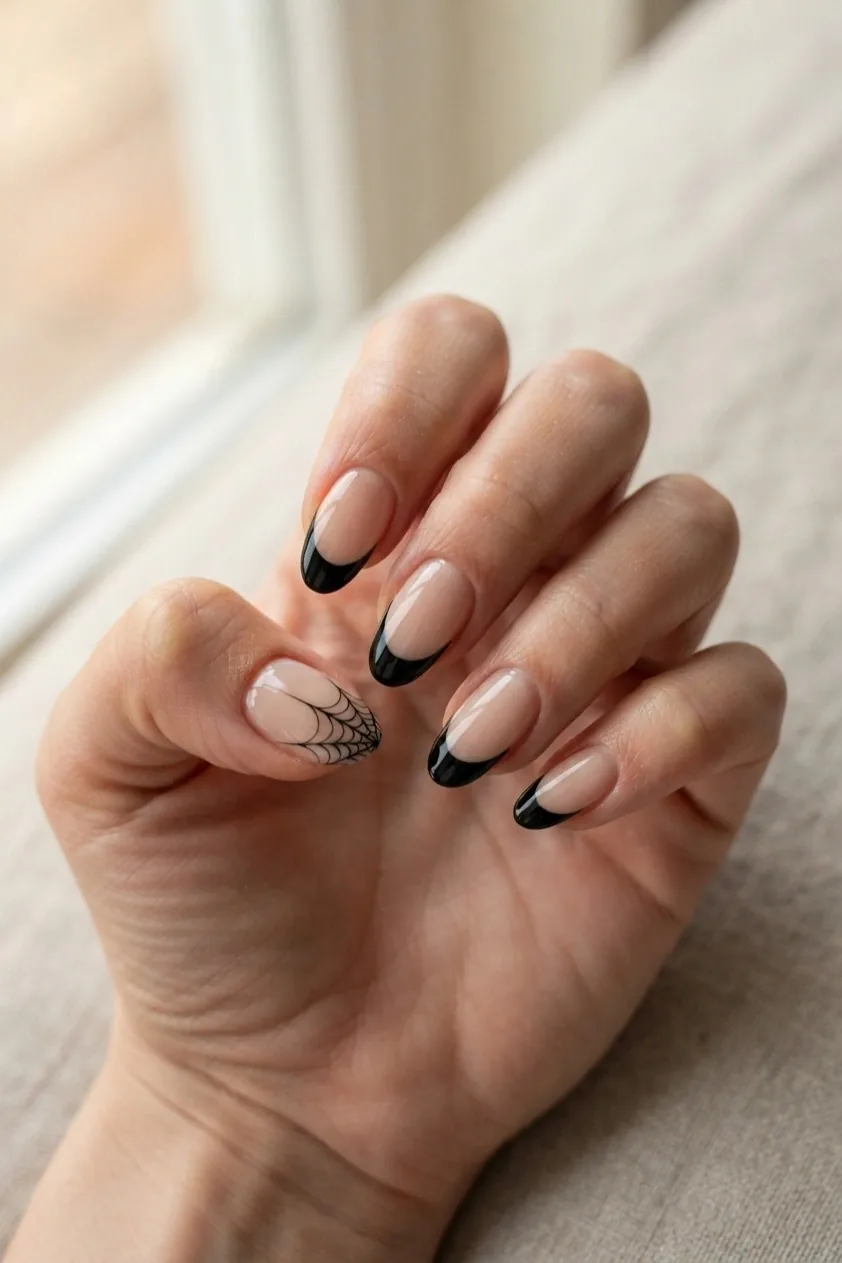
A normal black French tip on four nails, and on the accent nail the tip dissolves into a web spreading from one corner. The contrast between the tidy nails and the one loose one is the whole idea.
7 Chrome tip
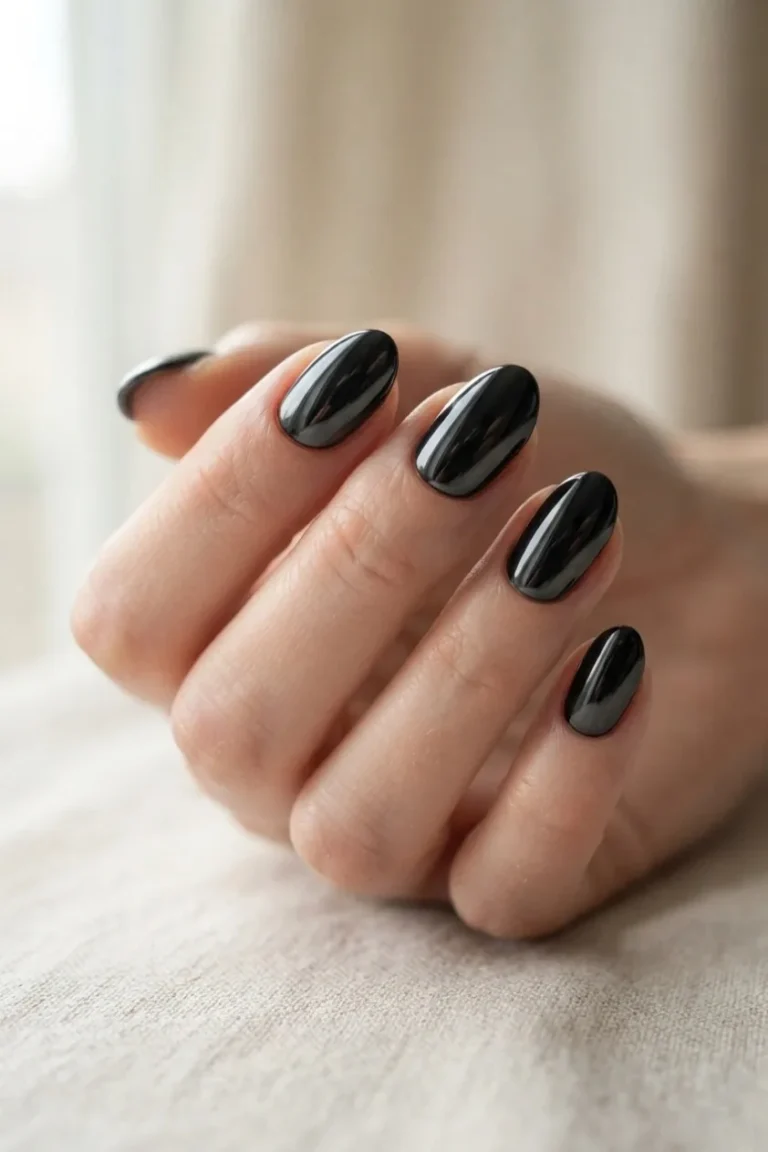
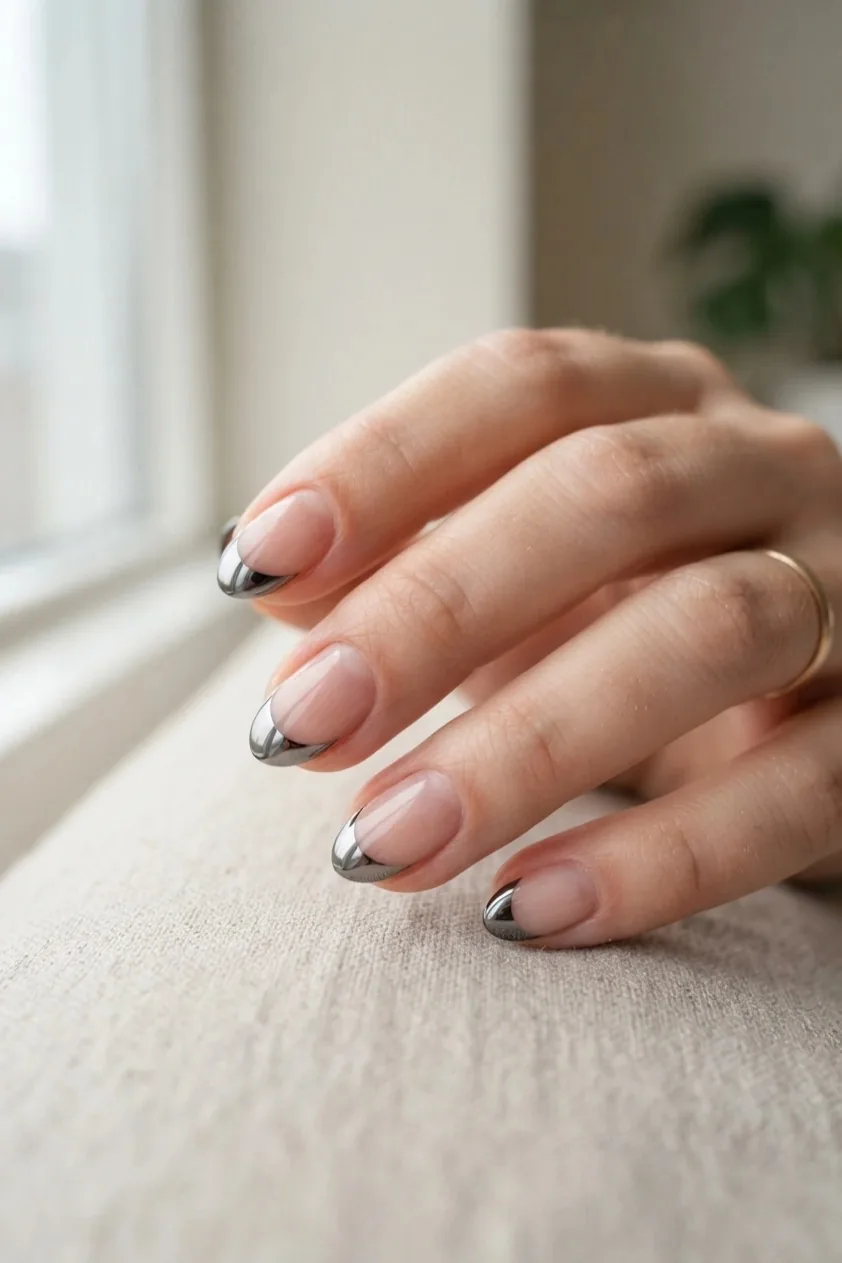
The tip done in a mirror chrome, either burnt orange or gunmetal, against a bare base. No motif, maximum finish. Chrome is the dominant look this year and this is the least effortful way to wear it.
You may also like: Cute Ghost Nails: 22 Designs From One Accent Nail to a Full Set
8 Micro pumpkin on the tip
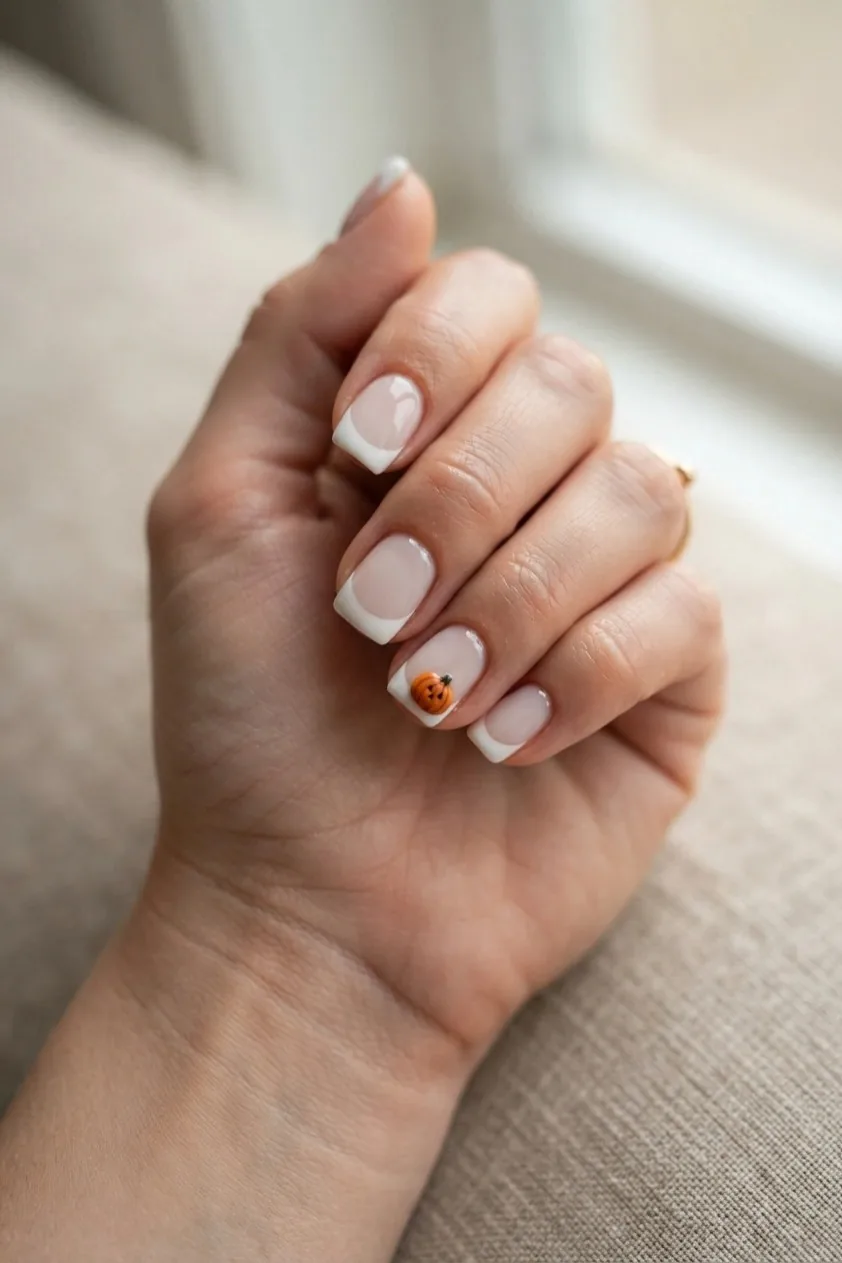
A standard nude French tip with one tiny orange pumpkin sitting on the smile line of the ring finger. Small enough that people notice it late, which is the pleasure of it.
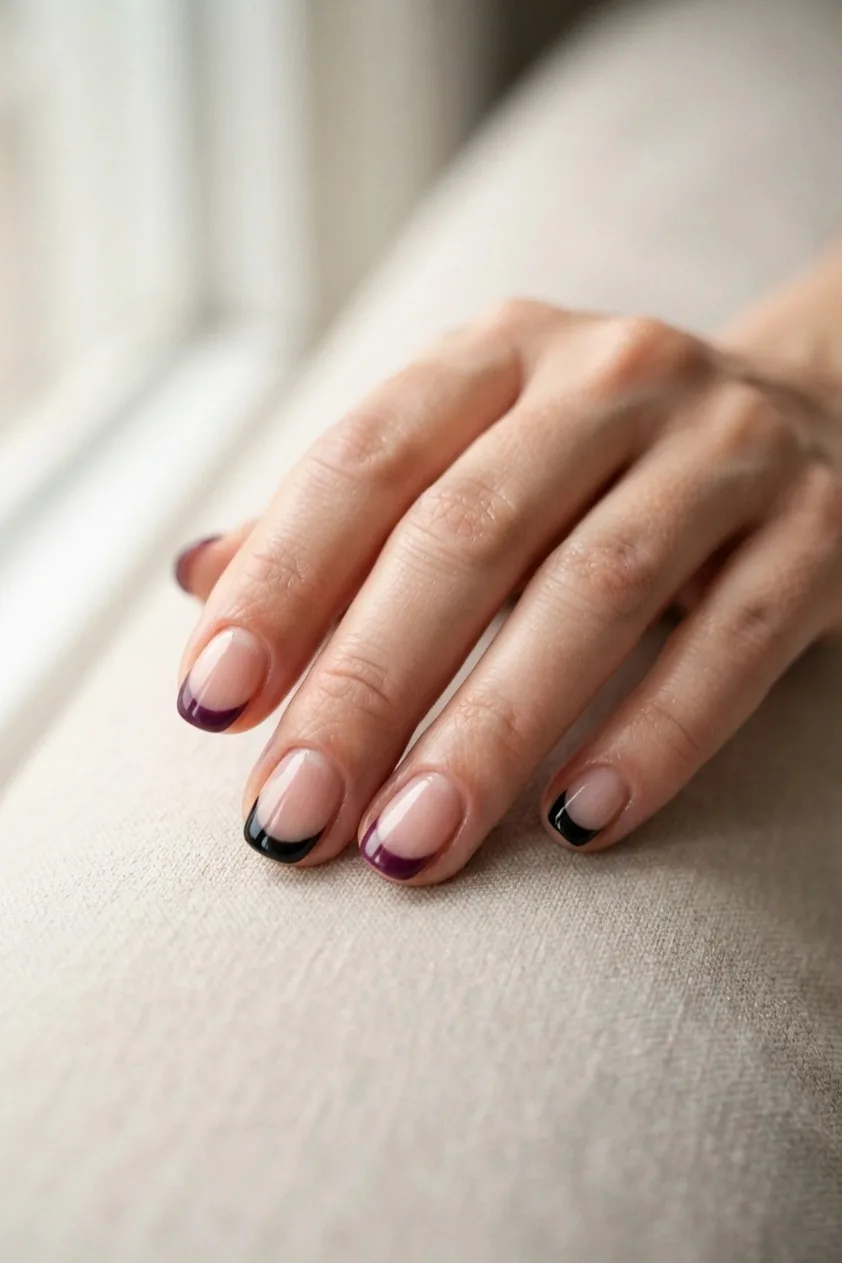
9 Purple and black alternating tips
Tips alternating between deep purple and black across the hand. Purple is the least used Halloween color and reads as considered rather than obvious.
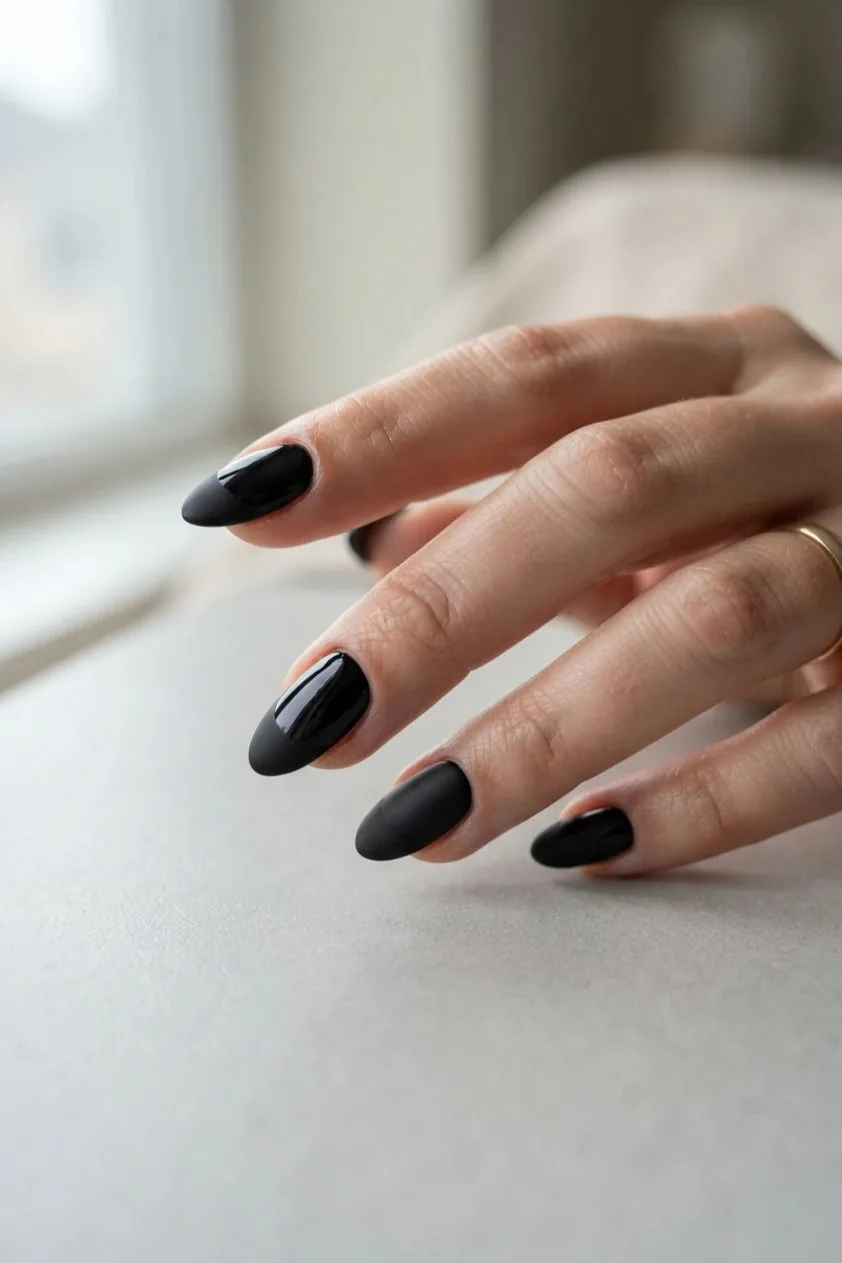
10 Matte black tip, glossy base
Same color throughout, different finishes. Matte the tip only, leave the rest glossy. It is the most subtle design here and photographs far better than it sounds.
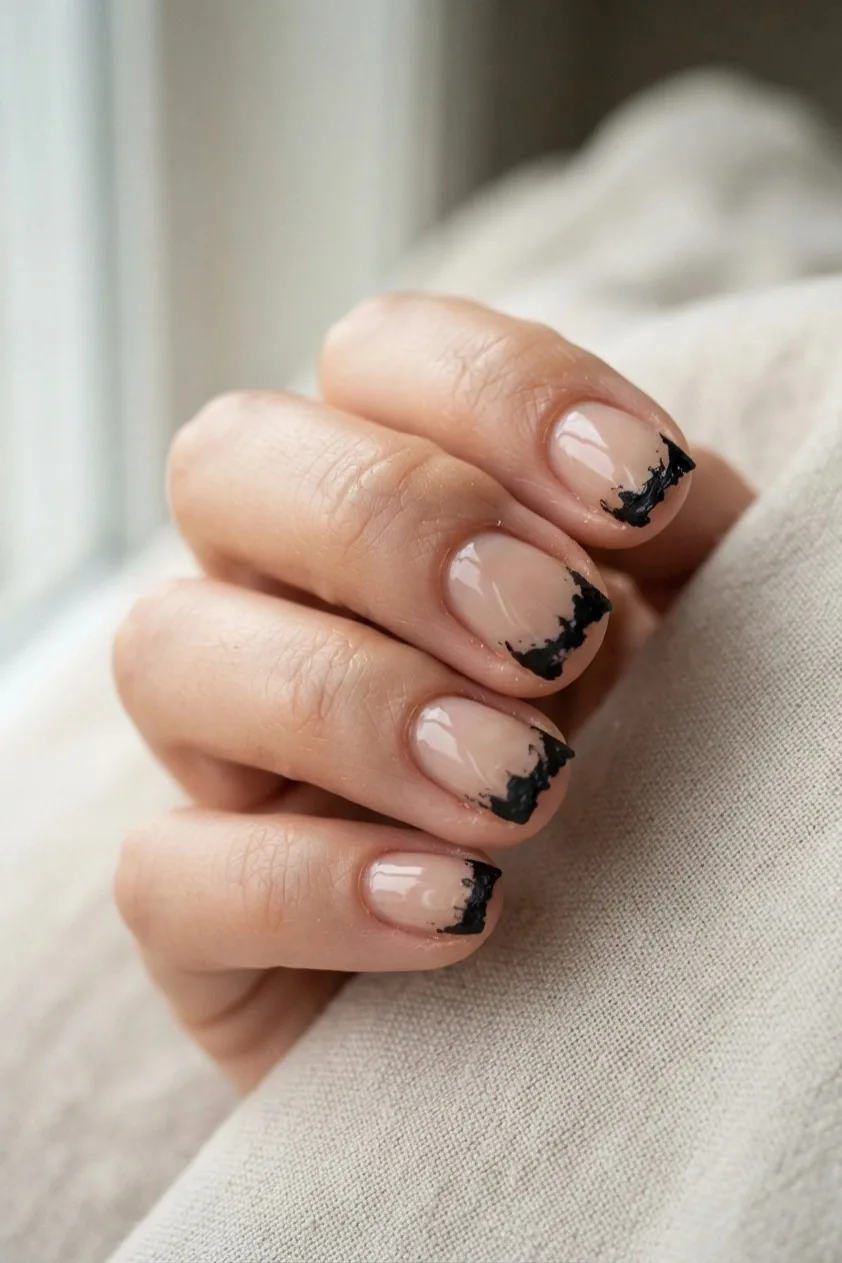
11 Jagged tip
Replace the smooth smile line with a torn, jagged edge in black. Easier than a clean French tip, because precision is not the goal. Good for anyone whose curves never come out even.
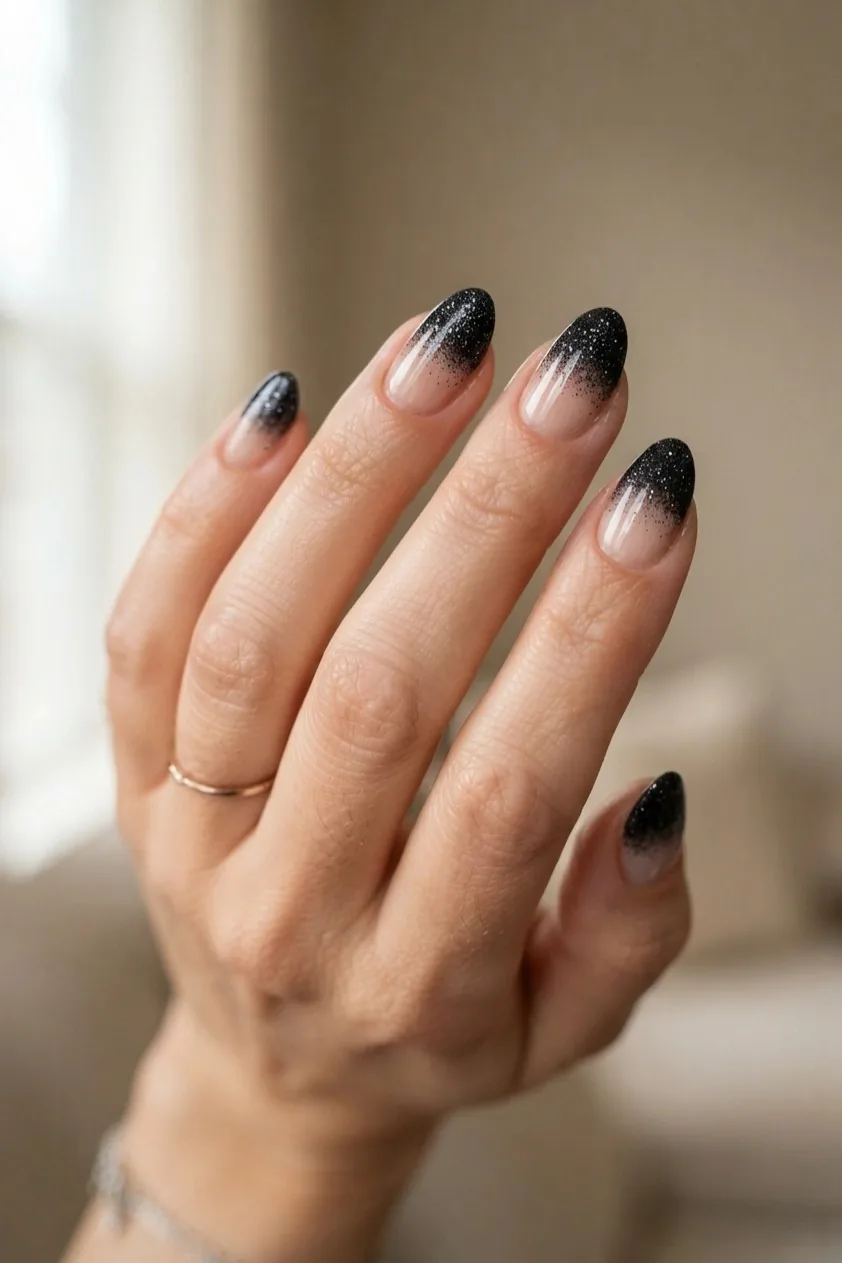
12 Glitter gradient tip
Black glitter concentrated at the tip and fading out towards the middle of the nail. Sponge it on in layers rather than brushing, and stop one layer before you think it is finished.
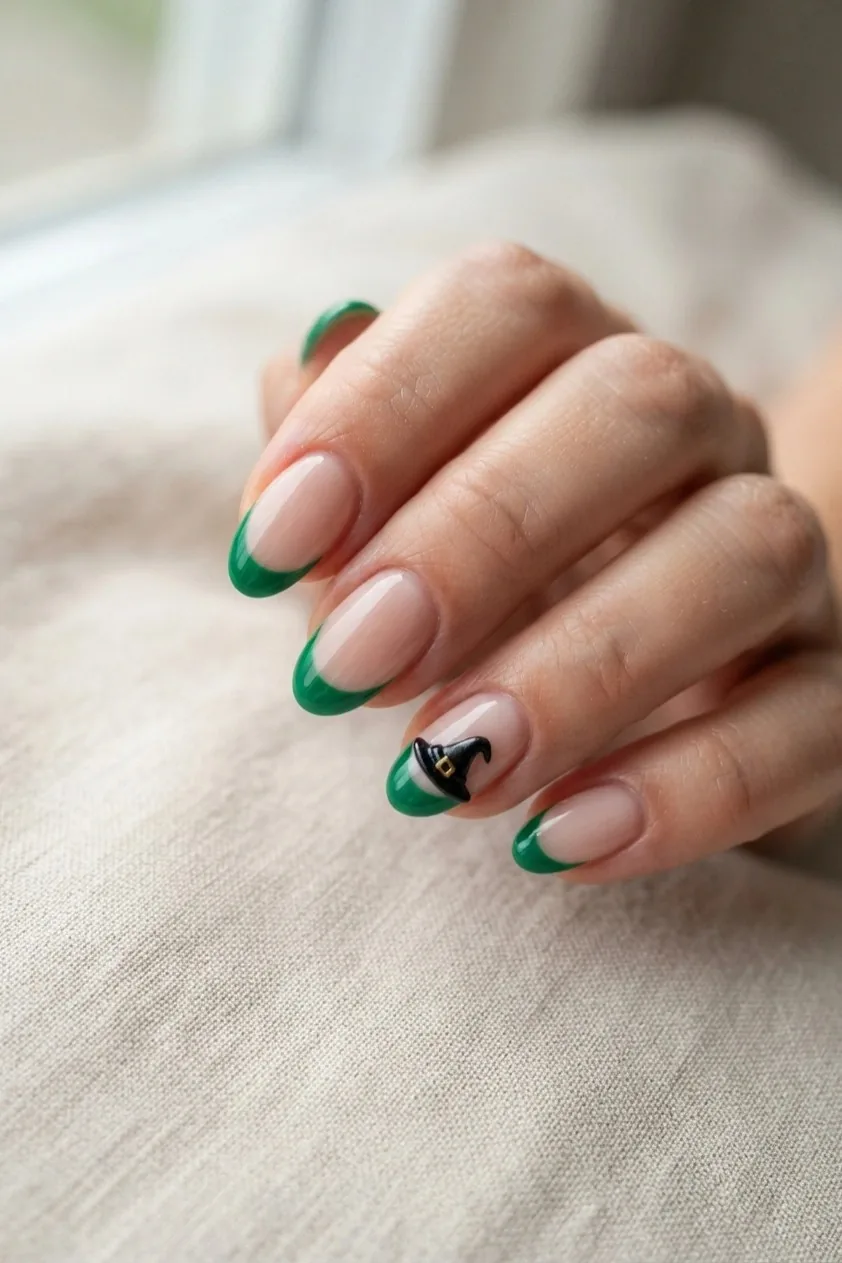
13 Witch Hat Tip
A green tip with one tiny black witch hat sitting on the smile line of the accent nail. Small enough that people notice it late.
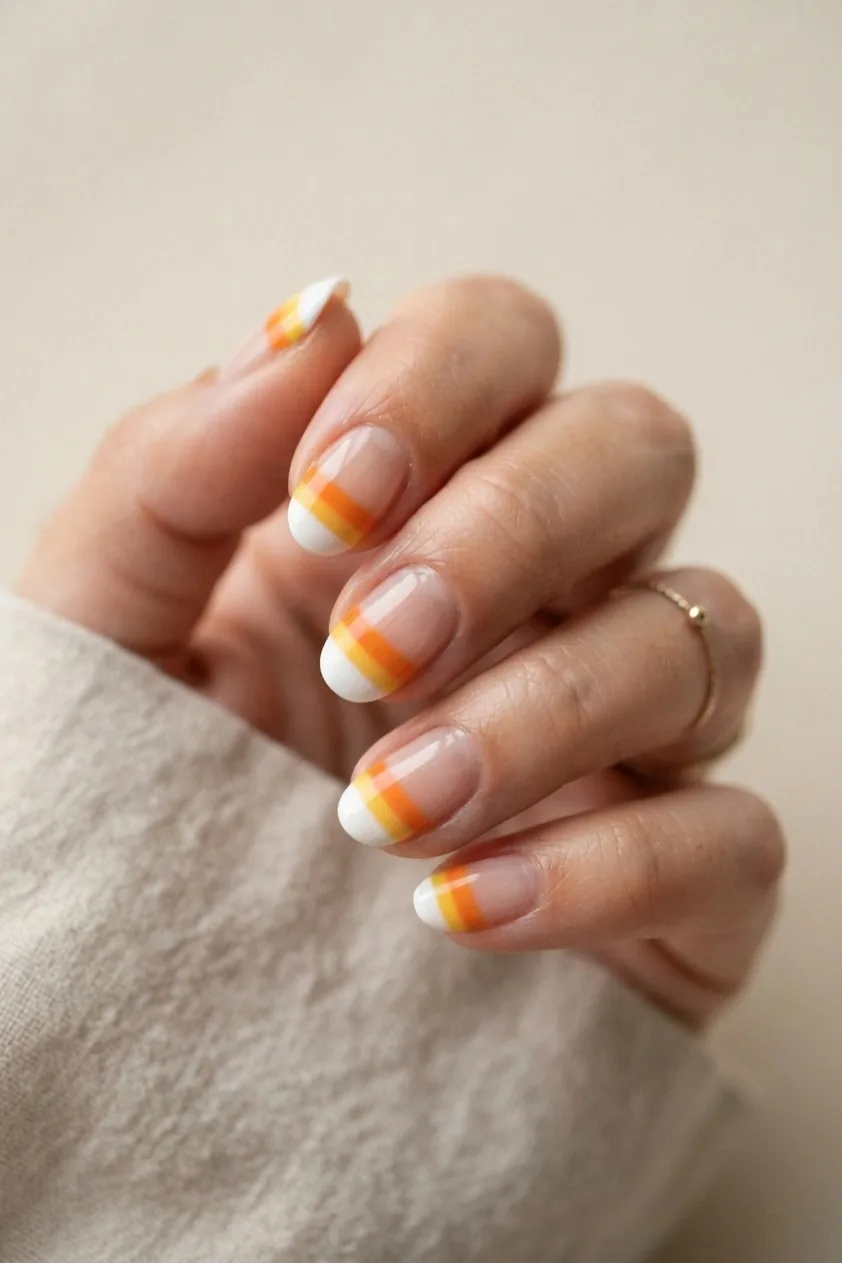
14 Candy Corn Tip
Three narrow bands at the tip in white, orange and yellow. Ask for the bands kept thin, or the proportions stop reading as candy corn.
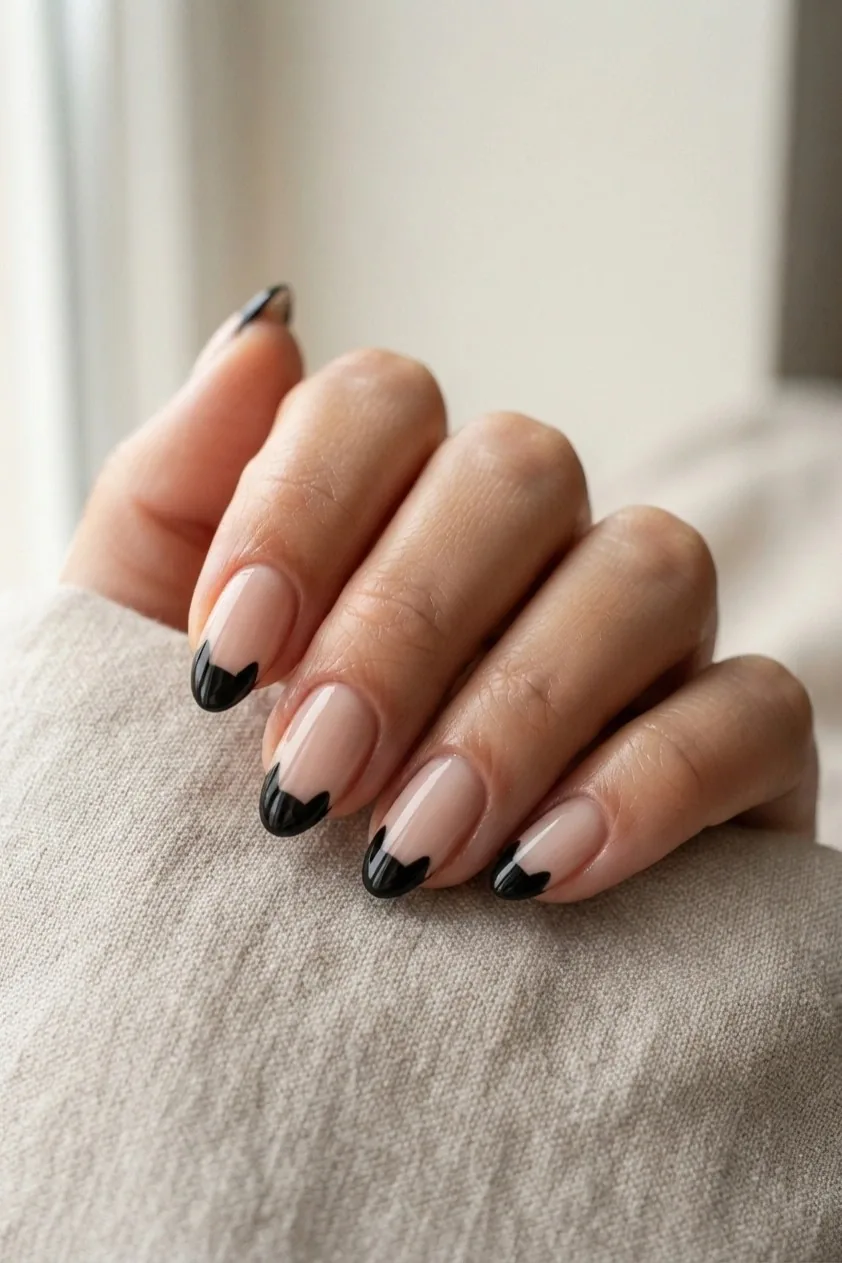
15 Cat Ear Tip
The tip line broken by two small peaks, so the free edge reads as ears. One of the simplest shape changes here and one of the most effective.
More like this: Black Chrome Halloween Nails and Classy Halloween Nails
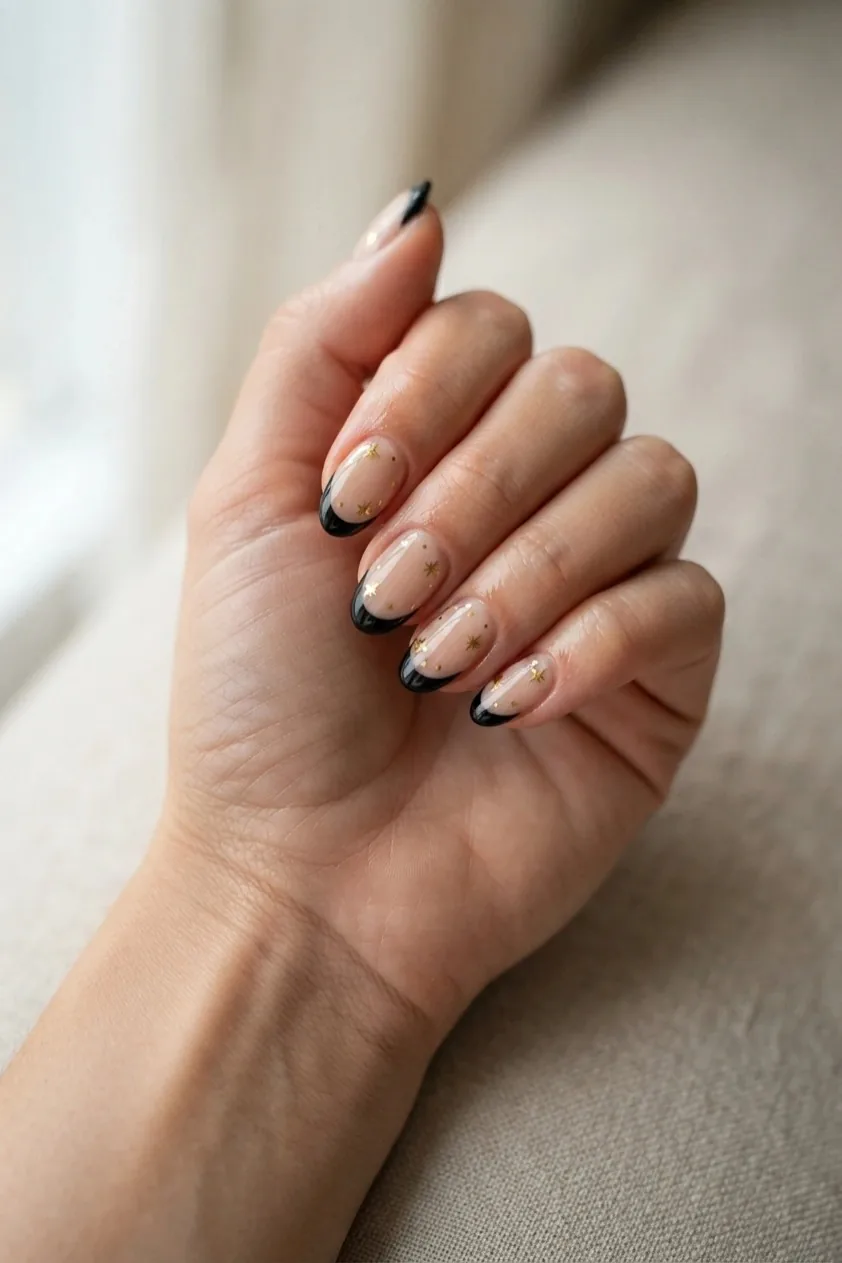
16 Star Tip
A black tip with tiny gold stars sitting just below the smile line. Works past Halloween in a way most of this list does not.
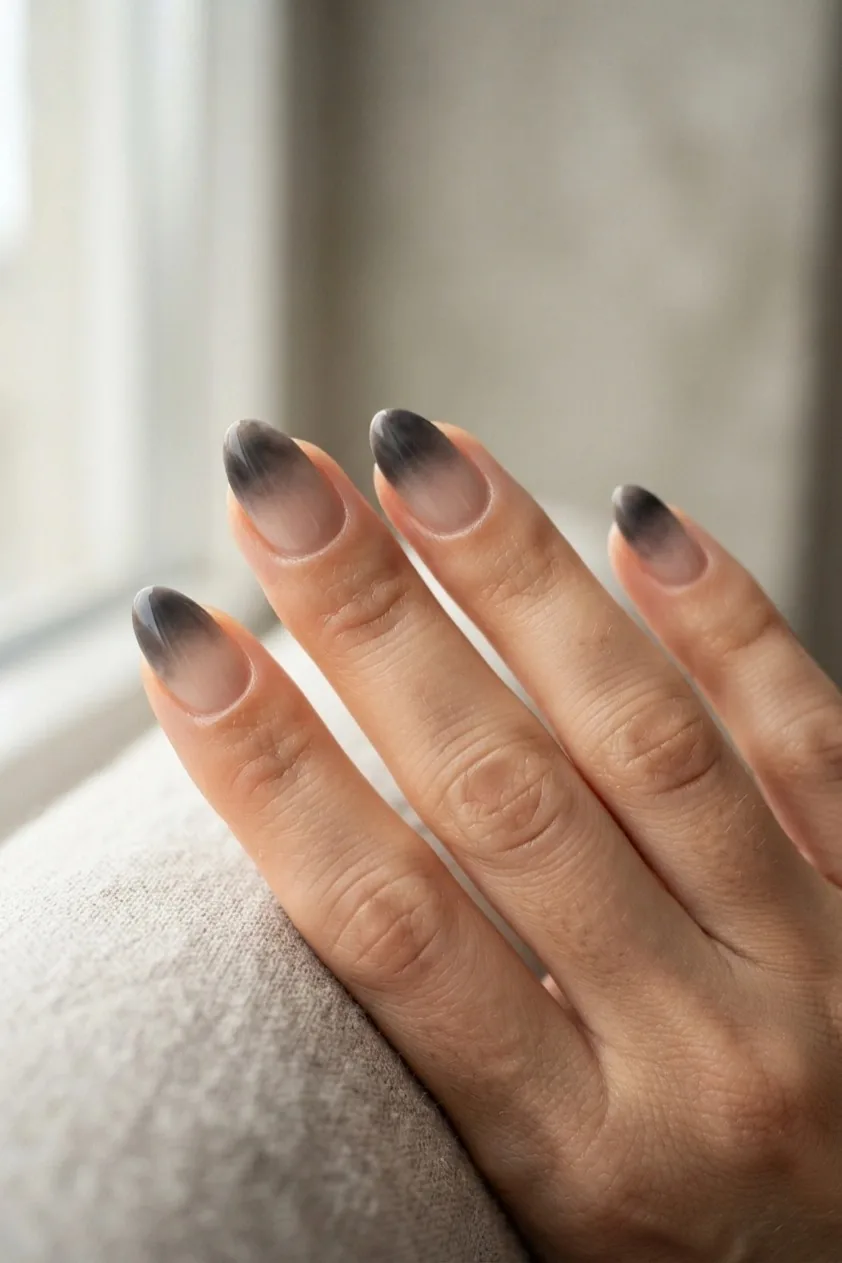
17 Smoke Gradient Tip
Charcoal fading up from the tip with no defined line at all. Sponged rather than brushed, and the softest design on this list.
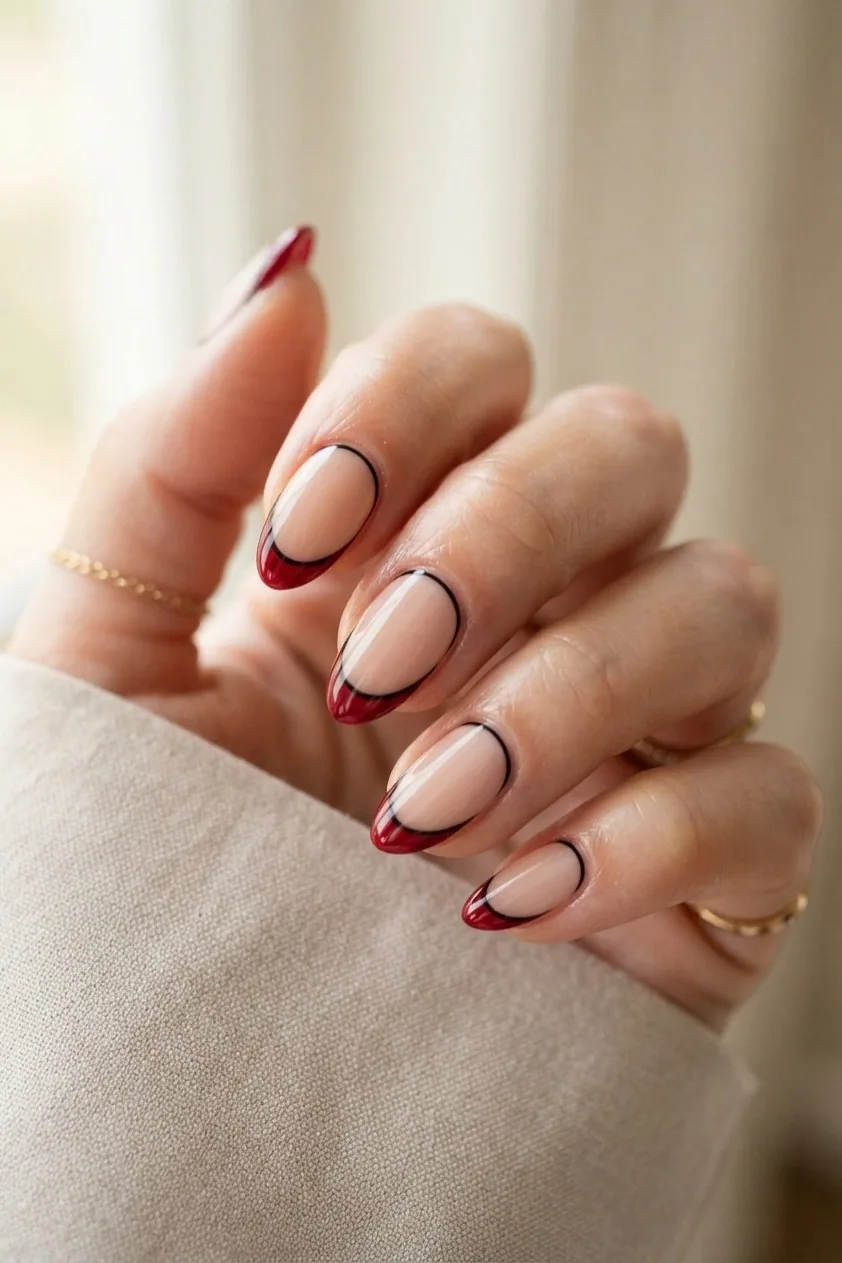
18 Red Tip with a Black Outline
Deep red tip traced with a hairline of black. The outline sharpens the shape and makes an ordinary tip look deliberate.
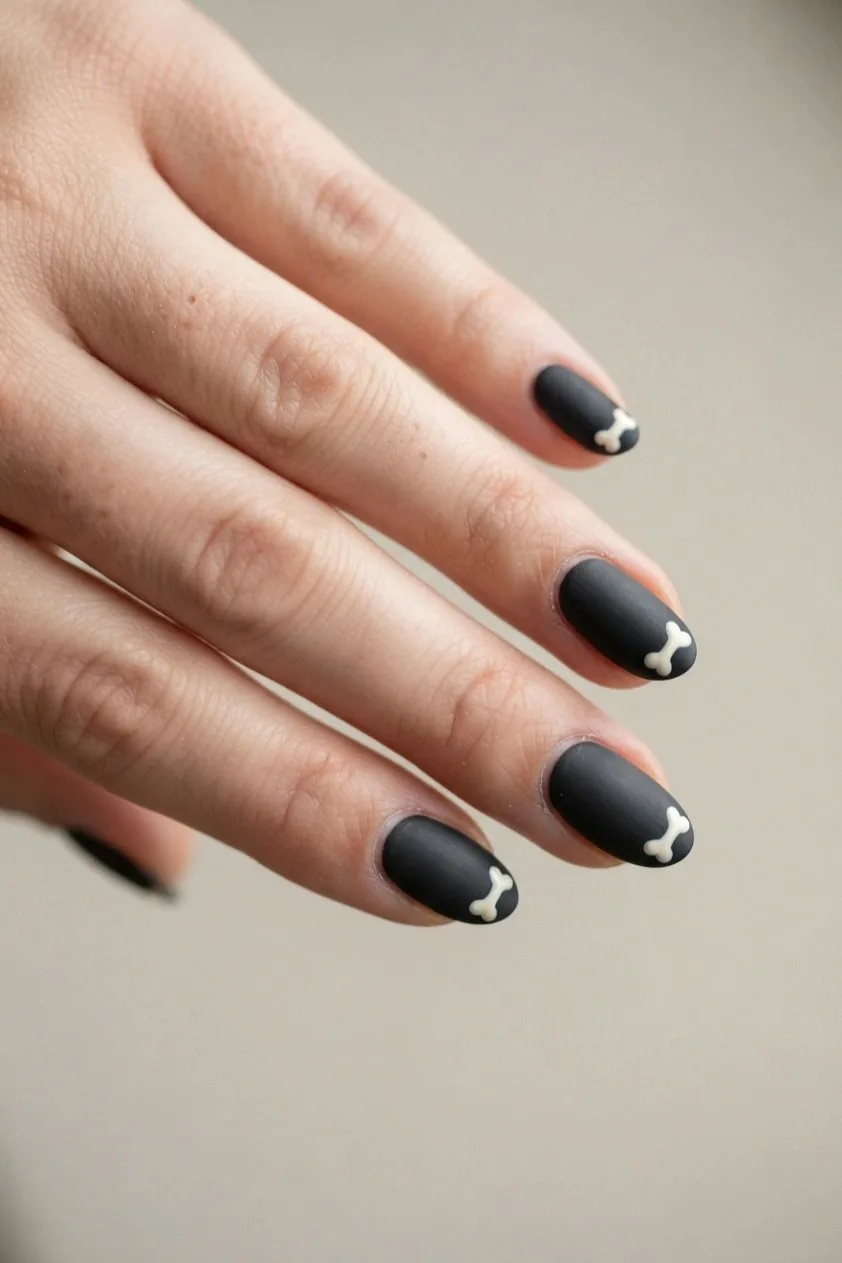
19 Bone Tip
The tip painted as a small bone shape in off-white on a charcoal base. Reads as a skeleton without painting a whole hand of them.
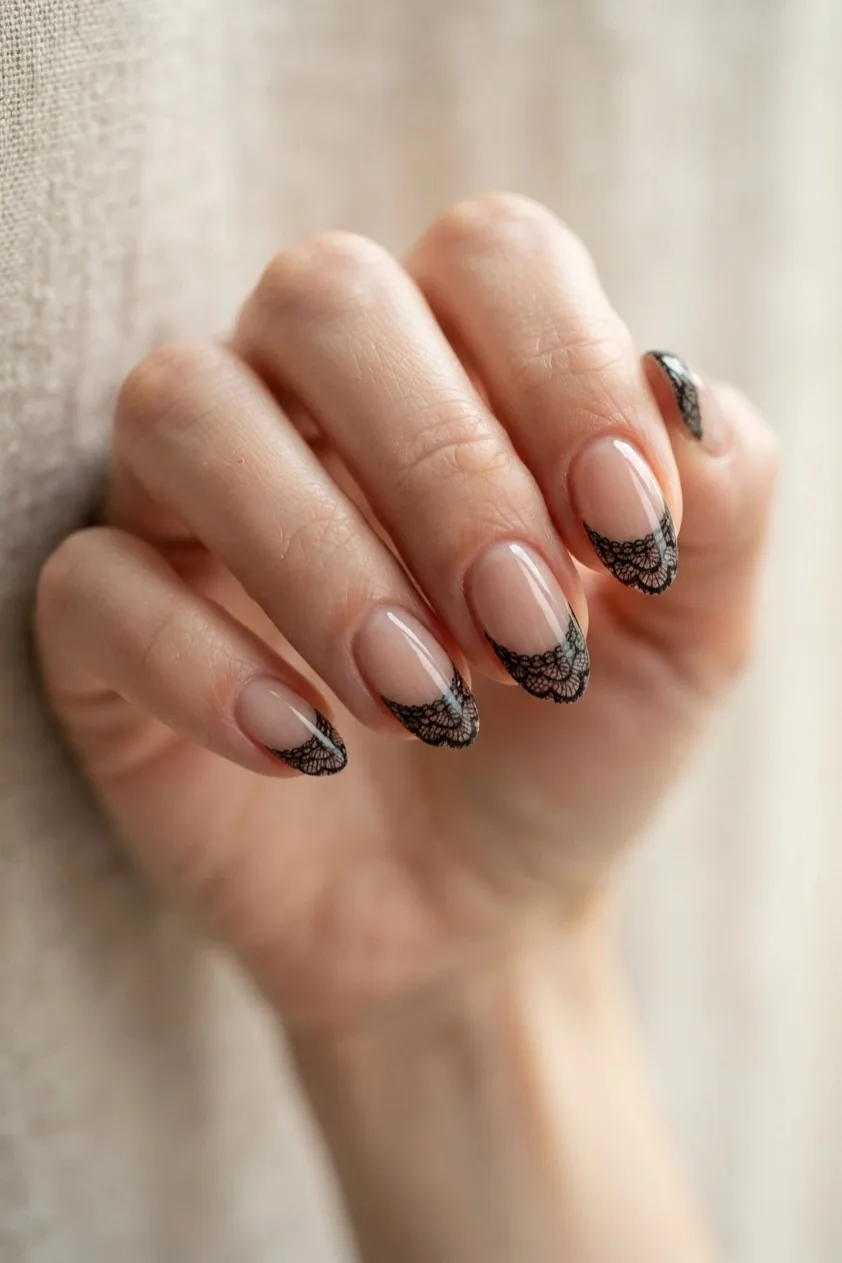
20 Lace Tip
Fine black lace scalloping in place of the tip line. Ask your tech for this one. It is genuinely difficult freehand and the most elegant design here.
21 Web Across the Smile Line
A normal tip with a fine web strung along the smile line rather than across the nail body. Keeps the manicure shape and adds one detail.
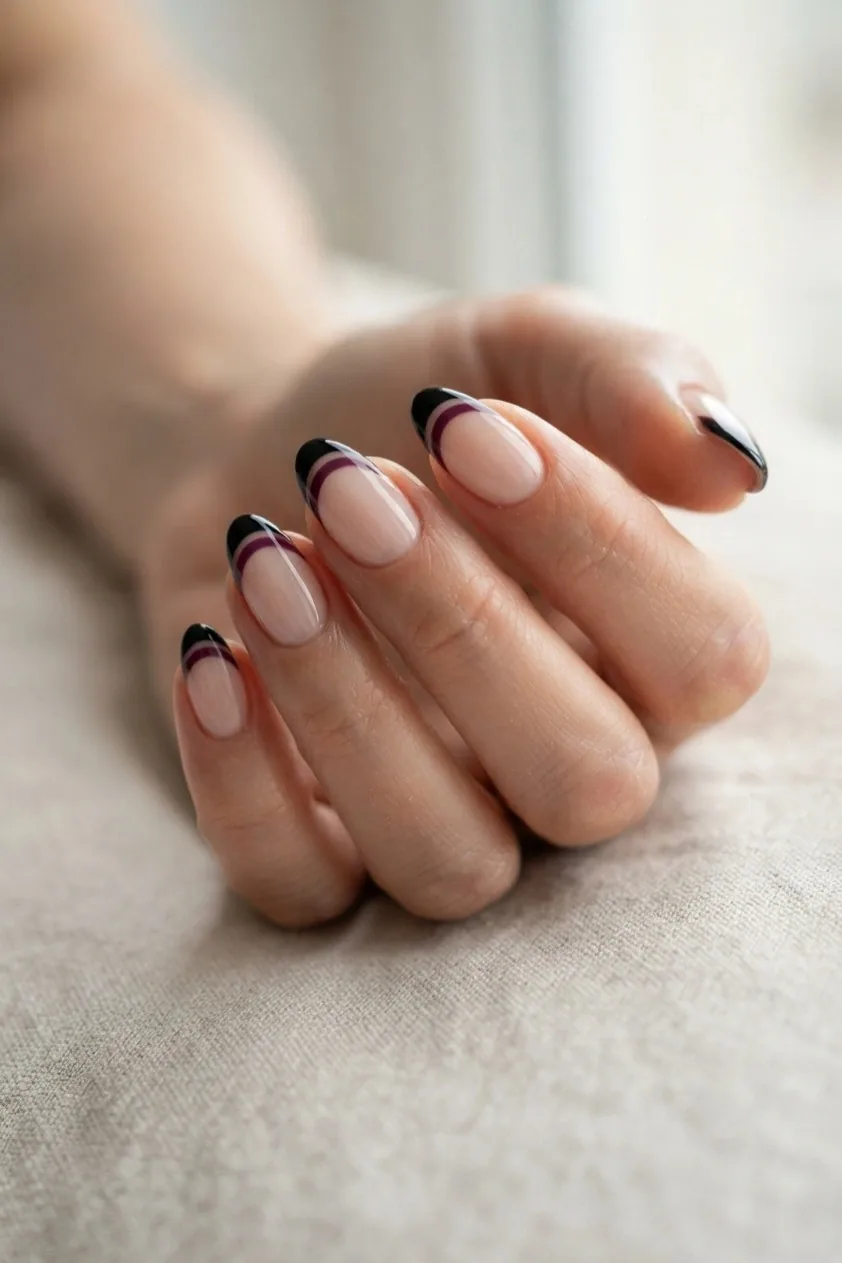
22 Purple and Black Double Tip
Two stacked lines, black at the edge and plum below it. The least obvious Halloween color pairing and the most wearable into November.
How to paint a clean French tip freehand
- Base coat, then two thin coats of your sheer base. Let it dry completely, not almost completely.
- Load an angled brush and wipe one side almost clean. You want color on the edge of the brush, not the belly of it.
- Start at one side wall, a few millimeters down from the tip, and sweep up and across to the center of the free edge.
- Repeat from the other side wall to meet it. Two strokes, no more.
- Fill in the area above the line, then cap the free edge by running the brush along the tip itself.
- Once dry, dip a small flat brush in remover and cut the line back into shape. This is where a mediocre tip becomes a sharp one.
- Top coat over the whole nail, floating the brush so you do not drag the line.
Common questions
Do French tips work on short nails?
Yes, and often better. The rule is proportion: keep the tip to about a fifth of the visible nail. A thick tip on a short nail is what makes the hand look stubby, not the length itself.
Is French tip guide tape worth using?
For a first attempt, yes. Beyond that it tends to hold you back, because the curve it gives is uniform across every nail and real nails are not uniform. Freehand plus remover cleanup gives a better result once you have done it a few times.
Which of these last longest?
Anything with the design at the very tip chips first, because the free edge takes the most contact. The matte and glitter versions hide chipping best. If longevity matters, choose the micro pumpkin or the double French, where the detail sits back from the edge.
Can I wear these after October?
The black tip, chrome tip, matte tip, purple tip and glitter gradient all carry straight through winter. Swap black for burgundy or deep green and they stop reading as Halloween entirely.