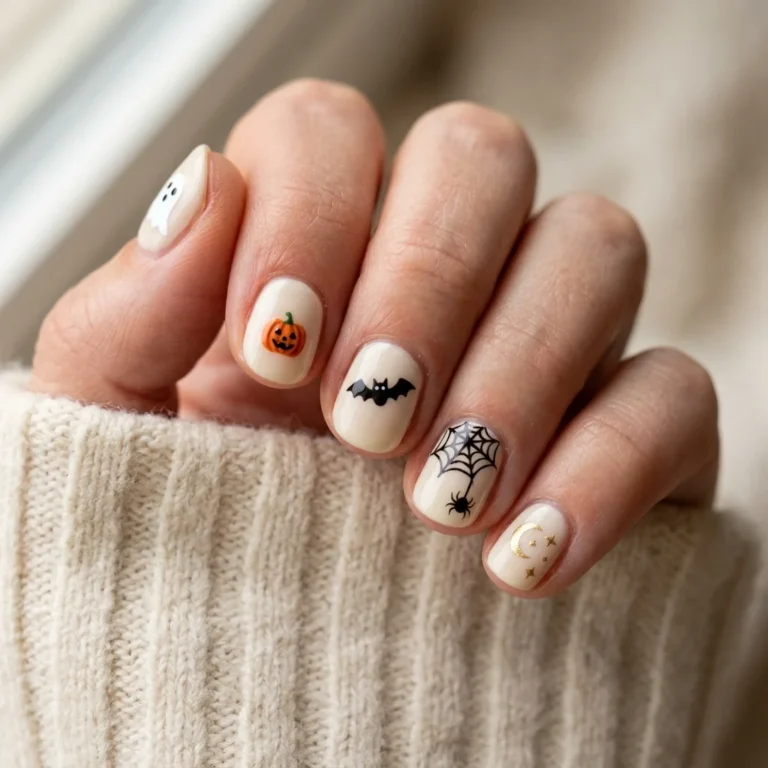
[FEATURED IMAGE: Photorealistic close-up of a hand with soft cream nails, two accent nails carrying small round orange pumpkins with green stems and one with a simple carved jack-o-lantern face, soft diffused window light, clean neutral background, hand positioned in the lower two thirds of the frame with open space above, vertical 2:3 crop, sharp macro focus on the nails, realistic skin and cuticle detail, no text, no watermark]
What you will find here
There are two different things people mean by pumpkin nails. One is the color, a warm orange you can wear from September onward. The other is the shape, an actual pumpkin painted onto the nail. This post covers both, because the color versions carry you through fall and the painted ones belong to October.
Pumpkin color or pumpkin shape
- A pumpkin is a circle with a stem. At nail scale, that is all it needs to be. Ribs, vines, and shading are optional and usually make it worse.
- Two accent nails is the ceiling. A pumpkin on all ten reads as a craft project. On one or two it reads as a detail.
- The background decides the season. A pumpkin on cream is fall. The same pumpkin on black is Halloween.
- Faces age the design fastest. A plain pumpkin lasts until Thanksgiving. A carved face has to come off on November 1.
18 pumpkin nail designs
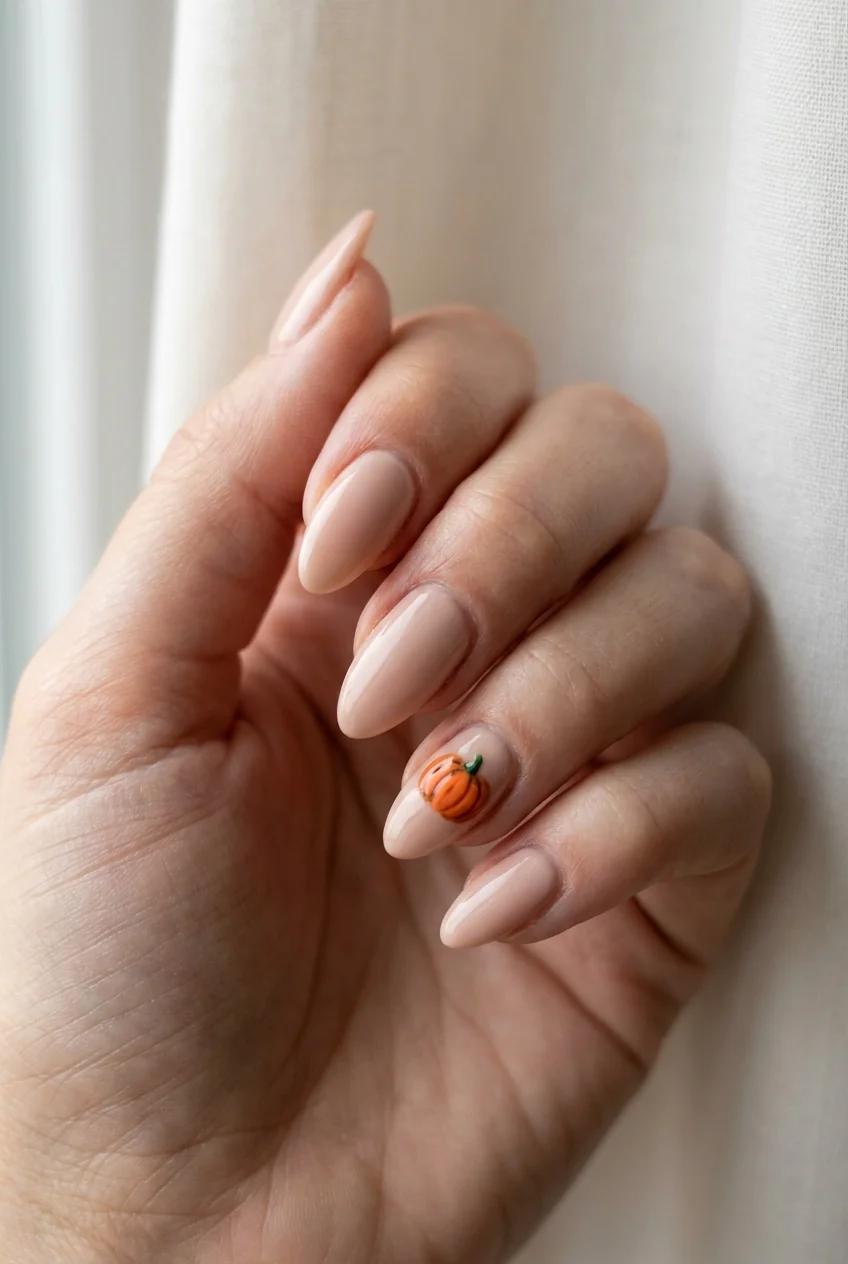
1 Single pumpkin dot
One fat orange dot with a small green stem on a single accent nail, everything else bare or nude. The smallest possible version and the one most people actually wear.
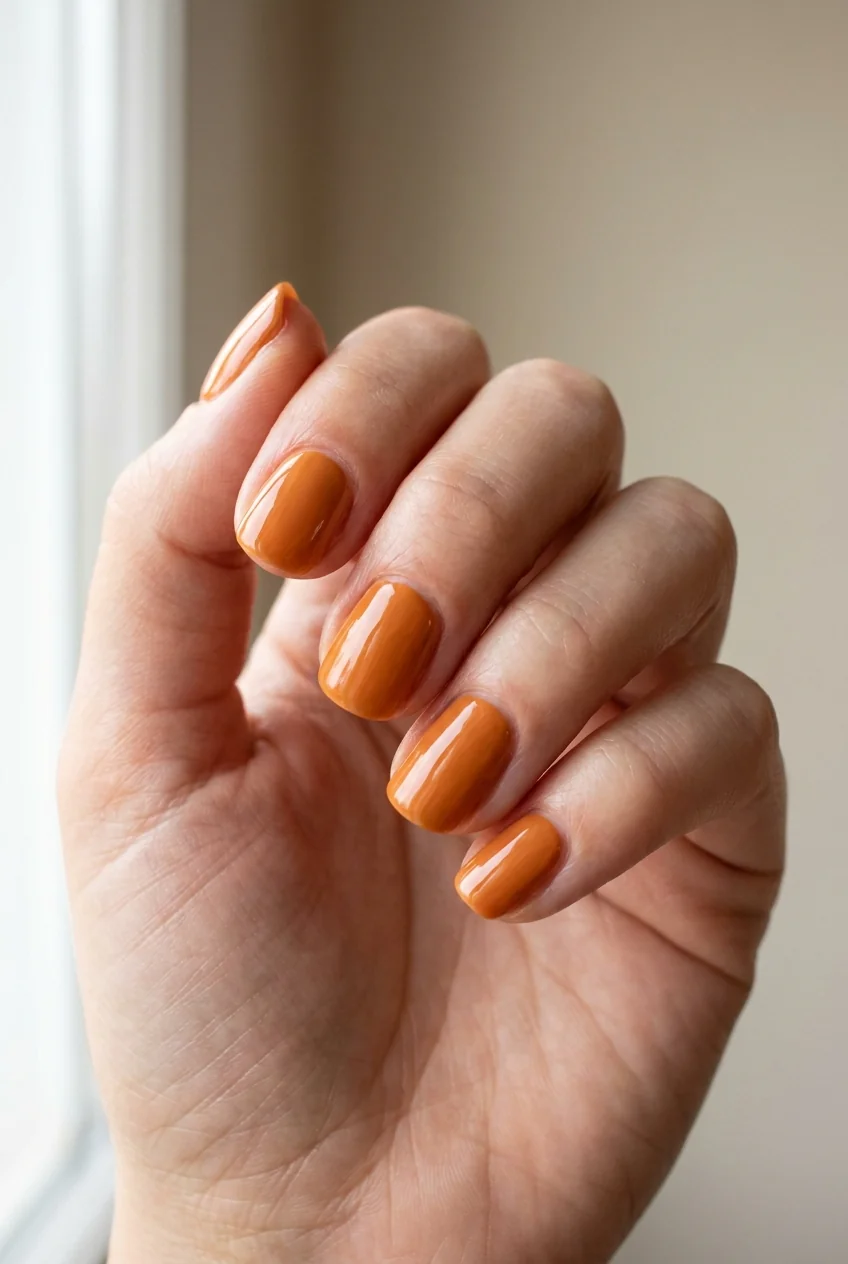
2 Pumpkin orange full set
Full coverage warm orange on all ten. No motif at all, which is why it works from September through November.
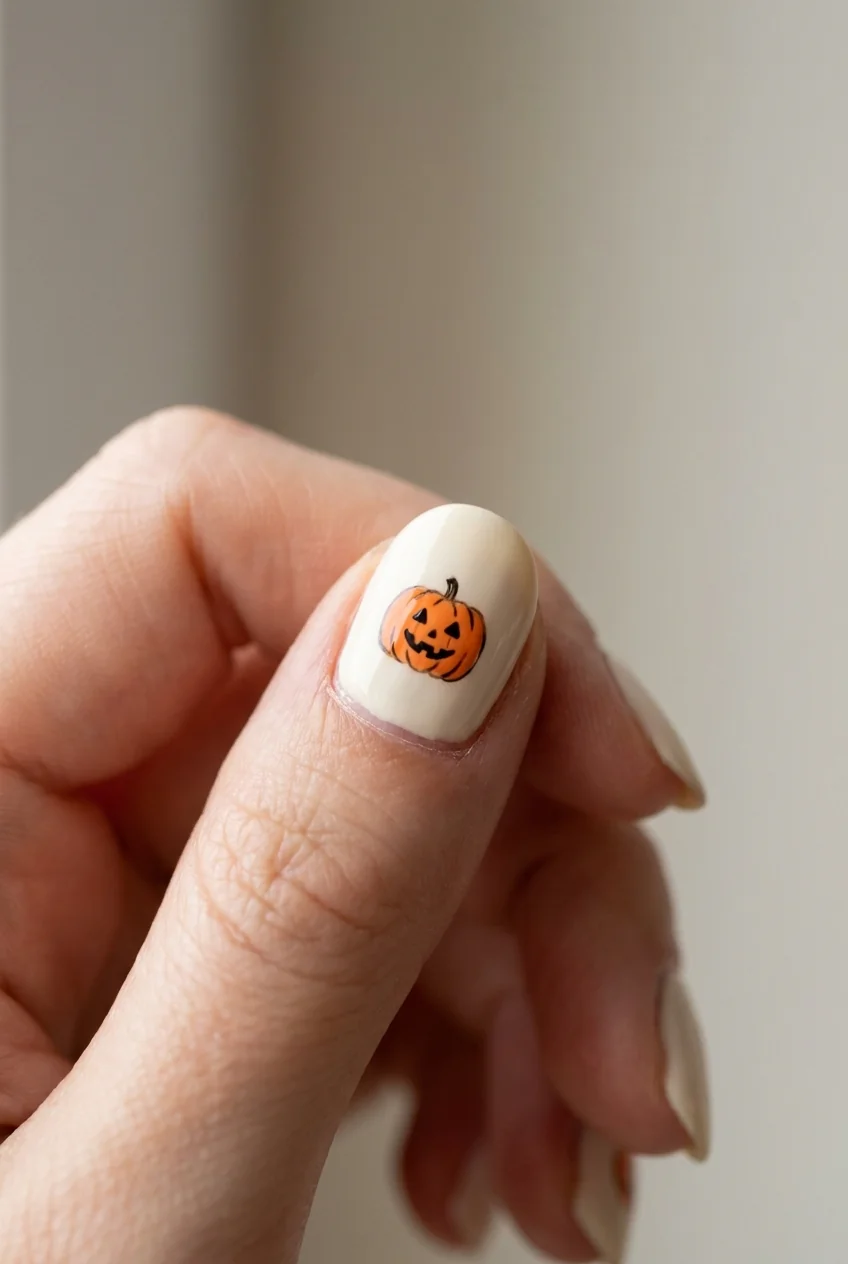
3 Jack-o-lantern face accent
Two triangle eyes and a jagged mouth in black over an orange pumpkin. Keep the triangles small. Large ones close up as the polish spreads.
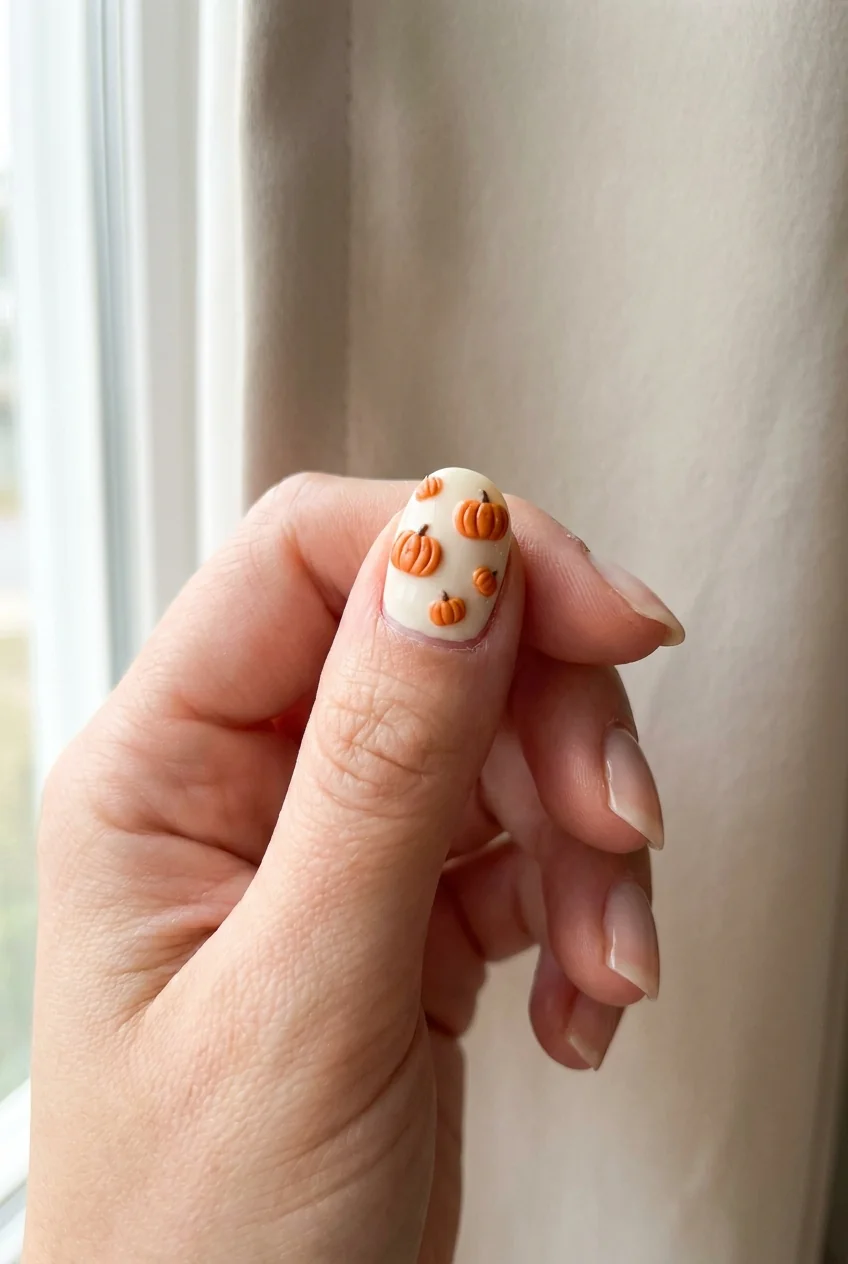
4 Pumpkin patch scatter
Four or five tiny pumpkins at different sizes across one nail, none of them lined up. Irregular placement is what sells it.
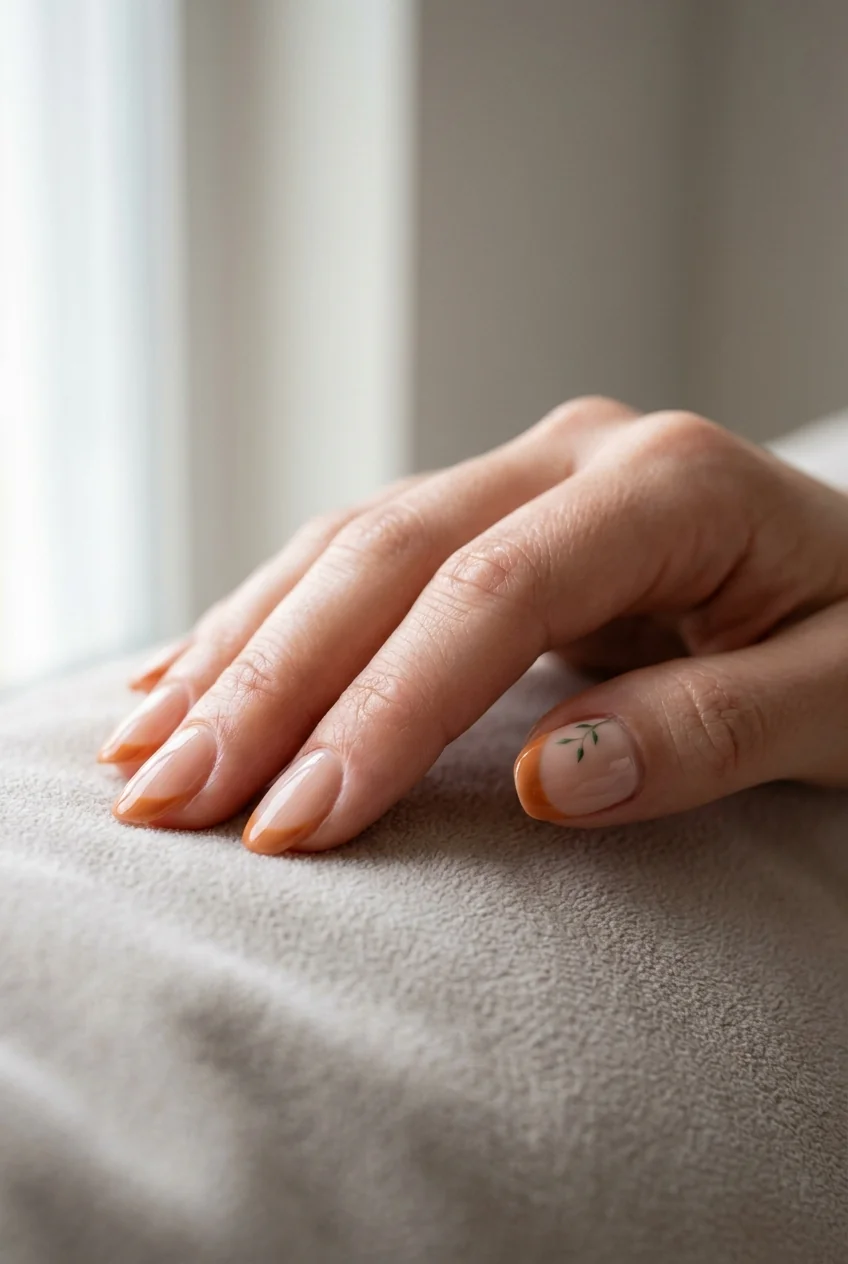
5 Pumpkin French tip
An orange French tip with one tiny green stem shape at the corner of the smile line. Subtle enough for an office.
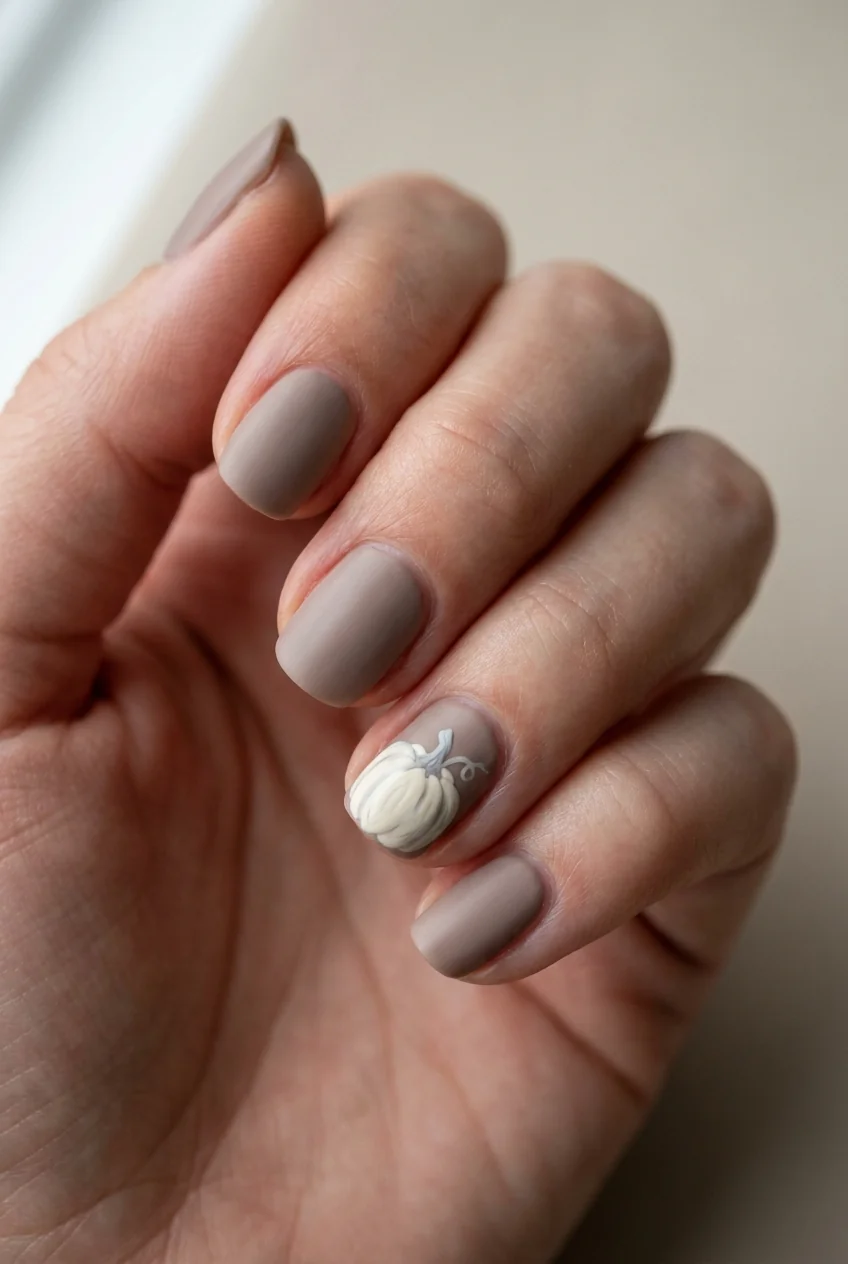
6 White pumpkin accent
An off-white pumpkin with a pale gray stem over a taupe base. The modern version, and the one that reads as decor rather than costume.
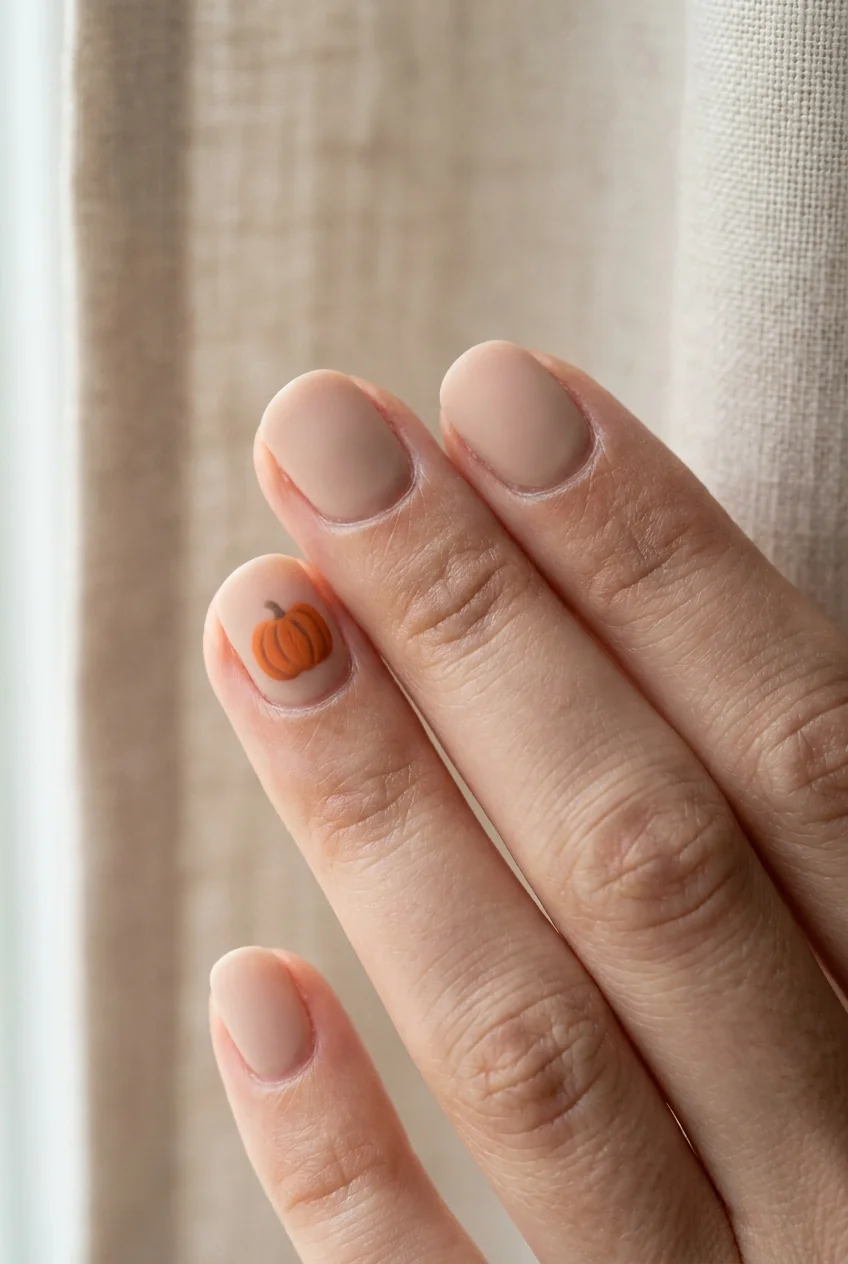
7 Matte pumpkin on nude
A single orange pumpkin sealed under matte topcoat over a nude base. Matte removes most of the cartoon quality.
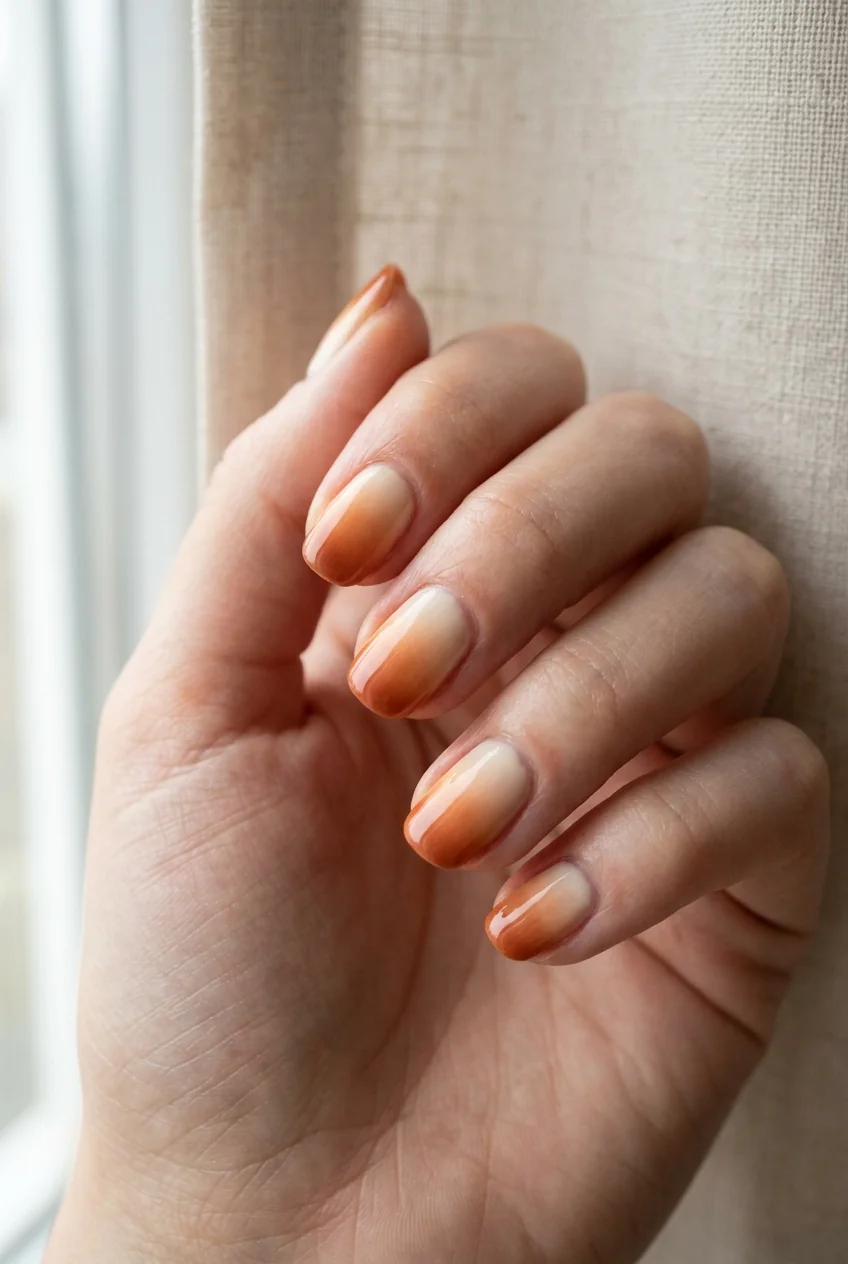
8 Pumpkin spice ombre
A sponge gradient from cream at the cuticle to burnt orange at the tip. No motif, all season.
9 Tiny pumpkin at the cuticle
One very small pumpkin placed near the cuticle instead of the center of the nail. Unexpected placement makes a simple shape look deliberate.
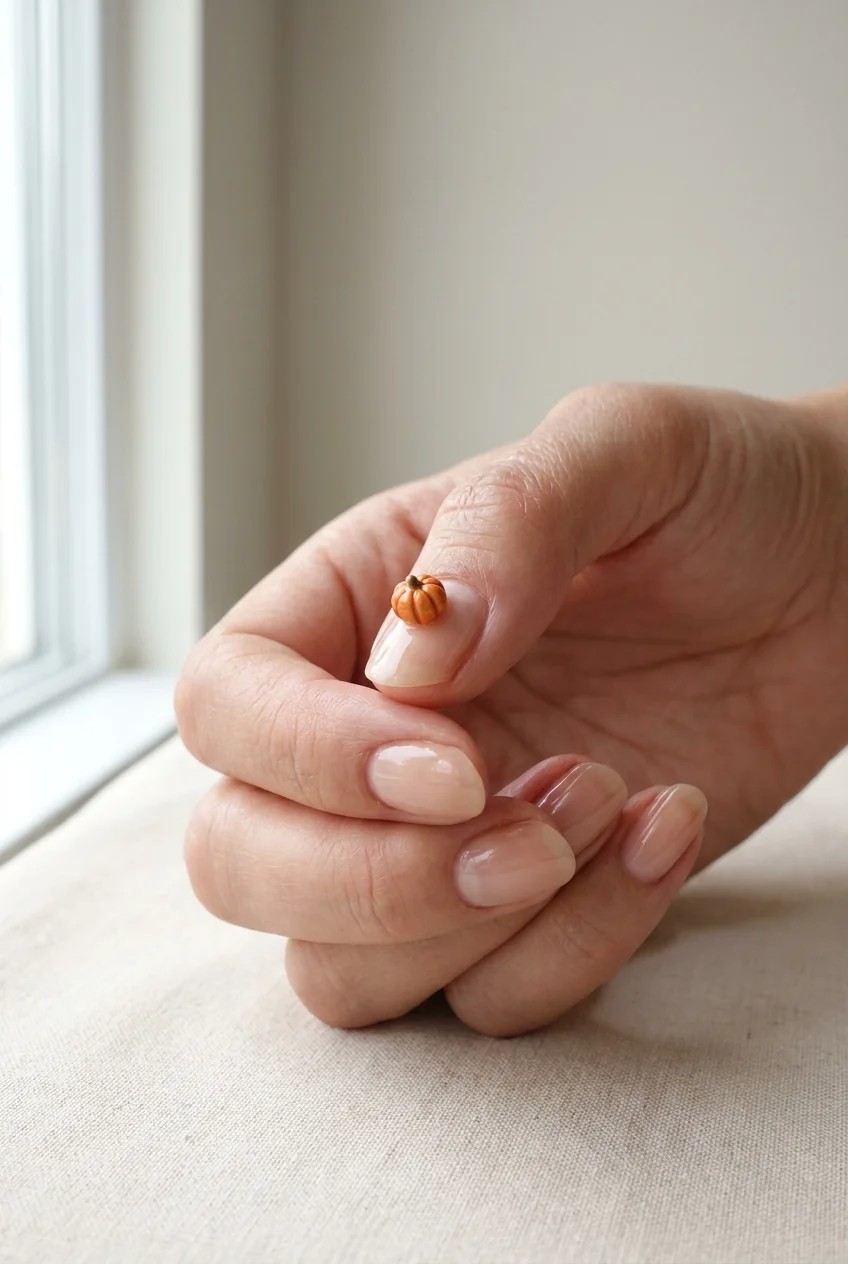
10 Carved pumpkin silhouette
A black pumpkin shape on an orange background instead of the other way around. The silhouette version is cleaner and much easier to paint.
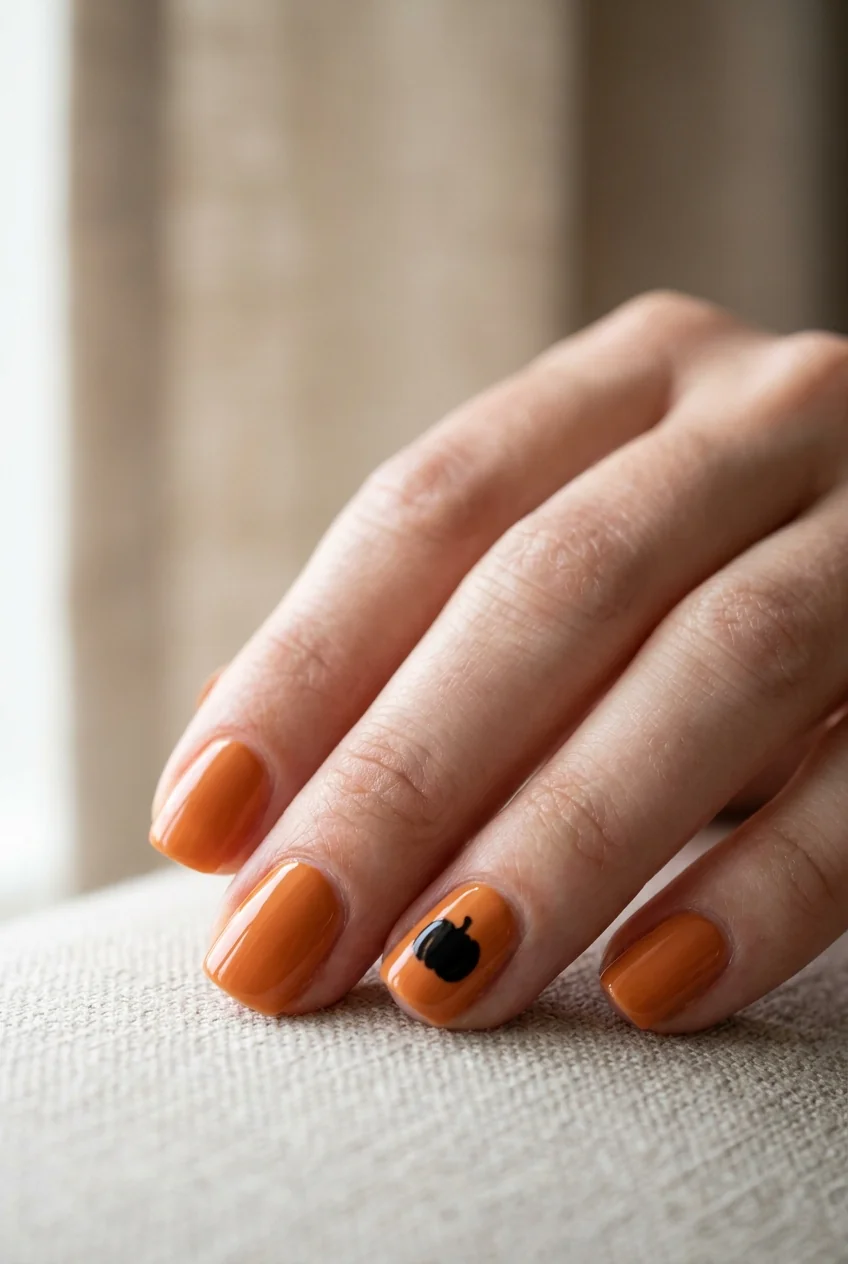
11 Pumpkin on plaid
One pumpkin nail beside a nail striped in fall plaid. The two motifs together read as a full fall set without repeating either.
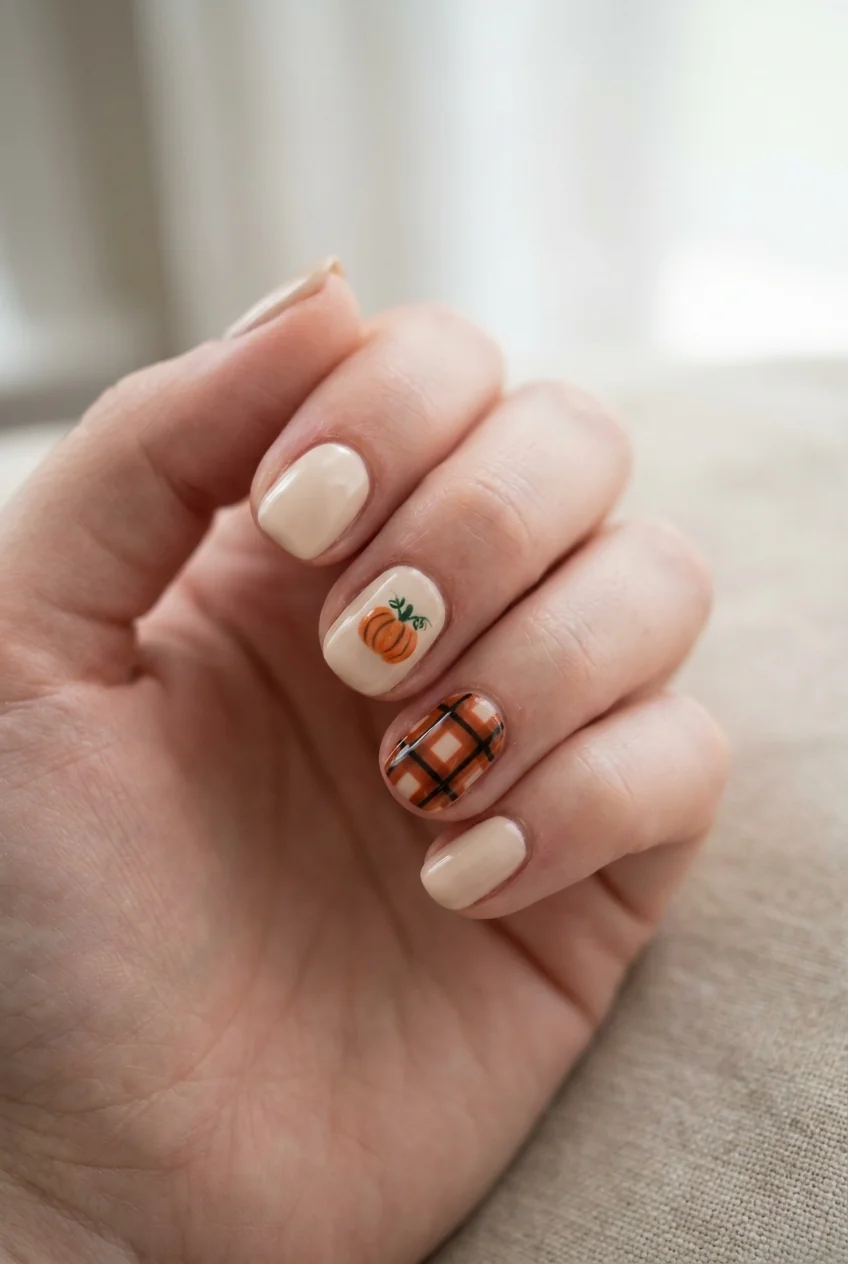
12 Glitter pumpkin
A pumpkin filled with copper glitter polish instead of flat orange. Build the shape in flat orange first, then glitter over it.
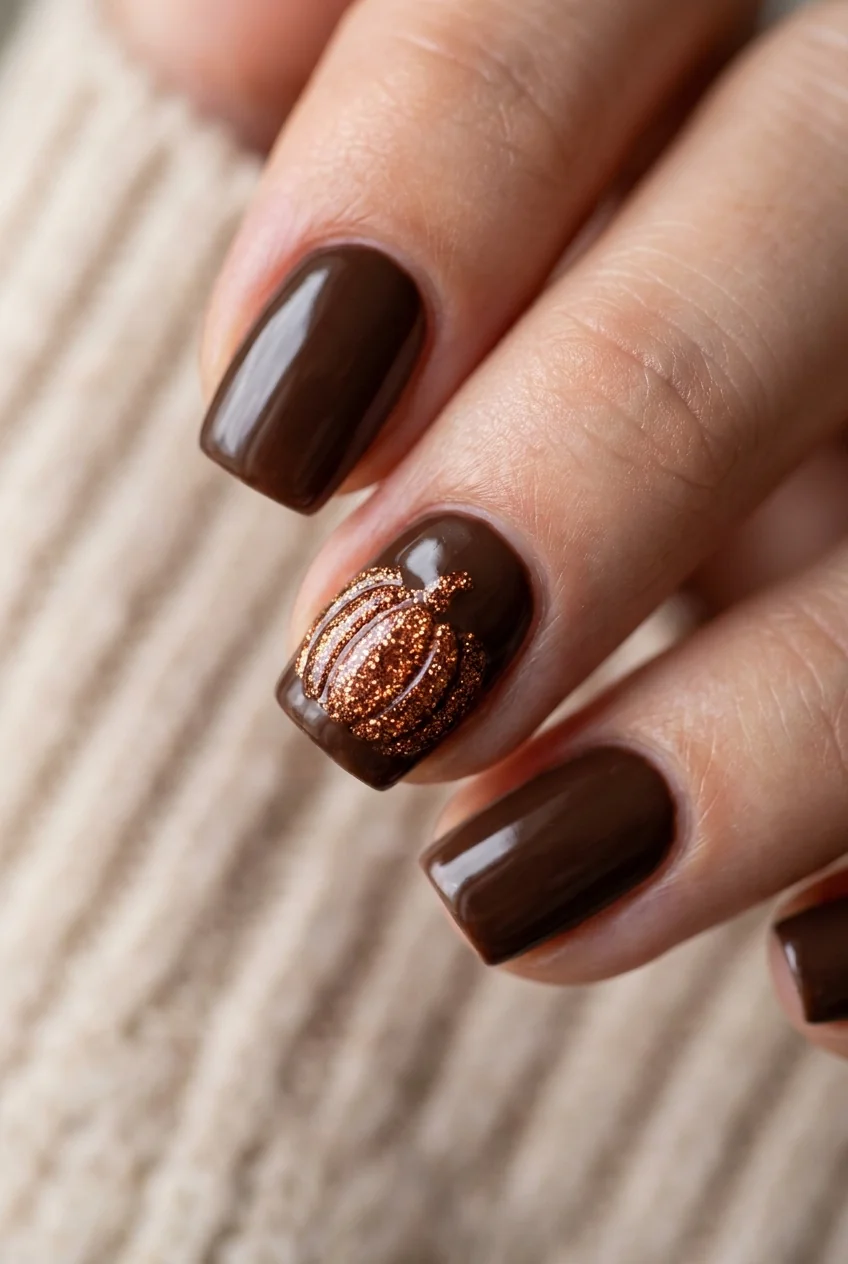
13 Pumpkin and cream color block
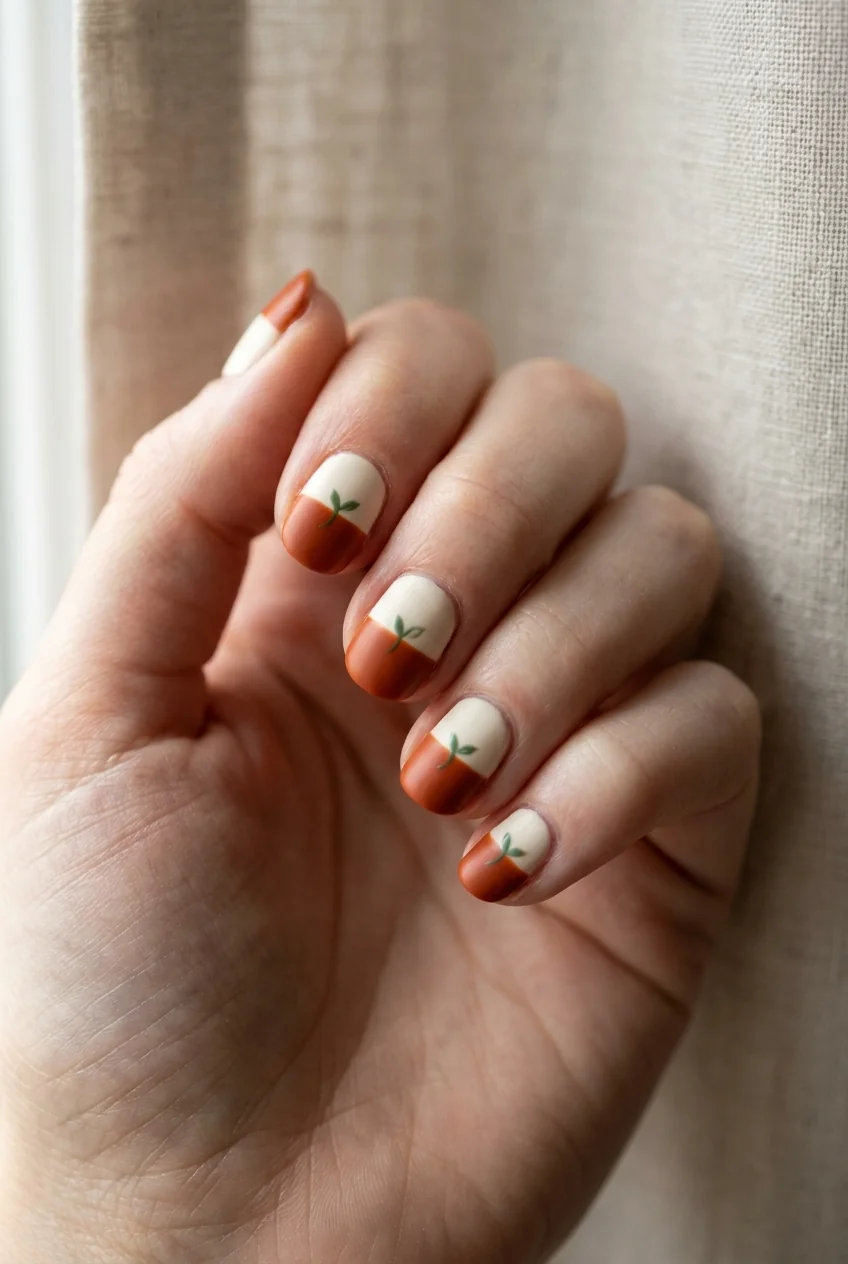
The nail split horizontally, cream on top, burnt orange below, with a small stem shape at the join. Abstract enough to pass anywhere.
14 Stacked pumpkins
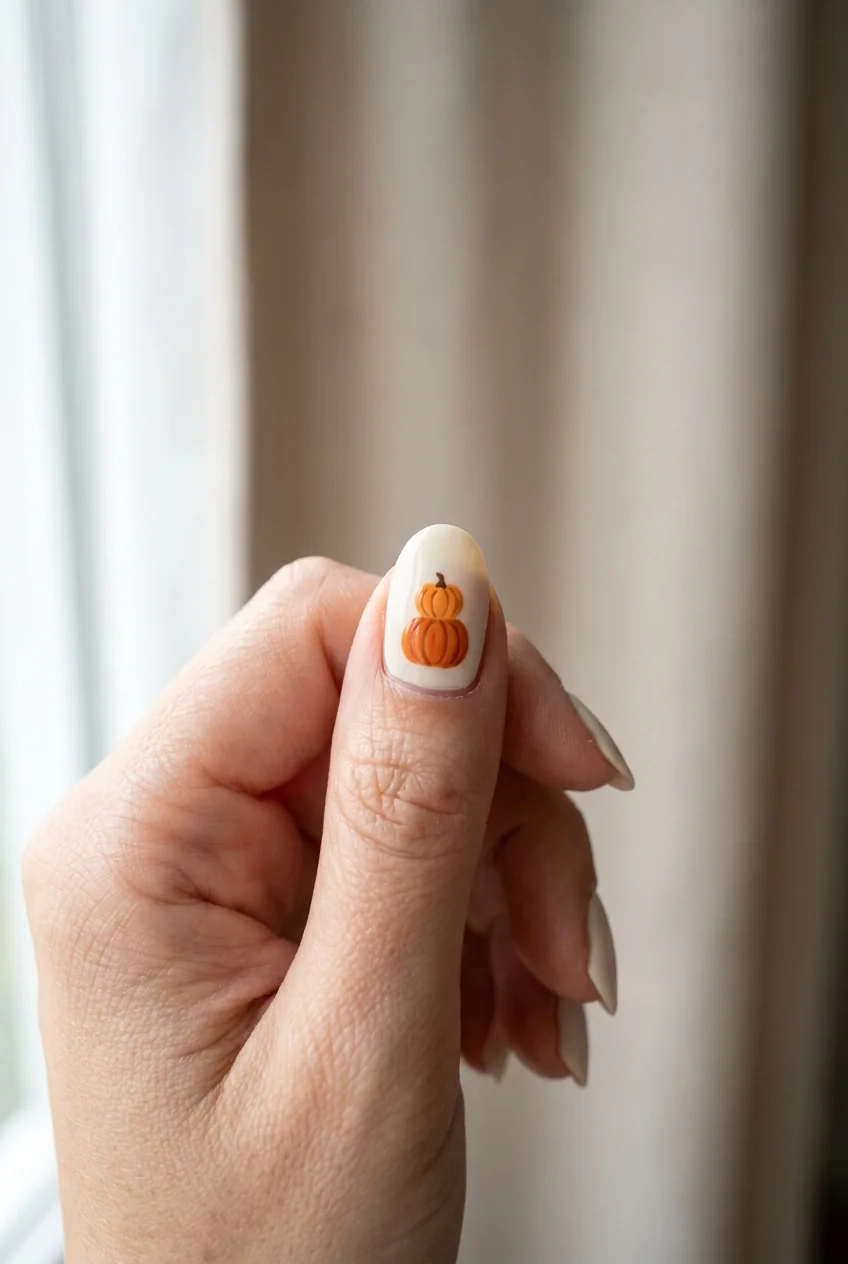
Two pumpkins, one small on top of one large, on a single nail. It reads as a porch display in miniature.
15 Pumpkin outline in black
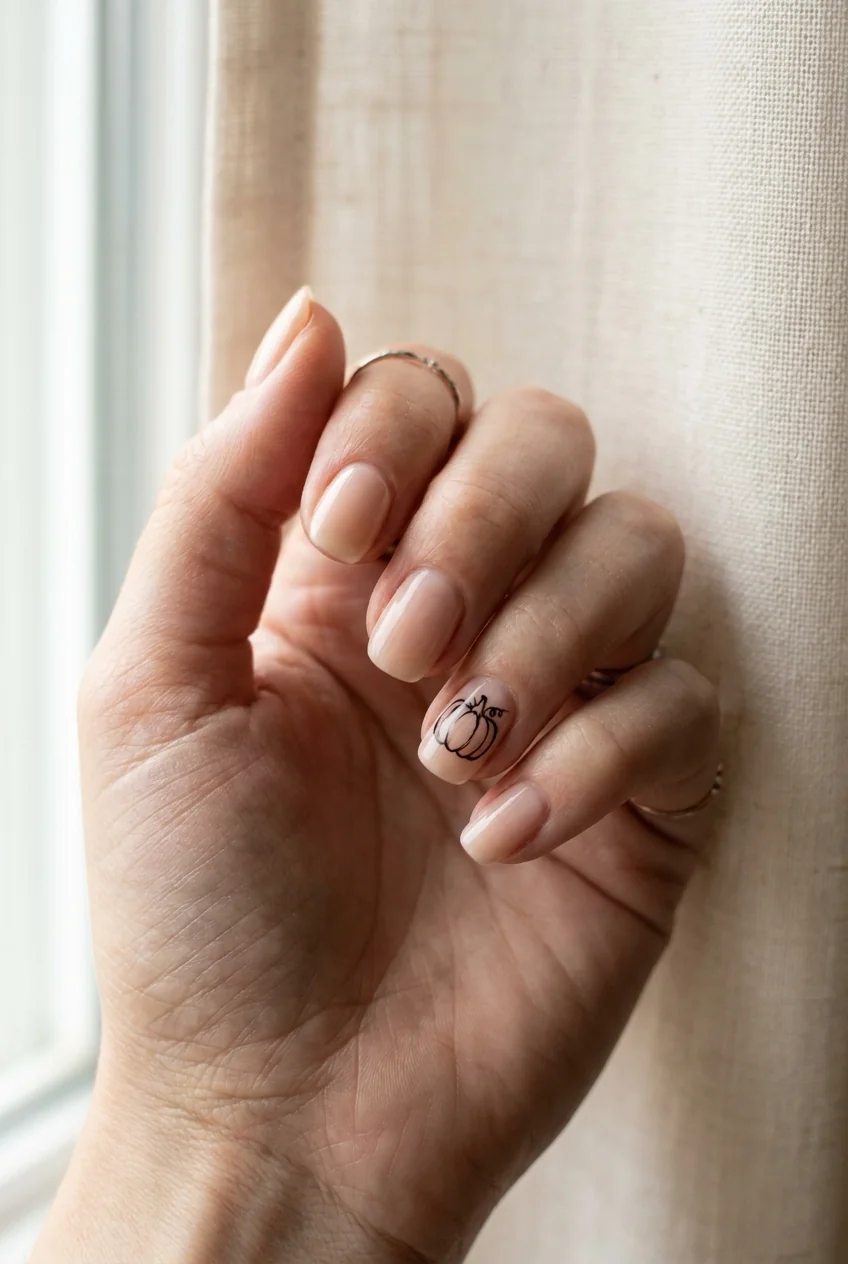
The pumpkin drawn as an outline only, unfilled, over a nude nail. Less polish, more graphic, and far more forgiving than a solid shape.
16 Pumpkin chrome
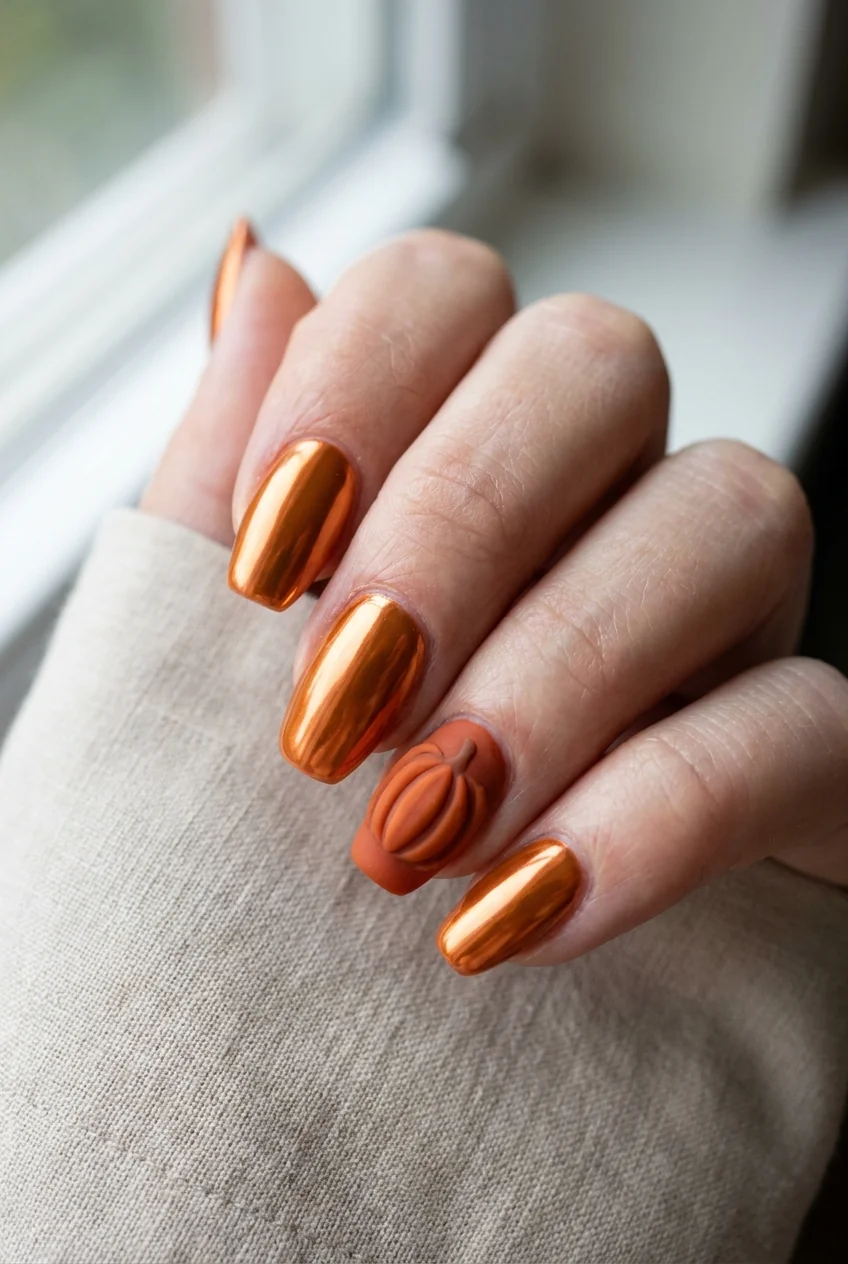
Chrome powder over an orange gel base with a matte pumpkin painted on top. The finish contrast does most of the work.
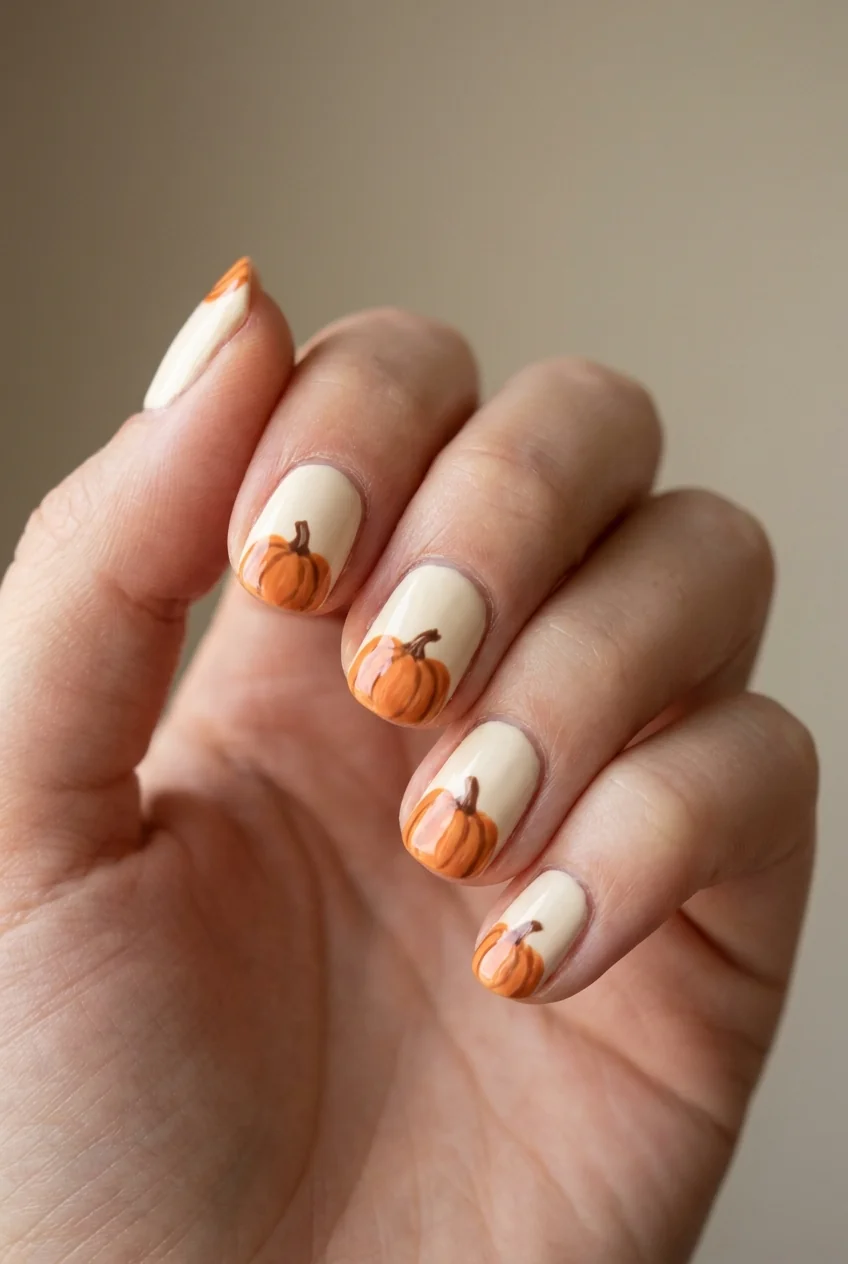
17 Half pumpkin over the tip
A pumpkin cropped by the free edge, so only the top half and the stem sit on the nail. Looks like a photograph rather than a drawing.
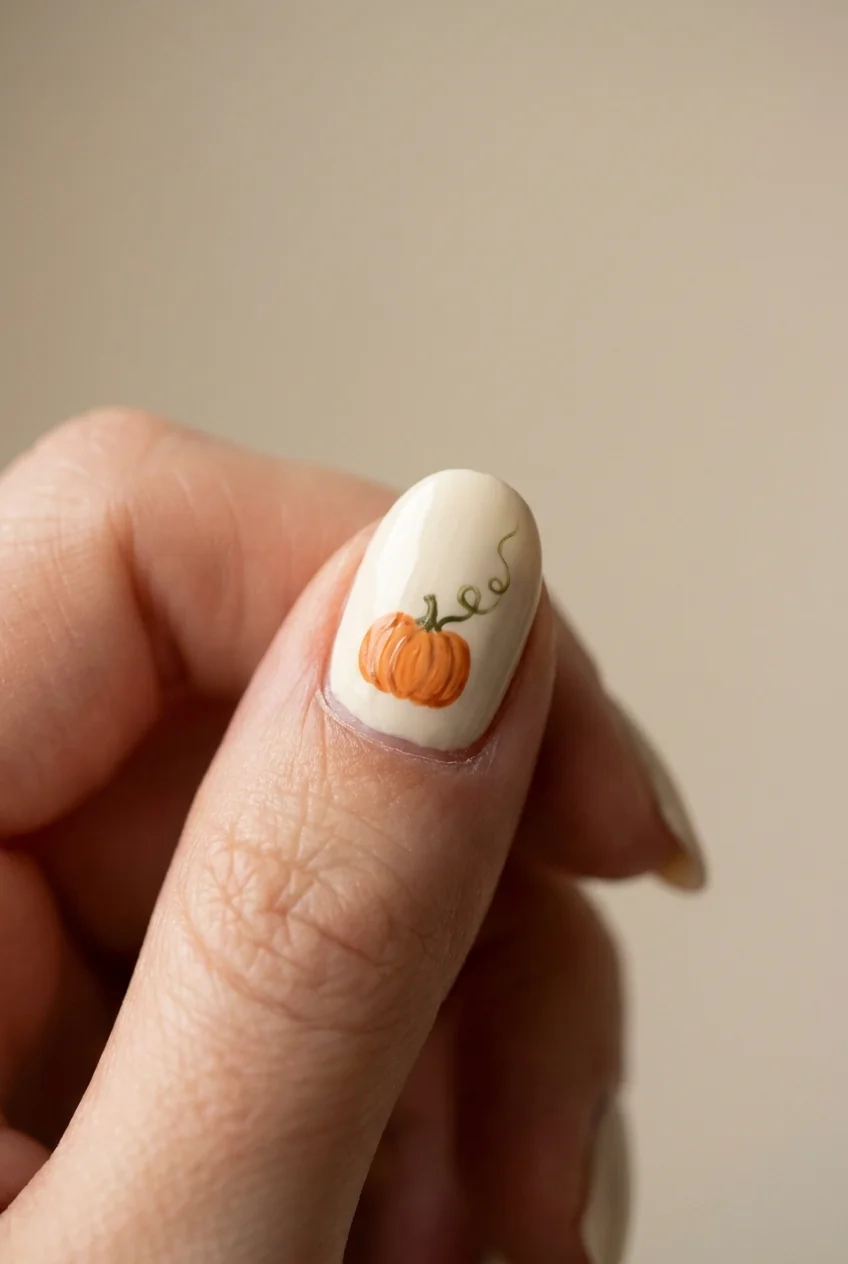
18 Pumpkin with vine detail
A single curling green vine running off the stem and across the nail. The one place where extra detail improves rather than clutters.
How to paint a pumpkin that reads at nail size
The mistake almost everyone makes is painting a pumpkin the way you would draw one on paper. At eight millimeters wide, most of that detail turns into a smudge.
Start with one large dot, not a shape. Load the biggest dotting tool you have, place a single dot, and let it spread on its own. A pumpkin is wider than it is tall, so add a second dot beside the first and let them merge rather than trying to paint an oval.
The stem is a rectangle, not a curl. One short green stroke at the top. Curled stems look charming on paper and look like a hair on a nail.
Skip the ribs. The vertical lines on a real pumpkin do not survive the scale. If you want the suggestion of them, use a slightly darker orange and place two short strokes, not five.
Let the orange cure before the face goes on. Black over wet orange bleeds at the edges and turns brown. Ten minutes minimum, longer if the coat was thick.
Triangles want to be smaller than you think. Polish spreads after you lift the brush. Paint the eyes at roughly two thirds the size you want them to end up.
Common questions
Do I need a detail brush?
For the plain pumpkins, no. A dotting tool covers everything up to design nine. The carved faces, outlines, and vines need a fine brush, and a cheap one works as long as the bristles come to a point.
How do I keep the pumpkin from looking flat?
Two shades of orange rather than one. Paint the shape in the lighter shade, then add a small curved stroke of the darker one along one side. That single stroke does more than any amount of detail.
Can I wear pumpkin nails before October?
The color versions, yes, from early September. Anything with a carved face is October only, since a jack-o-lantern in mid-September reads as early rather than seasonal.
Will these work on short nails?
The single dot, the cuticle placement, and all the color-only designs scale down without trouble. The stacked pumpkins and the vine need length to stay legible.
What is the easiest one here?
The single pumpkin dot, at about fifteen minutes. One dotting tool, two colors, one nail.