[FEATURED IMAGE: Photorealistic close-up of a hand with nails painted in three horizontal candy corn bands, white at the cuticle, orange in the middle, yellow at the tip, crisp clean color divisions, one accent nail with a small white ghost, soft diffused window light, clean neutral background, hand positioned in the lower two thirds of the frame with open space above, vertical 2:3 crop, sharp macro focus on the nails, realistic skin and cuticle detail, no text, no watermark]
What you will find here
Halloween nail art has a reputation for needing a steady hand and a detail brush. Most of it does not.
Every design below is built from dots, tape lines, sponge fades, or plain color blocking. If you own a dotting tool, or a bobby pin, which works just as well, you can do all nineteen. Nothing here asks you to freehand a web or paint a face.
What makes a design easy
Difficulty on a nail has less to do with the design and more to do with what your hand has to do to make it.
- Dots forgive, lines do not. A dot that lands slightly off center still reads as a dot. A line that wobbles reads as a mistake.
- Tape does the precision for you. Anything with a hard edge, half moons, color blocks, reverse French, is a masking job rather than a painting job.
- Fewer layers, fewer failures. Every extra layer is another chance to smudge the one underneath. The designs here top out at three.
- One accent nail counts. You do not owe anyone ten matching nails. Most of these look better with the motif on one or two.
19 easy Halloween nail designs
Sorted roughly easiest to hardest.
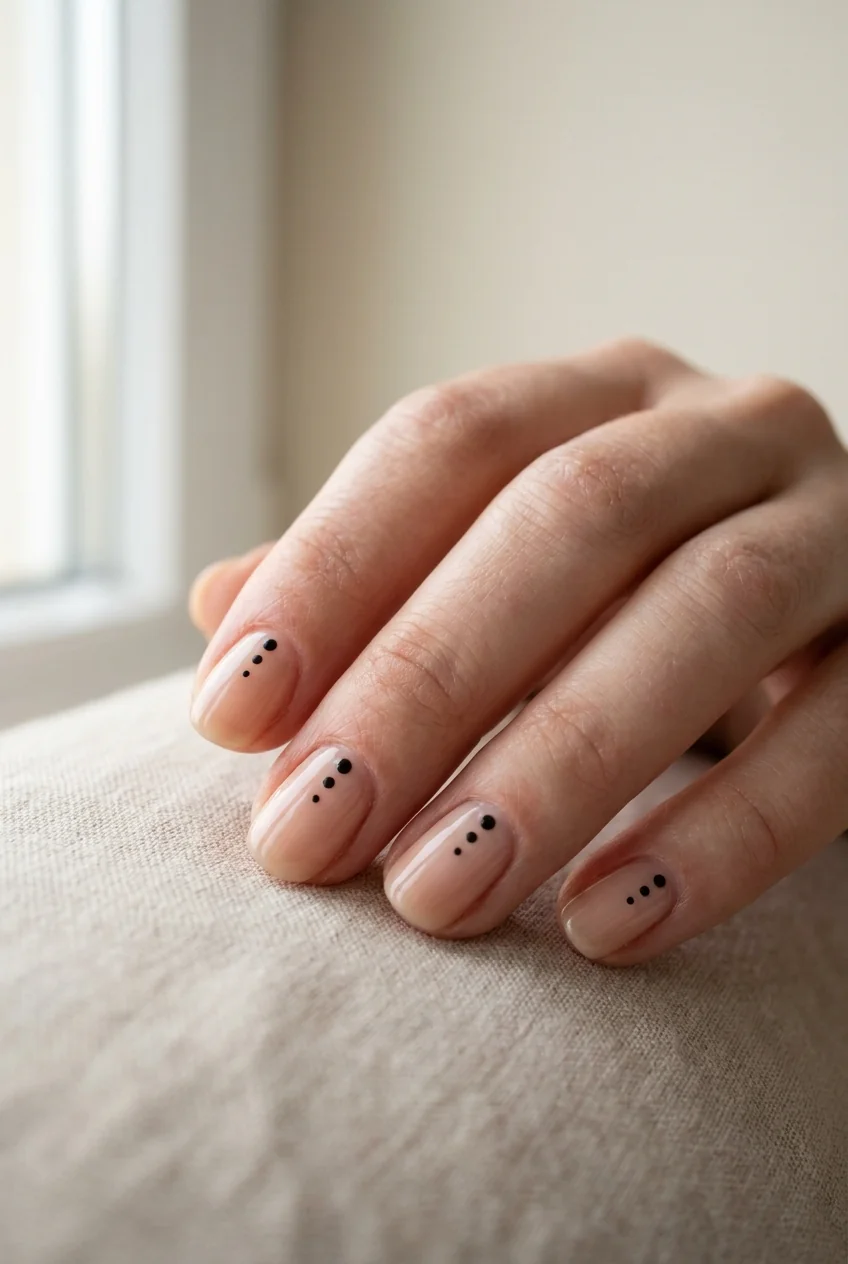
1 Black dot cluster on nude
Three dots, shrinking in size, arching from the cuticle toward the free edge. It reads as minimalism rather than Halloween until you set it next to something orange. Salons bill this as negative space art. It takes one tool.
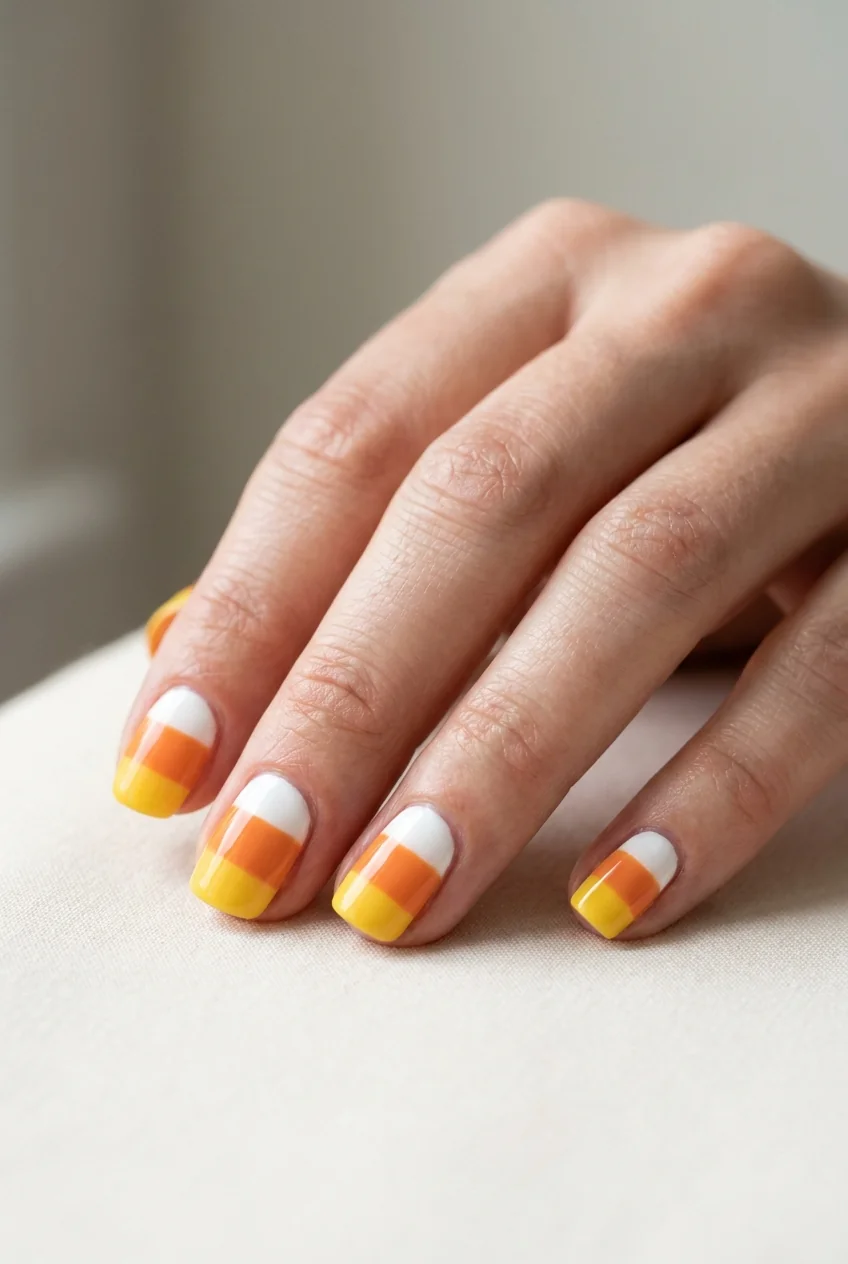
2 Candy corn tips
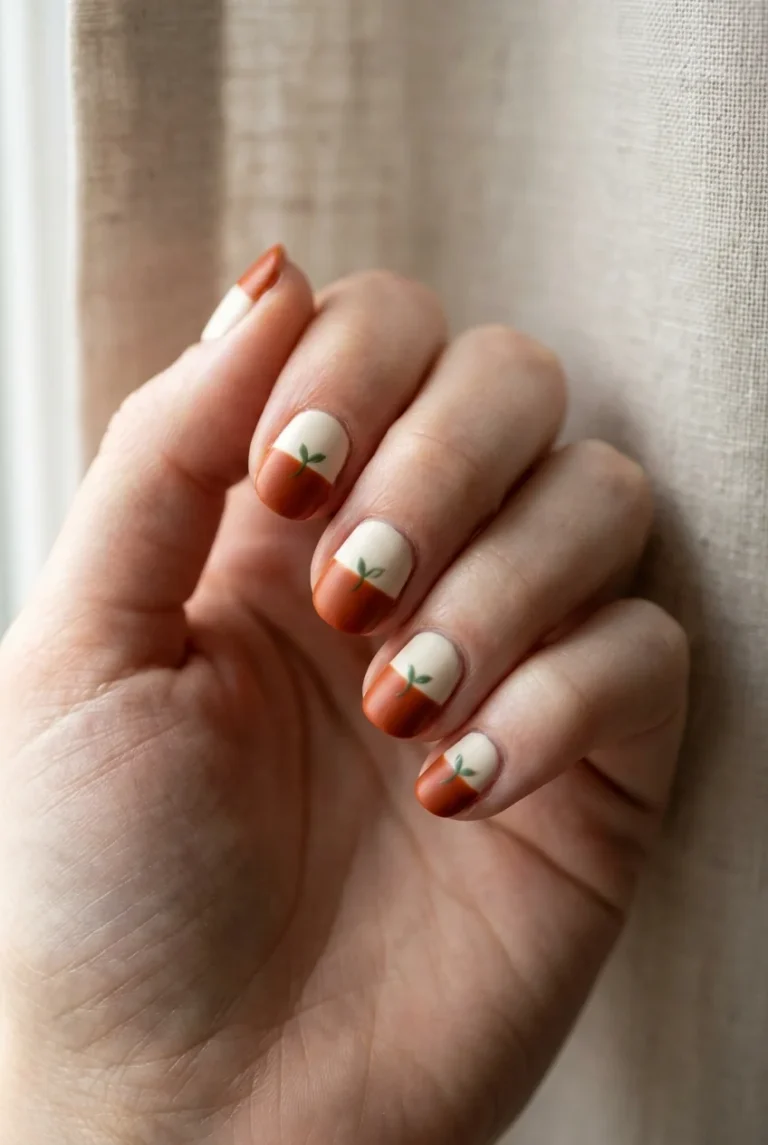
Three horizontal bands, white at the cuticle, orange through the middle, yellow at the tip, laid down with striping tape between coats. Let each band dry all the way through before taping over it or the tape lifts the color with it.
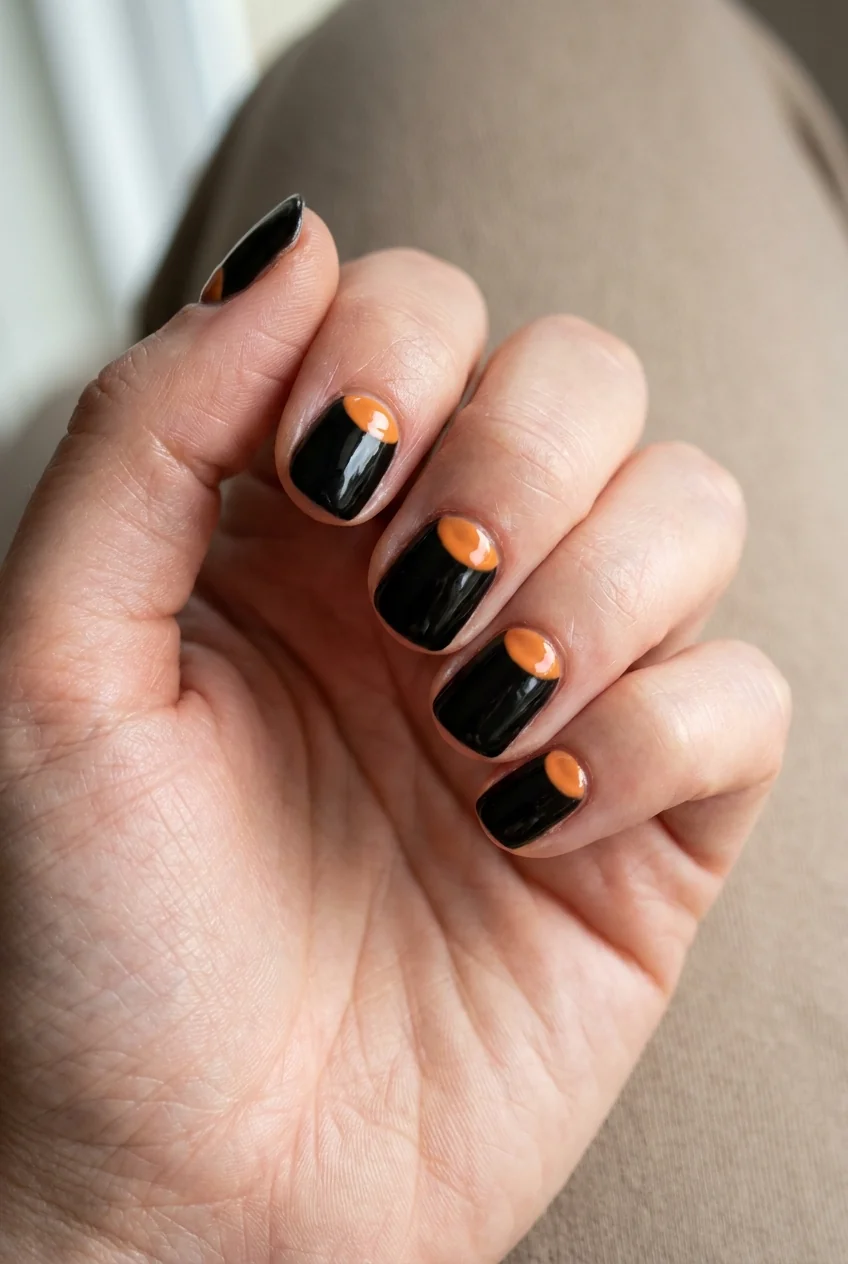
3 Orange and black half moon
Black across the whole nail, then a curved section of orange at the cuticle, masked with a reinforcement sticker. The hole-punch stickers sold for paper binders work perfectly and cost almost nothing.
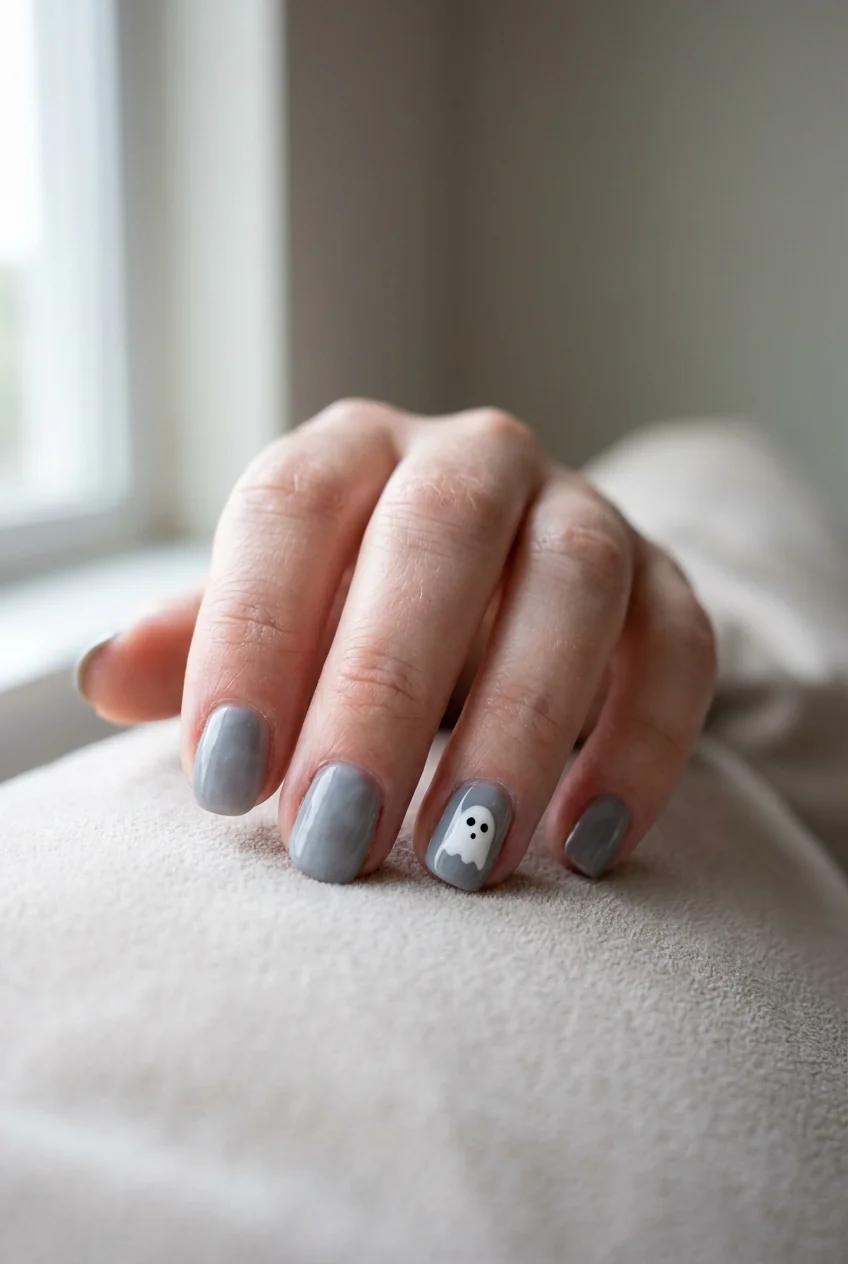
4 Two-dot ghost
A white blob with a slight drag at the base, two black dots for eyes. Deliberately imperfect, because a wobbly ghost looks friendlier than a symmetrical one. One accent nail carries it.
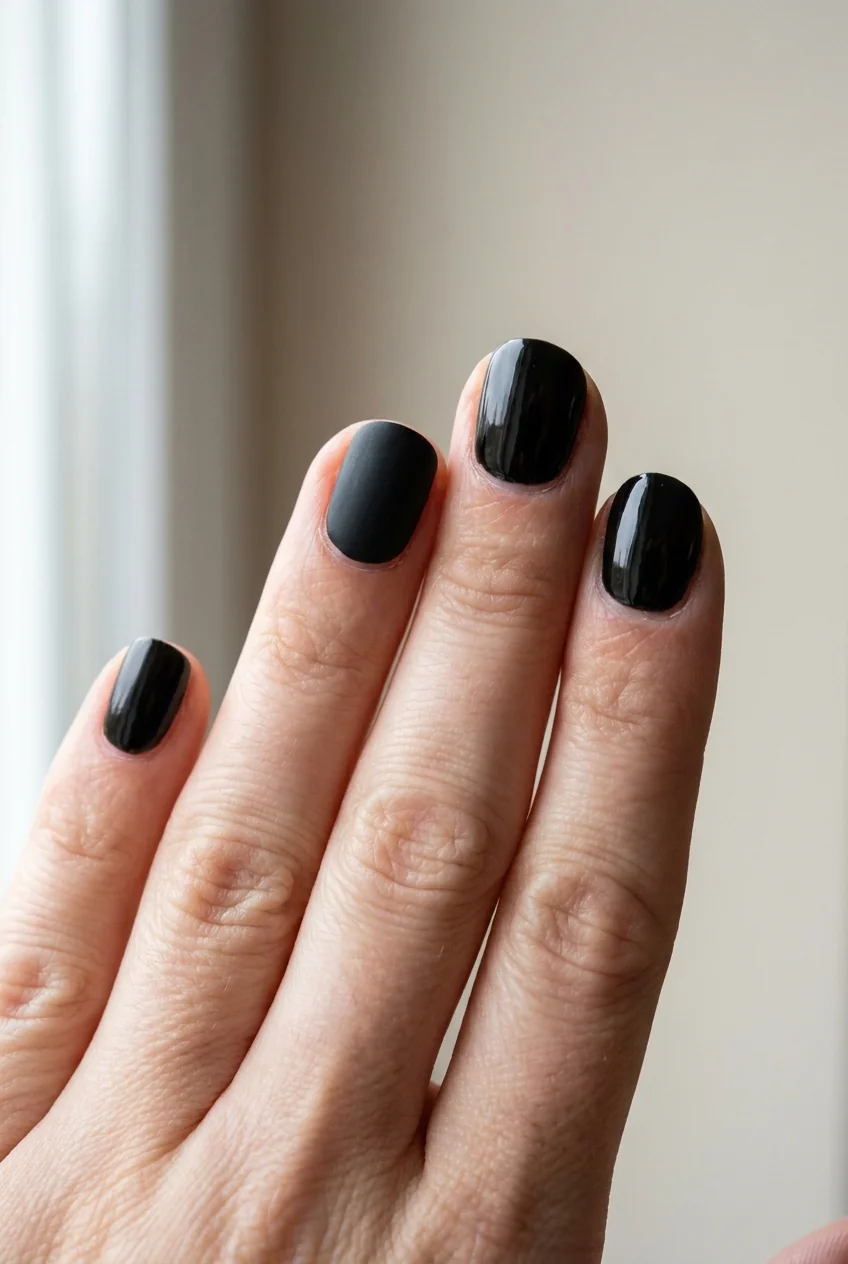
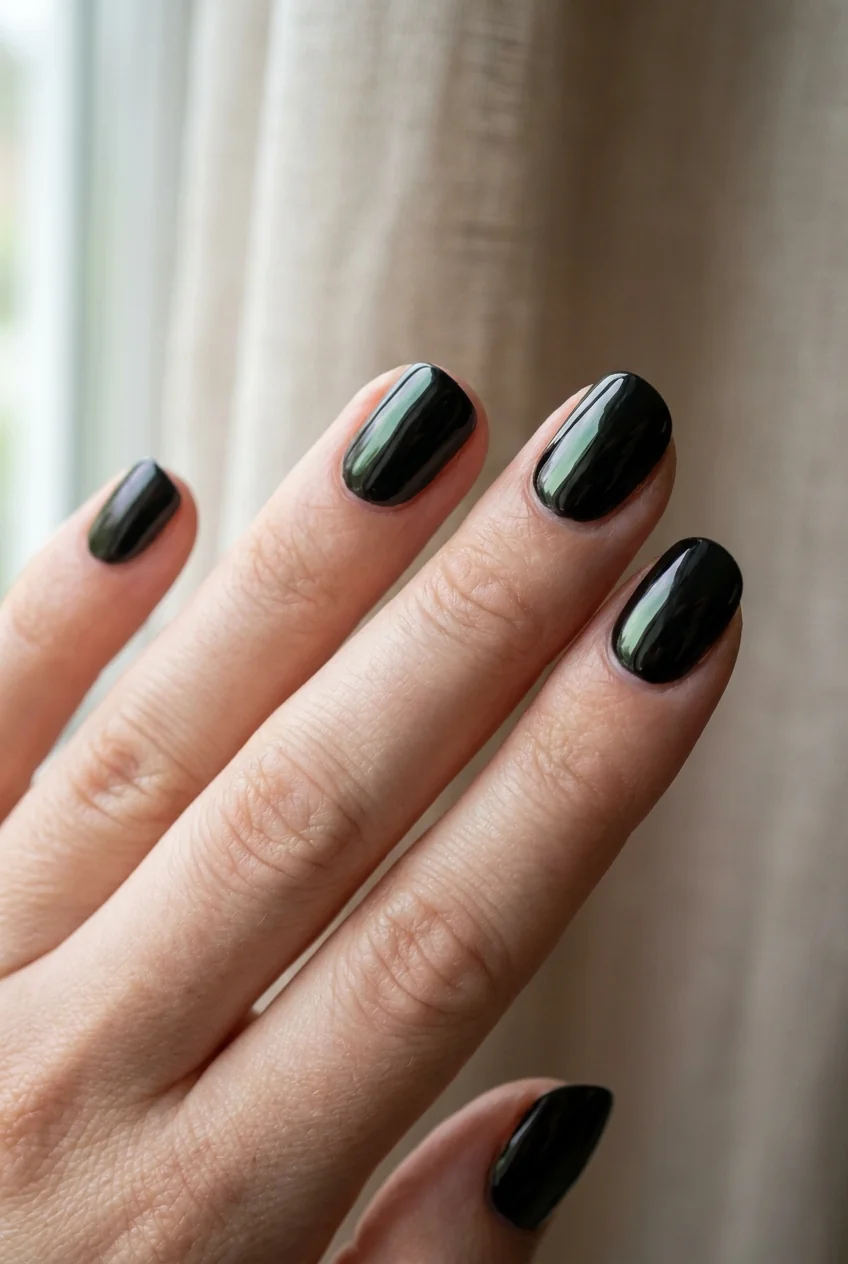
5 Matte black accent
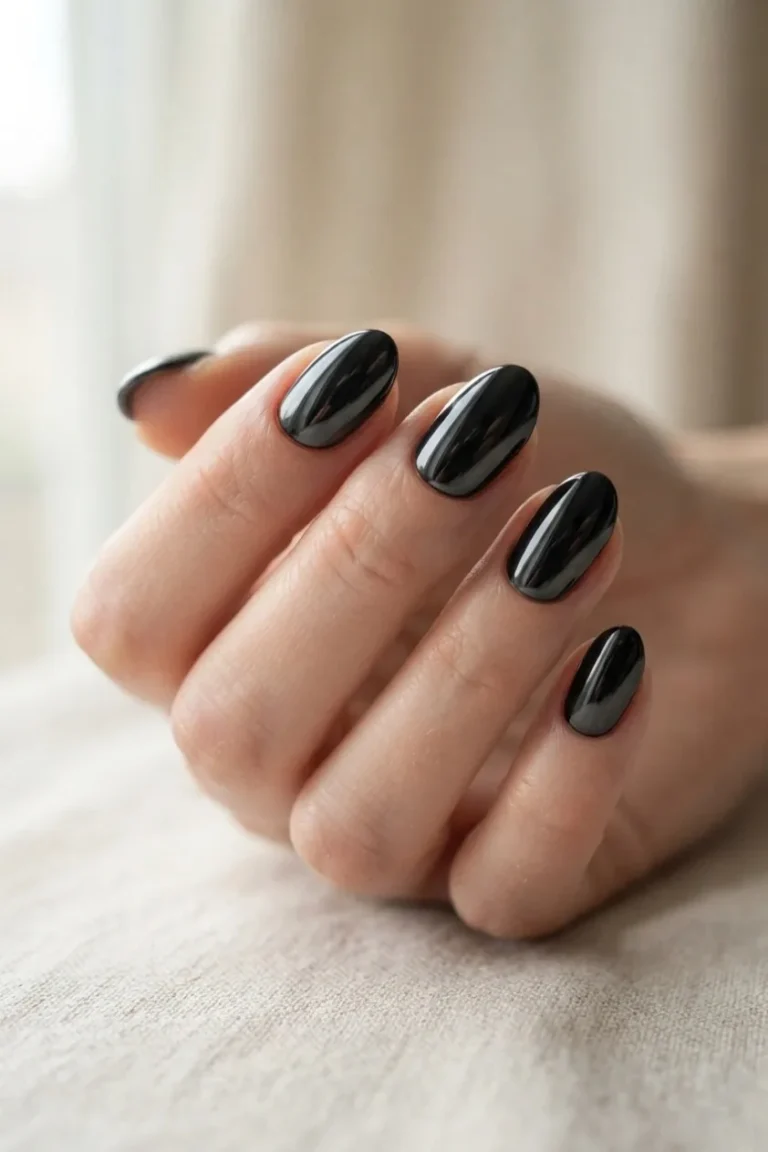
One nail in black sealed with matte topcoat, the rest left glossy. No tools, no shapes, and the most wearable design in this post by a wide margin.
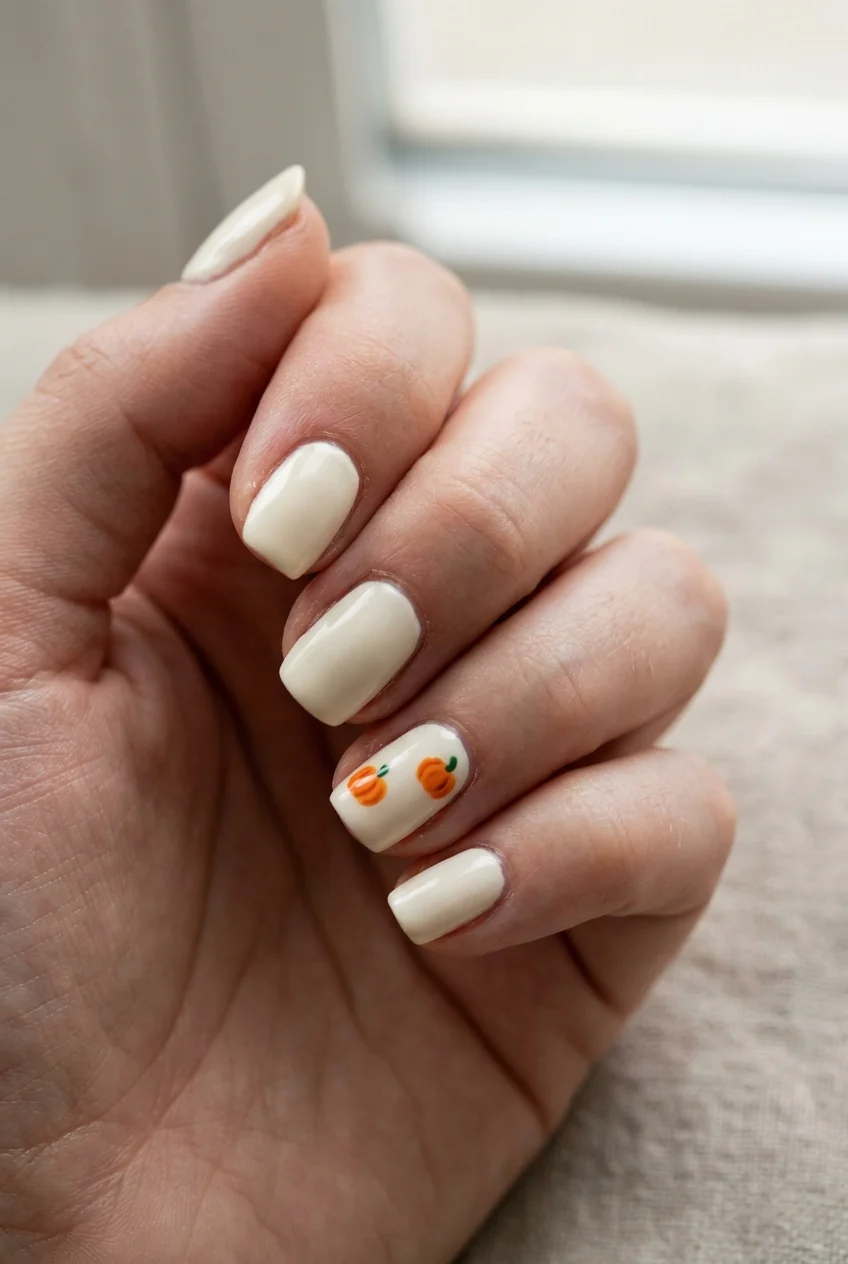
6 Little pumpkin
A fat orange dot with a small green dot at the top for a stem. Two sizes of dotting tool if you have them, the rounded end of a bobby pin if you do not.
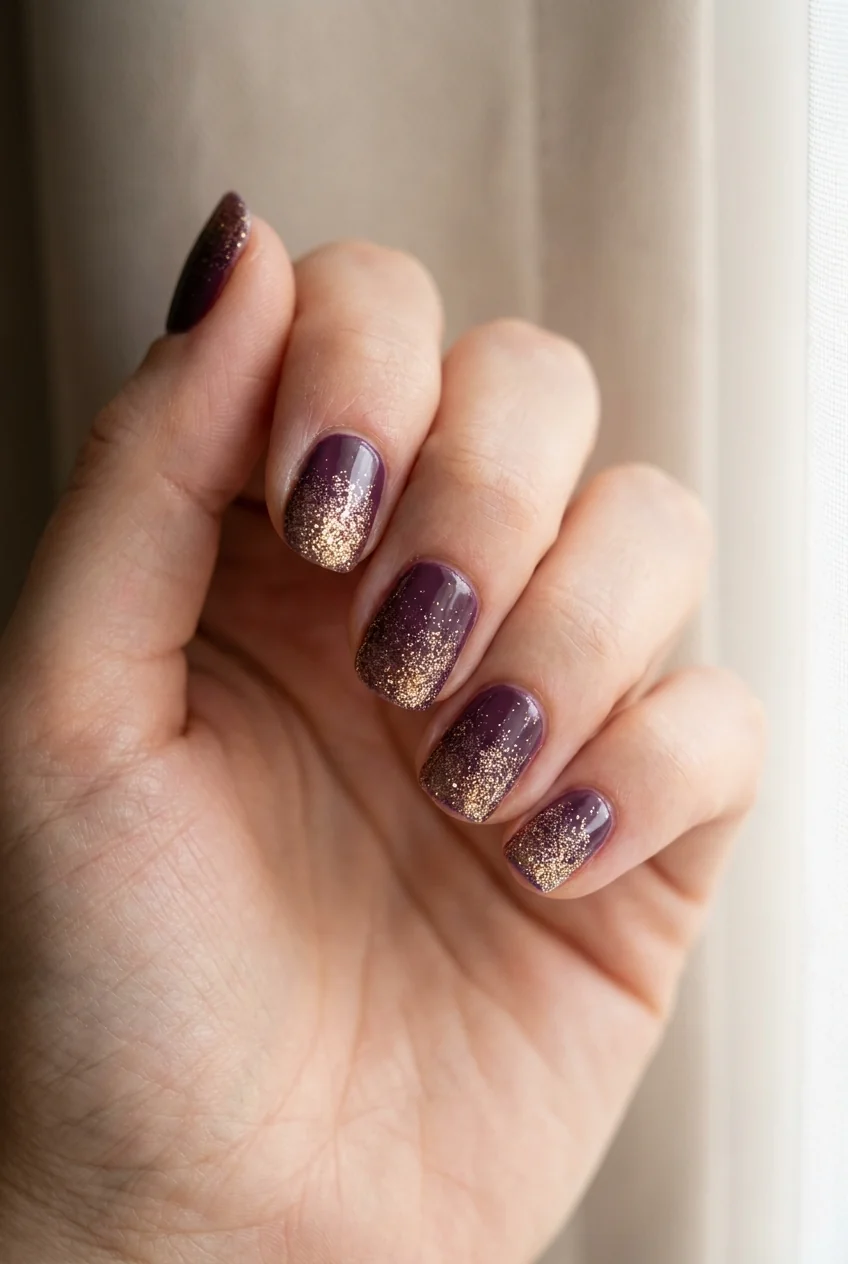
7 Glitter fade tips
Loose glitter sponged up from the free edge, heaviest at the tip and thinning out toward the middle. Use a makeup sponge and dab. Wiping drags the glitter into streaks.
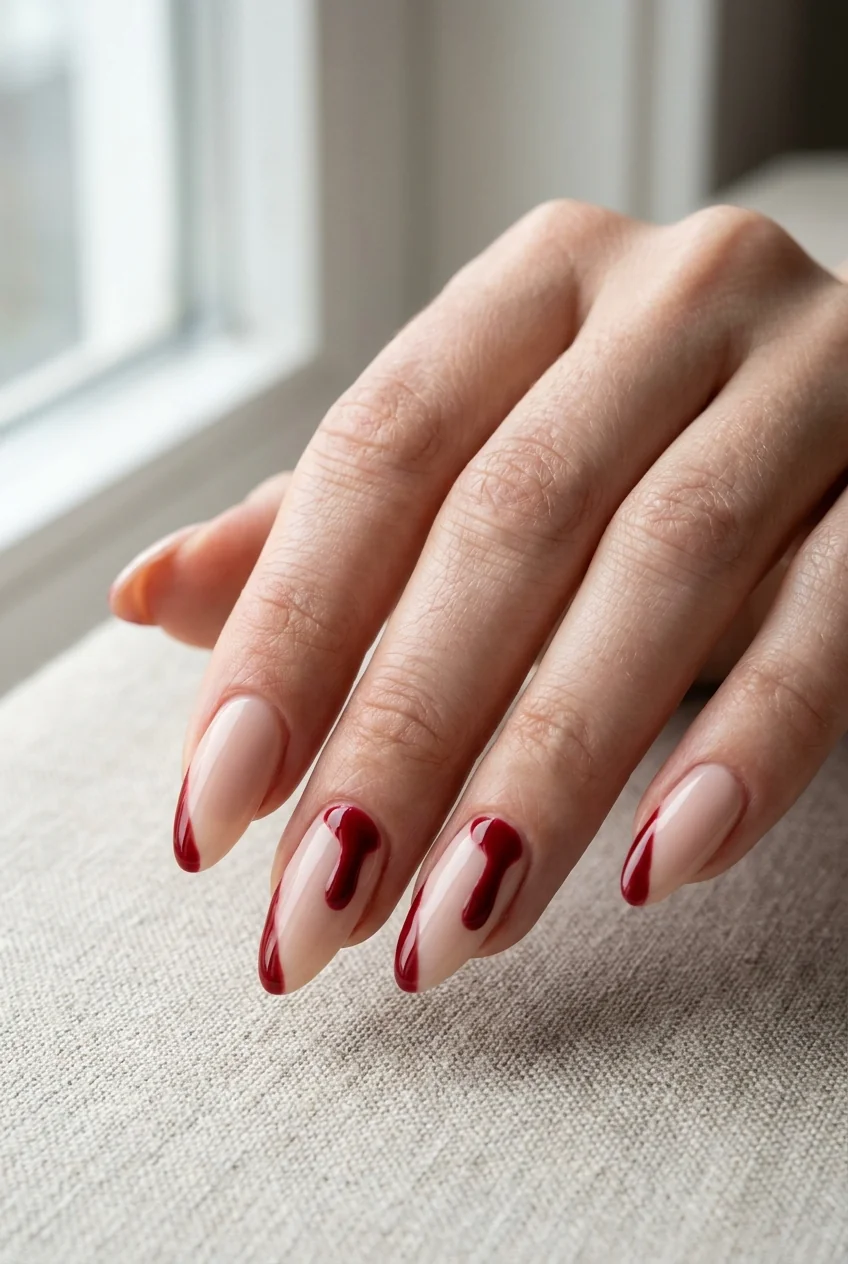
8 Blood drip tips
Red across the tip, then dots placed just below the color line and dragged downward with the dotting tool while everything is still wet. Vary the drip lengths. Even ones look like a French tip that went wrong.
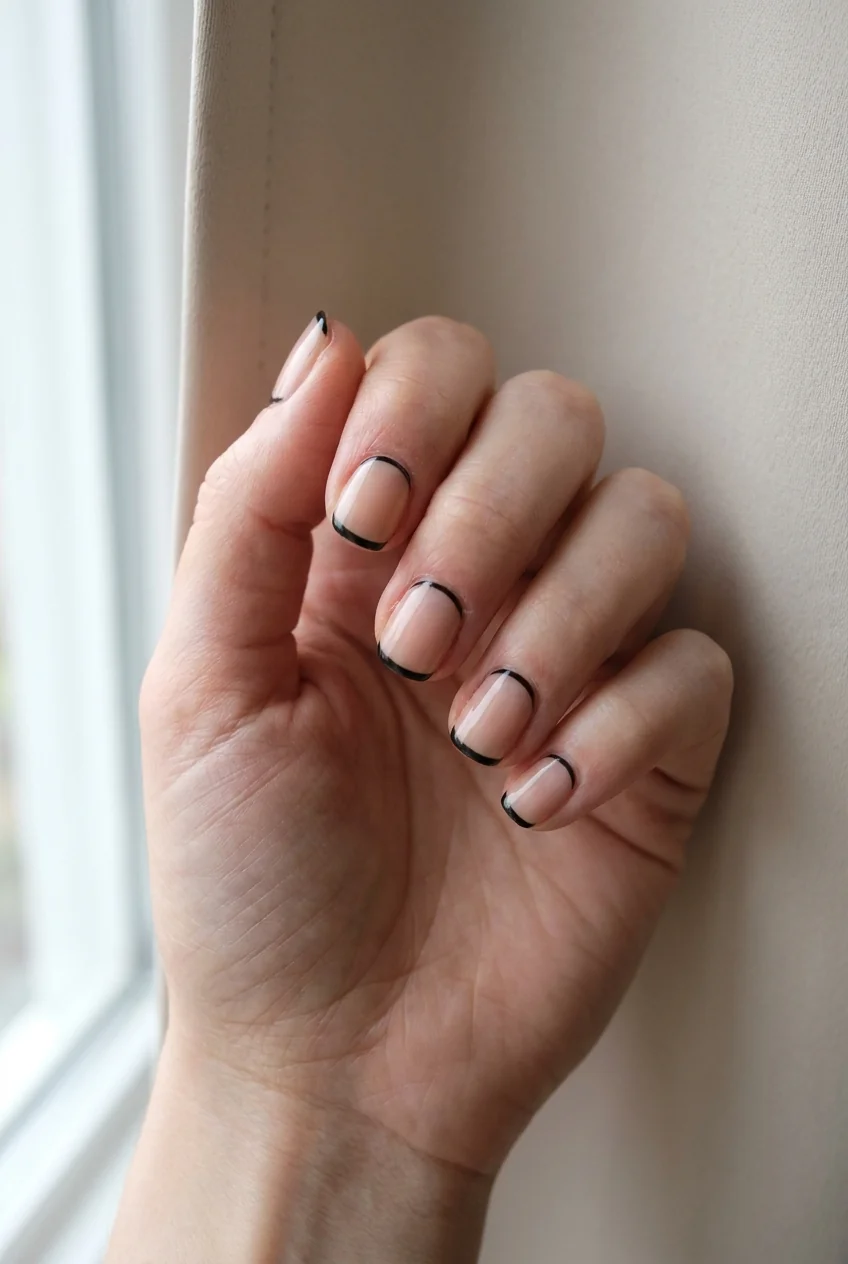
9 Reverse French in black
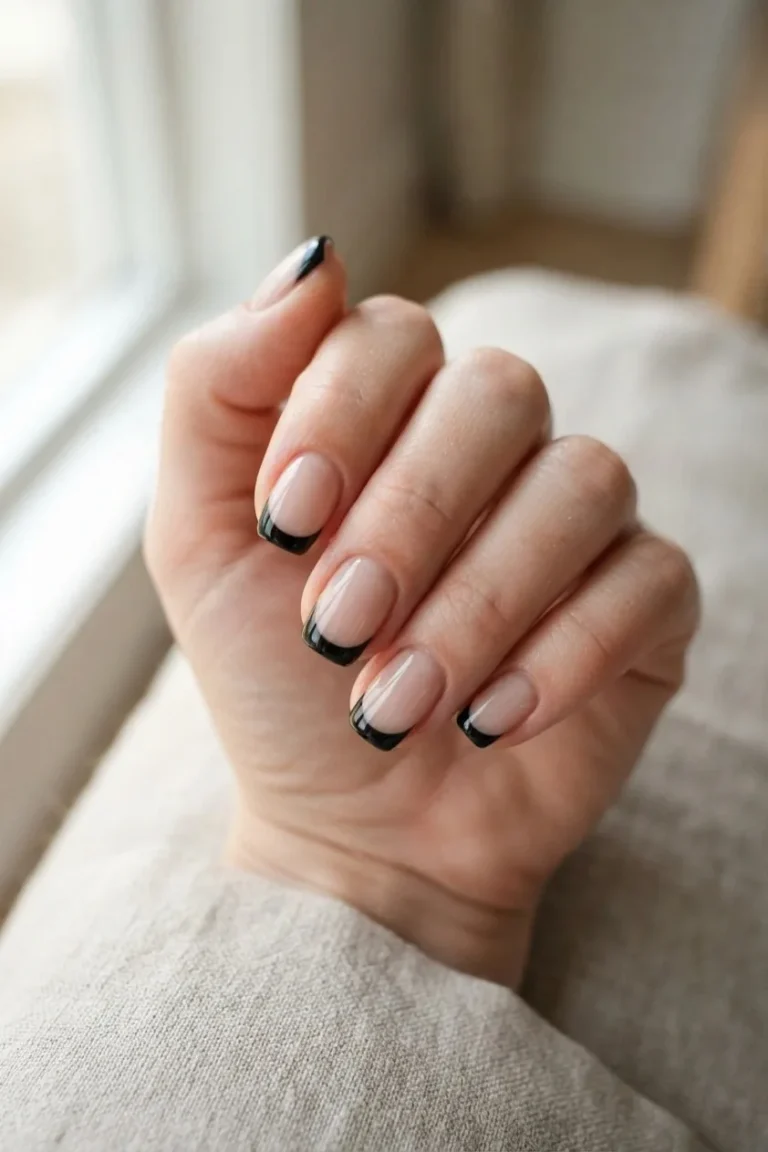
Black at the cuticle instead of the tip, edge masked with tape or a sticker. Proportion matters more than neatness here. Keep the band narrow and it looks deliberate.
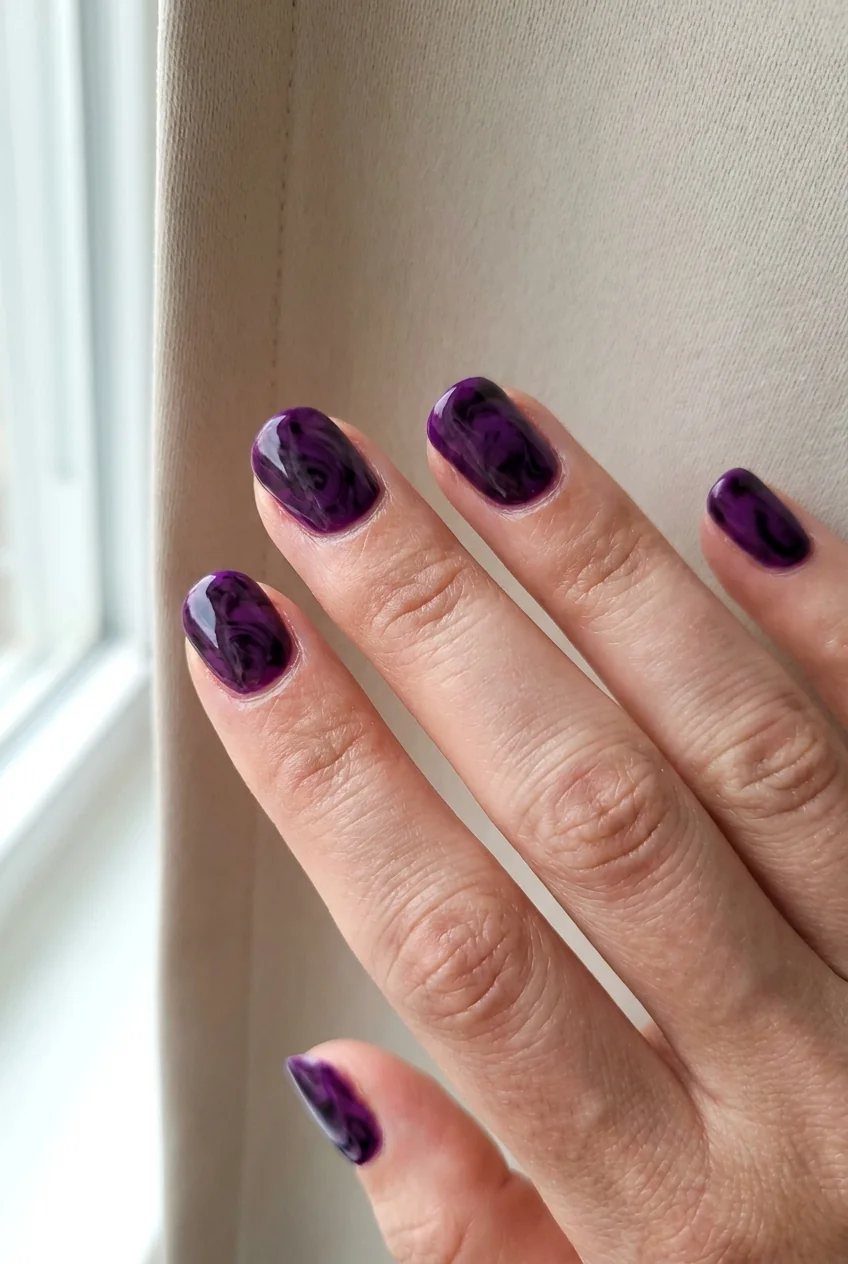
10 Toothpick marble
Two coats of purple, a drop of black while it is still wet, swirled once with a toothpick. Once. A second pass turns the whole thing gray.
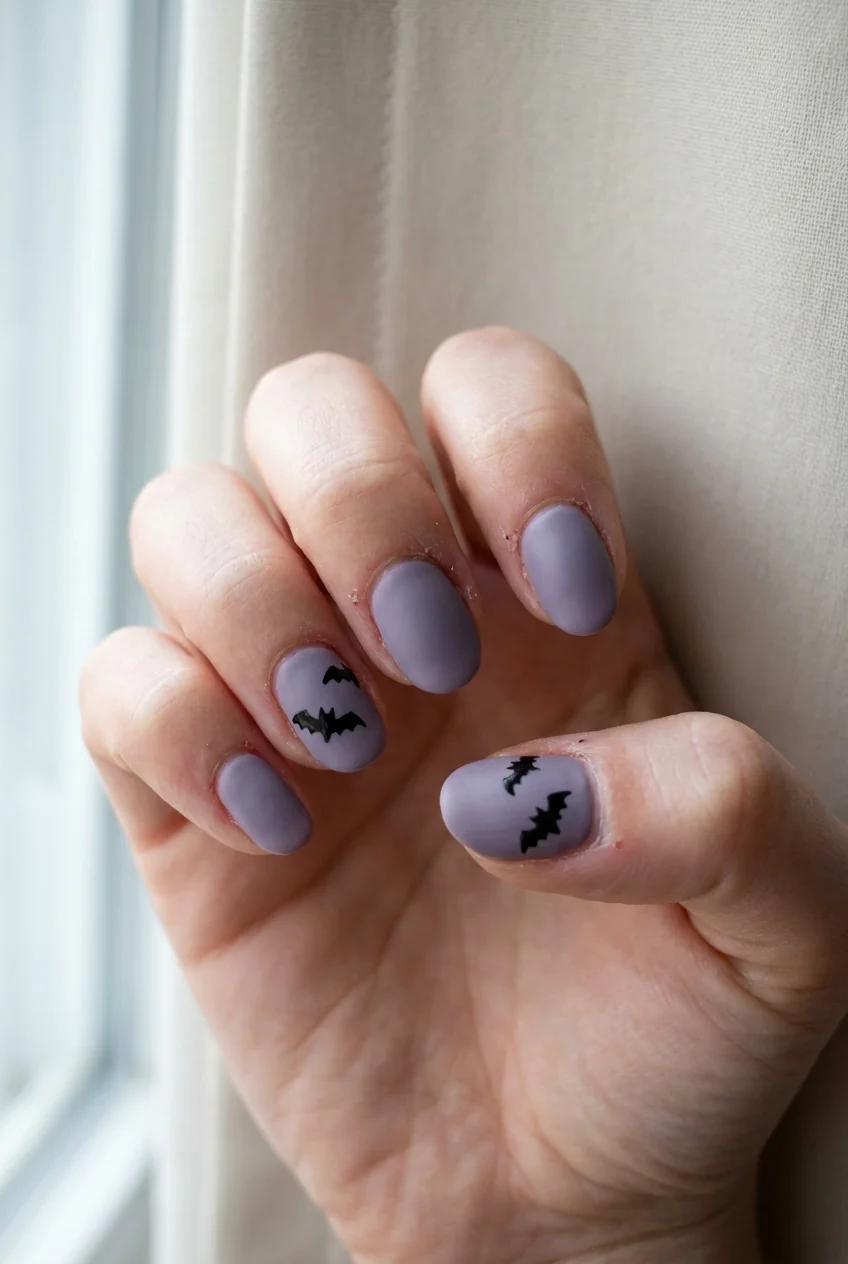
11 Bat silhouette
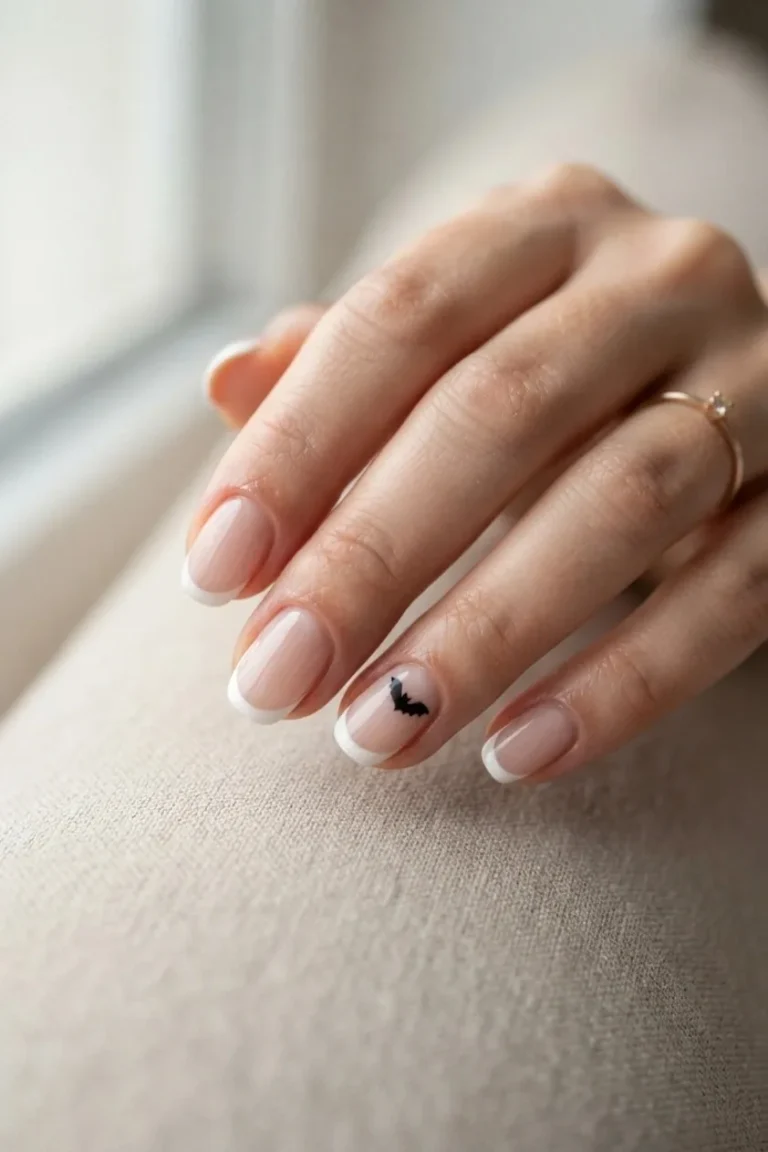
Three dots in a row, a large one in the middle and two smaller ones flanking it, pressed together while wet so they merge into a wing shape. Two tiny dots on top become ears.
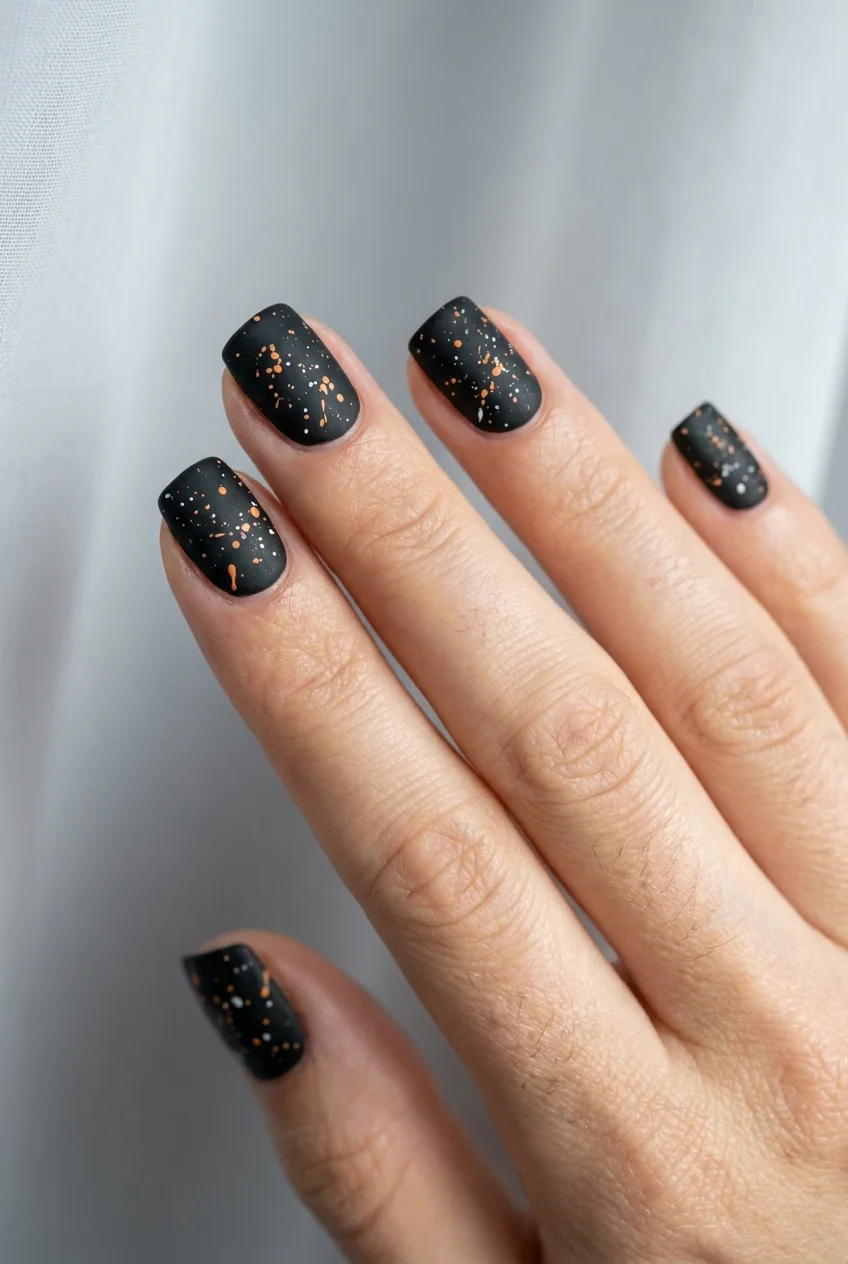
12 Splatter speckle
Thinned polish blown across the nail through a drinking straw. Fast, messy, and no two nails come out alike. Tape around the finger first or you will spend twenty minutes cleaning skin.
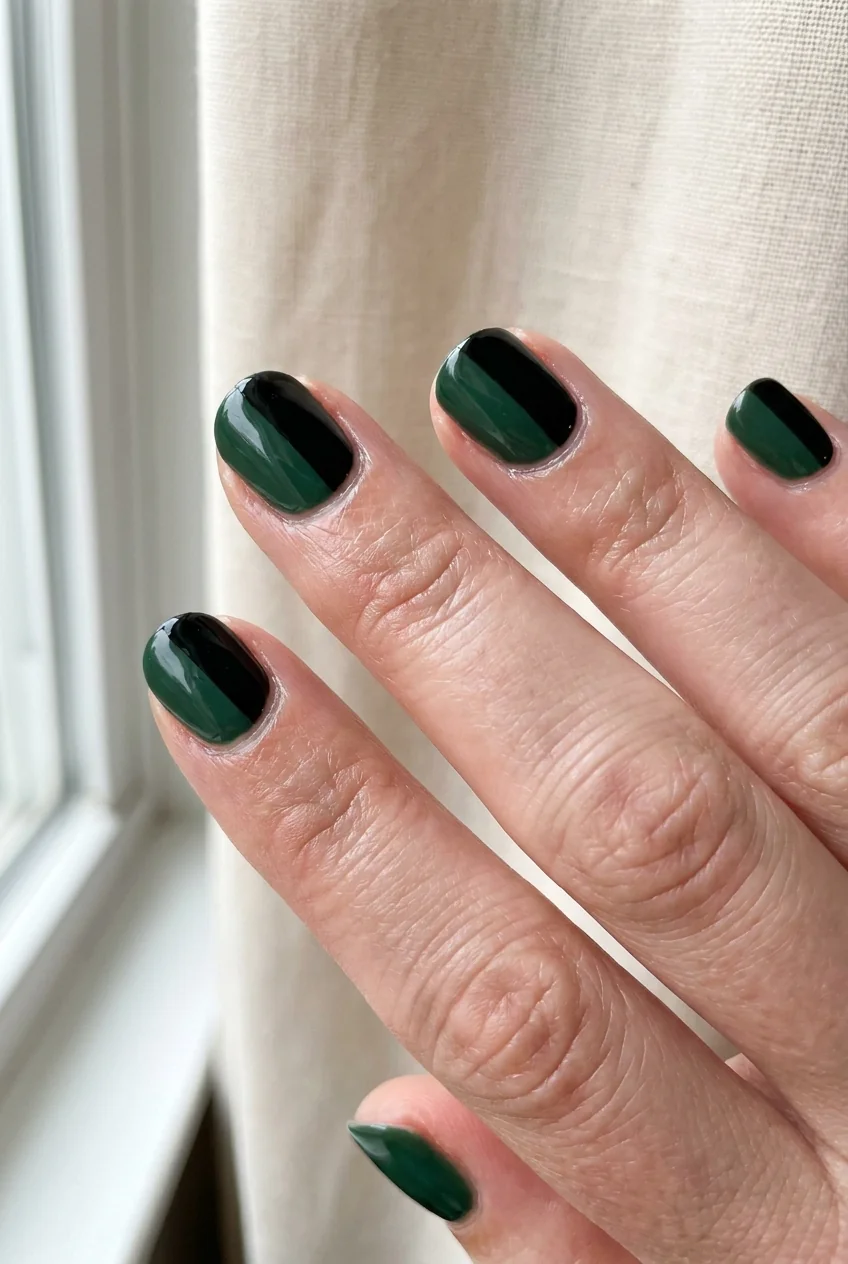
13 Green and black color block
The nail split in two, one half green, one half black, divided with striping tape. A diagonal split reads more modern than a vertical one and hides a shaky line better.
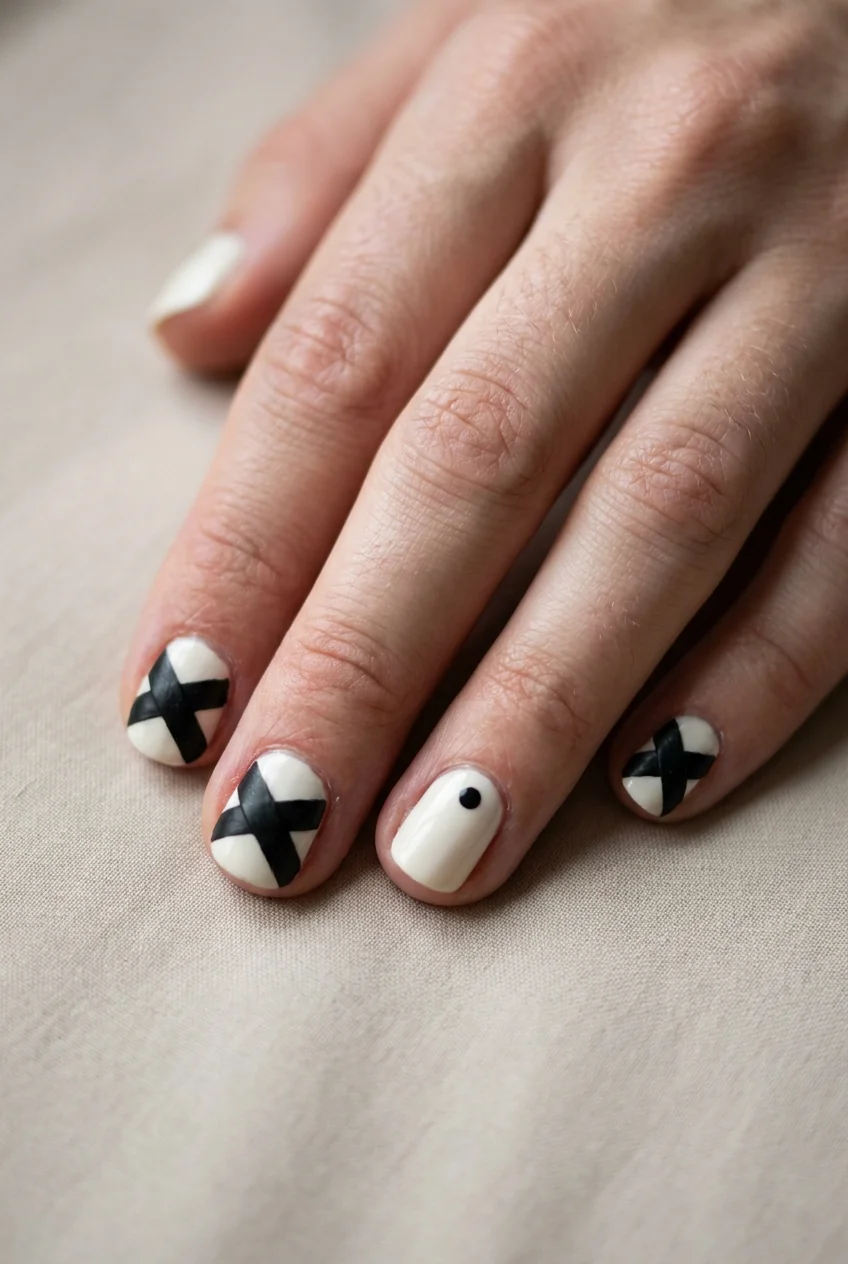
14 Mummy wrap
Off-white base, thin strips of tape laid across at angles, black brushed over the top, tape pulled while the polish is still wet. The gaps become the bandages. One dot for an eye finishes it.
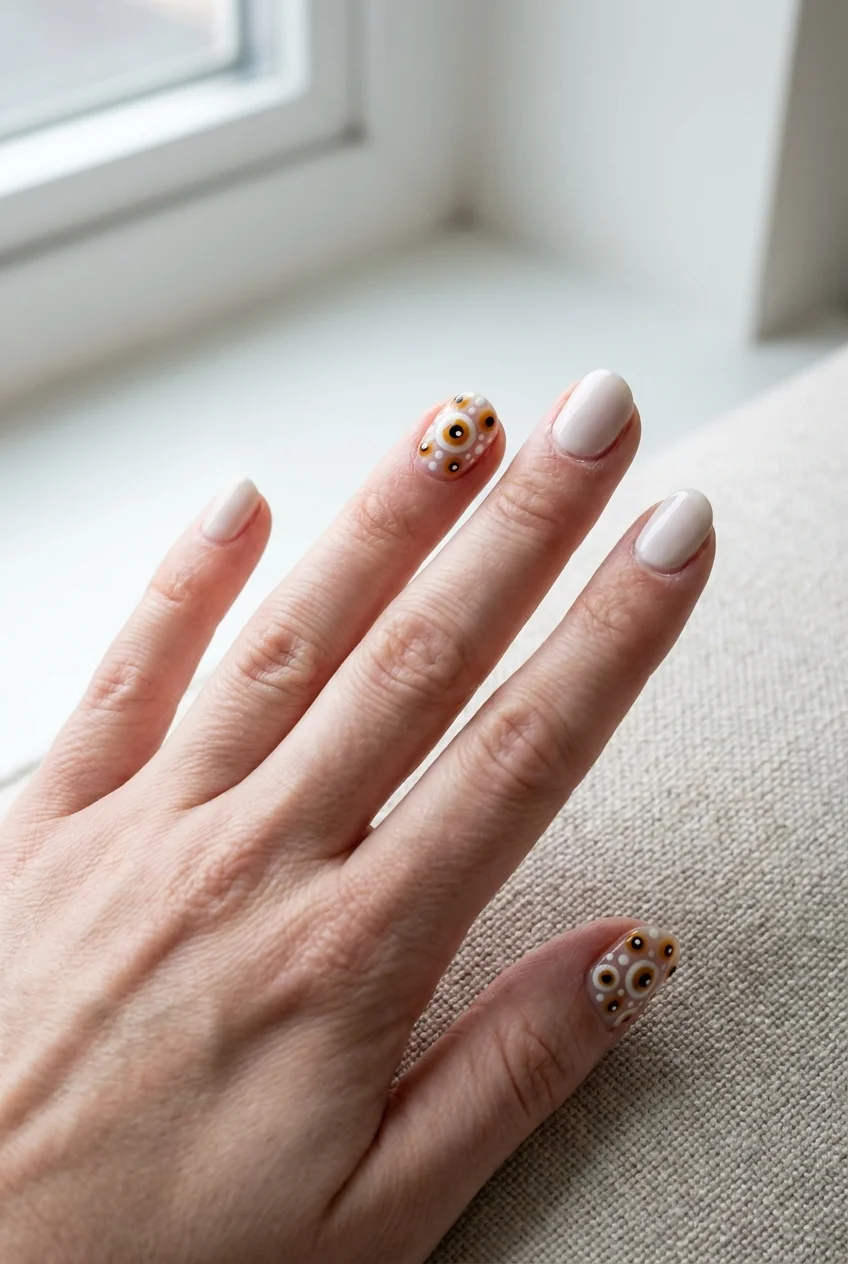
15 Eyeball
A white dot, a smaller colored dot on top, a black dot in the center. Build it in layers and let each one set, or the colors bleed into each other and you get a smudge.
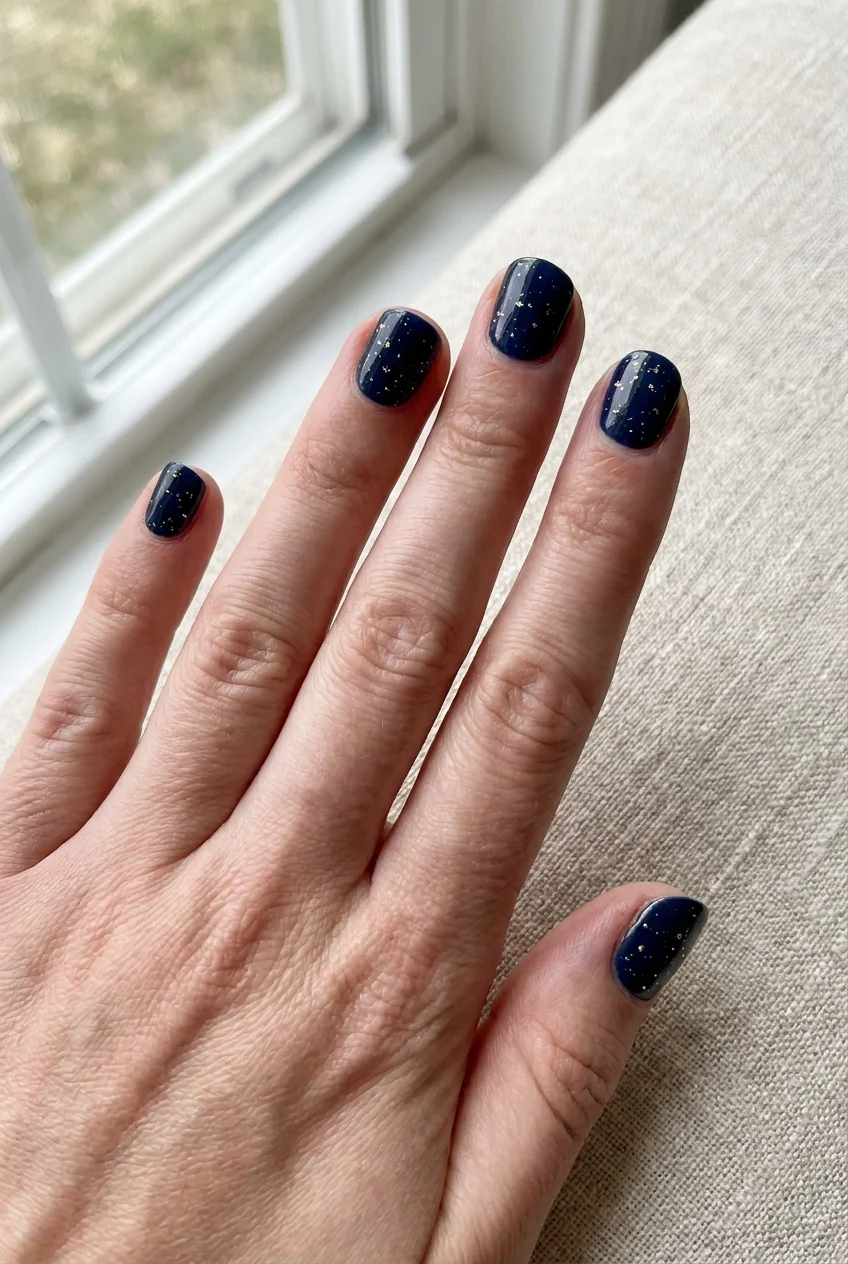
16 Star scatter
Small dots at irregular intervals over a deep navy or plum base. Skip the five-point star shape entirely. At nail scale a dot reads as a star and a star reads as a blob.
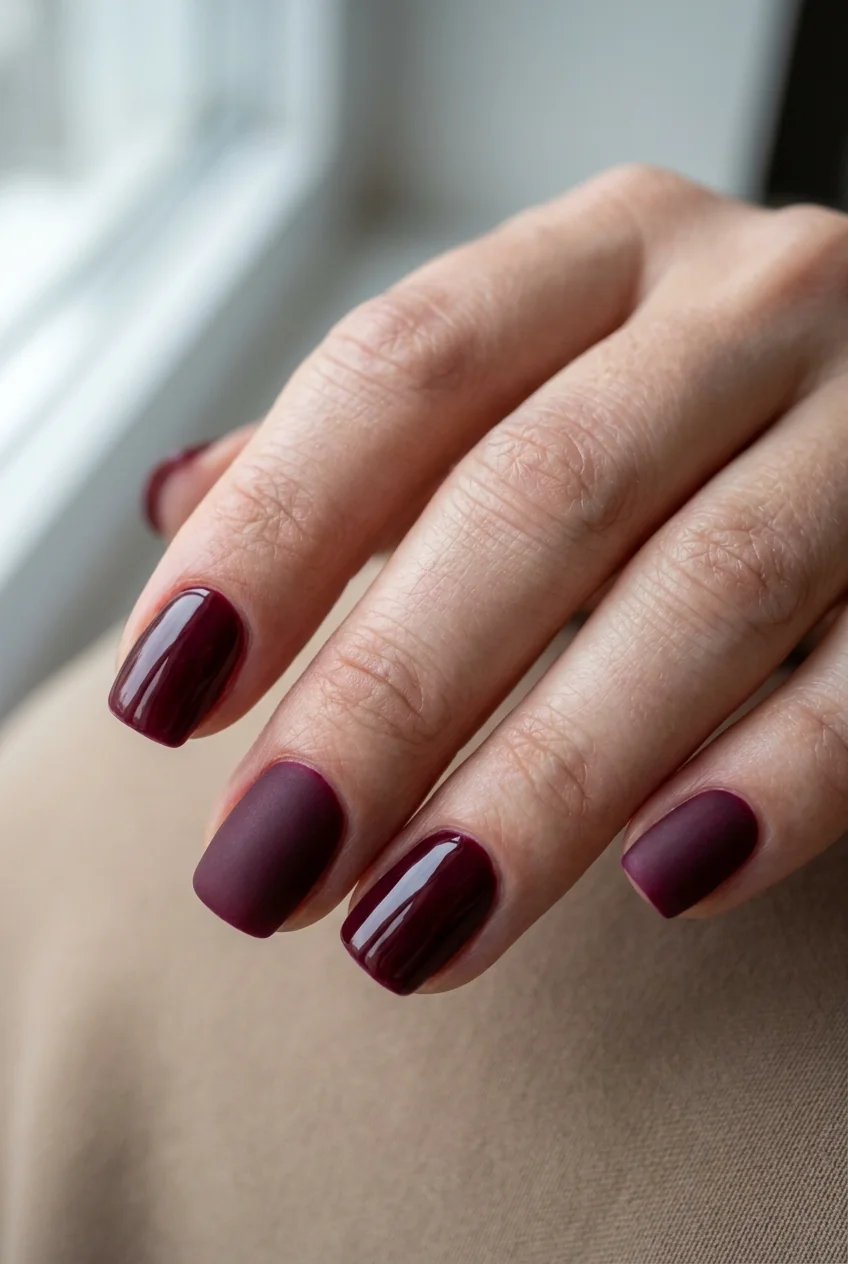
17 Matte and glossy check
One color, two topcoats, nothing else. Alternate matte and glossy across the hand. It works with any Halloween shade and it survives a workplace that would raise an eyebrow at bats.
18 Glow topcoat over anything
Glow-in-the-dark topcoat brushed over a finished manicure. Invisible in daylight, obvious under a black light. It needs three coats before the effect is worth the trouble, so plan for the drying time.
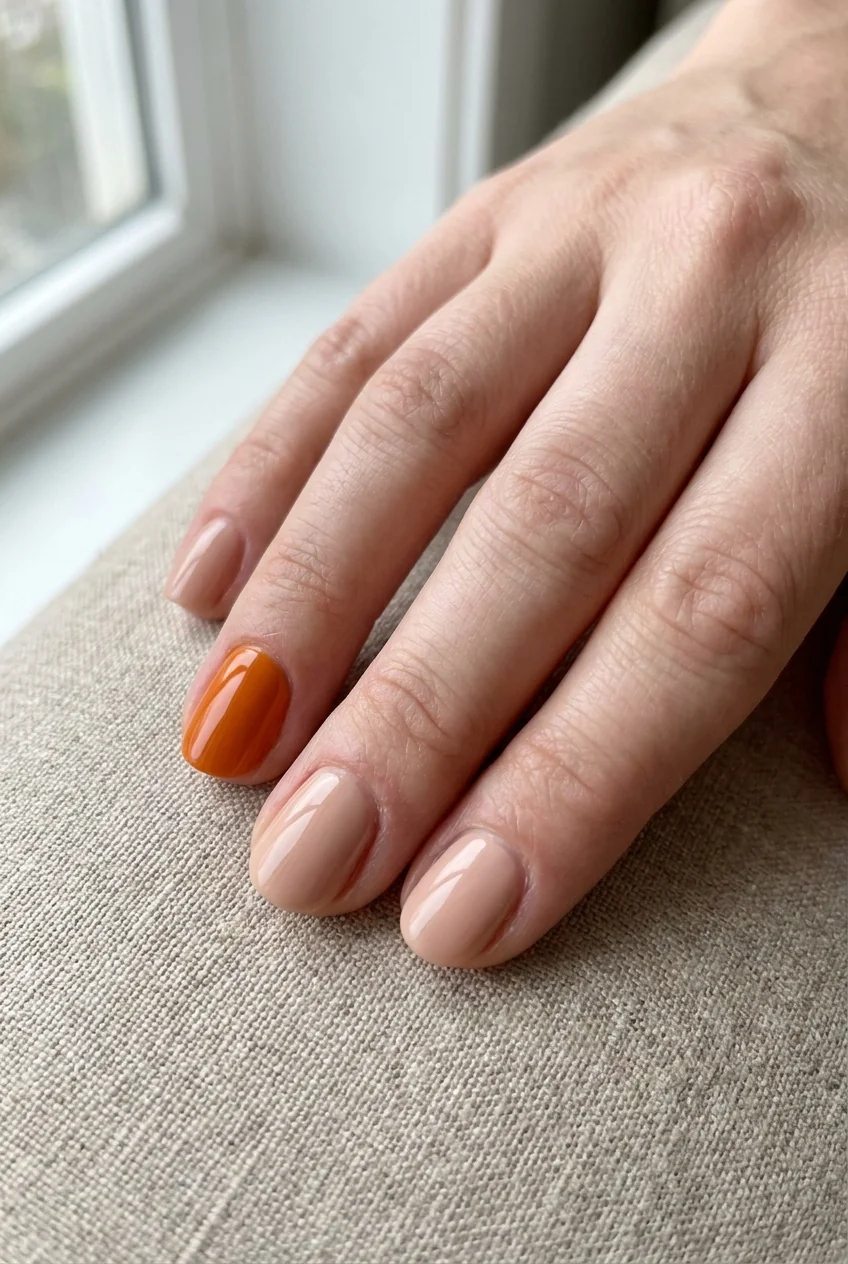
19 Single orange accent
Nude on four nails, one bright orange. The most restrained thing in this post and the one most likely to get worn more than once.
How to get clean dots every time
Eleven of the nineteen designs above come down to placing a dot. Get that right and most of this post becomes easy.
Load from a puddle, not the bottle. Drop a bead of polish onto foil or a plastic lid and dip the tool into that. Straight from the brush you pick up too much, and the first dot comes out twice the size of the rest.
Touch, do not press. The dot forms on contact. Pressing spreads it and flattens the edge. Lower the tool until it meets the nail, then lift straight up.
Reload between every dot. A tool that is drying out drags instead of releasing. If the dots start getting smaller and rougher, wipe the tip and go back to the puddle.
Let the base cure, not just dry. Polish feels dry on top long before it is solid underneath. Give a base coat ten minutes before dotting over it or the tool sinks in and leaves a crater.
Fix mistakes with a brush, not a wipe. A small brush dipped in remover takes off one bad dot. A cotton pad takes off the whole nail.
Wait before the topcoat. This is where most dotted designs die. Topcoat over a dot that has not set will smear it into a comet. Give it fifteen minutes and use a fast-dry topcoat with a light hand.
Tape works on the opposite rule. Pull it while the top color is still wet. Waiting until it dries means the tape takes the polish with it and leaves a torn edge.
Common questions
Do I actually need a dotting tool?
No. The rounded end of a bobby pin, a ballpoint pen with the ink cartridge removed, or a straight pin pushed into a pencil eraser all work. A dotting tool set costs a few dollars and gives you consistent sizes, which is the only real advantage.
Why do my dots have a dent in the middle?
You are pressing. The tool pushes polish outward and leaves a hollow center. Touch the surface and lift immediately. It also happens when the coat underneath has not fully cured.
How do I stop tape from pulling up my polish?
Two things. Make sure the layer underneath is completely cured, which takes longer than it feels like, and take some of the stickiness off the tape by pressing it to the back of your hand once before you apply it. Pull it away at a low angle rather than straight up.
How long will these last?
Regular polish with a good topcoat holds up around five to seven days before the tips start to wear. Gel takes these designs to two or three weeks. Dotted work chips at the raised edges first, so a fresh layer of topcoat every couple of days buys noticeably more time.
Will these work on short nails?
Most of them. Anything built from dots scales down fine. The ones that struggle are the layered designs, the mummy wrap and the eyeball, which need surface area to stay legible.
What is the fastest design here?
The matte and glossy check, at around fifteen minutes including drying. One color, two topcoats, no tools at all.