Short Halloween nails have one big advantage over long ones: nothing has time to go wrong. There is less surface to keep neat, less to catch on a sleeve, and a design that reads clearly from across a room instead of dissolving into detail.
What you will find here
The trick is not shrinking a long-nail design down. It is choosing designs that were always going to work small. Below are twenty-two that do, each with a rough difficulty and time so you can tell before you start whether it is a weeknight job or a Sunday one.
What actually works on short nails
Four rules cover most of it.
- One focal nail. Put the detail on a single finger and keep the rest plain. Detail on all ten reads as clutter at short lengths.
- Scale the motif, not the design. A pumpkin that fills the nail works. A pumpkin shrunk to a quarter of the nail with empty space around it looks unfinished.
- Negative space is your friend. Bare or sheer areas make a short nail look longer. Dense all-over patterns make it look shorter.
- Clean edges matter more. On a short nail the cuticle line is a bigger share of what people see. Slightly messy edges that vanish on long nails are obvious here.
22 short Halloween nail designs
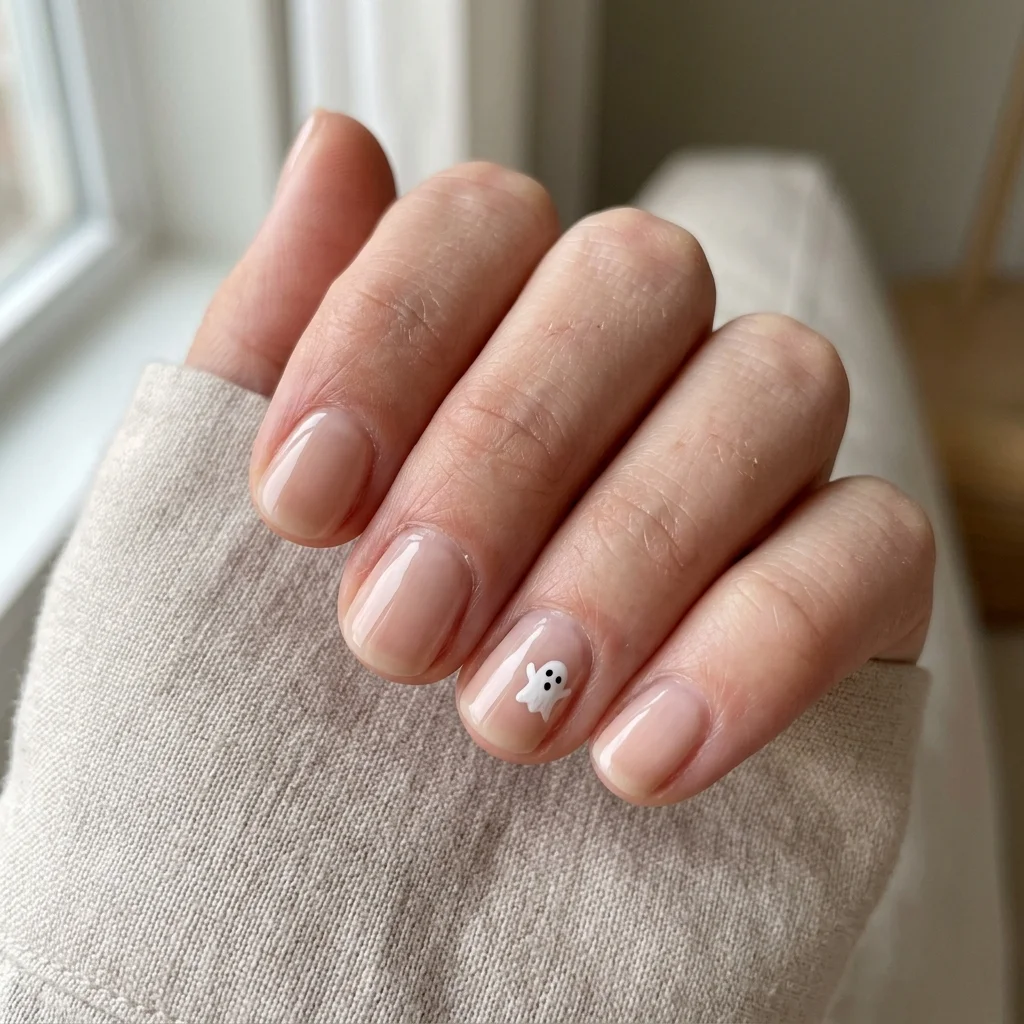
1 Single ghost accent on nude
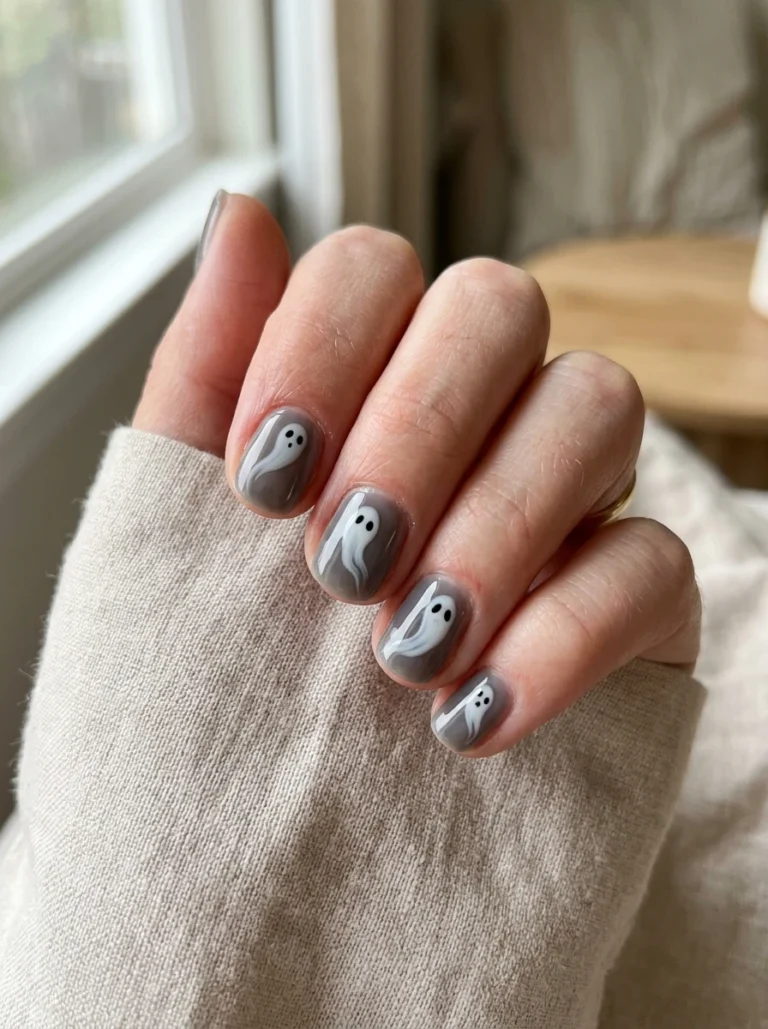
A sheer nude base on nine nails and one small white ghost on the ring finger. This is the design to start with if you have never done nail art, because a ghost is forgiving. Wobbly edges read as the ghost being wobbly.
2 Micro bat French tips
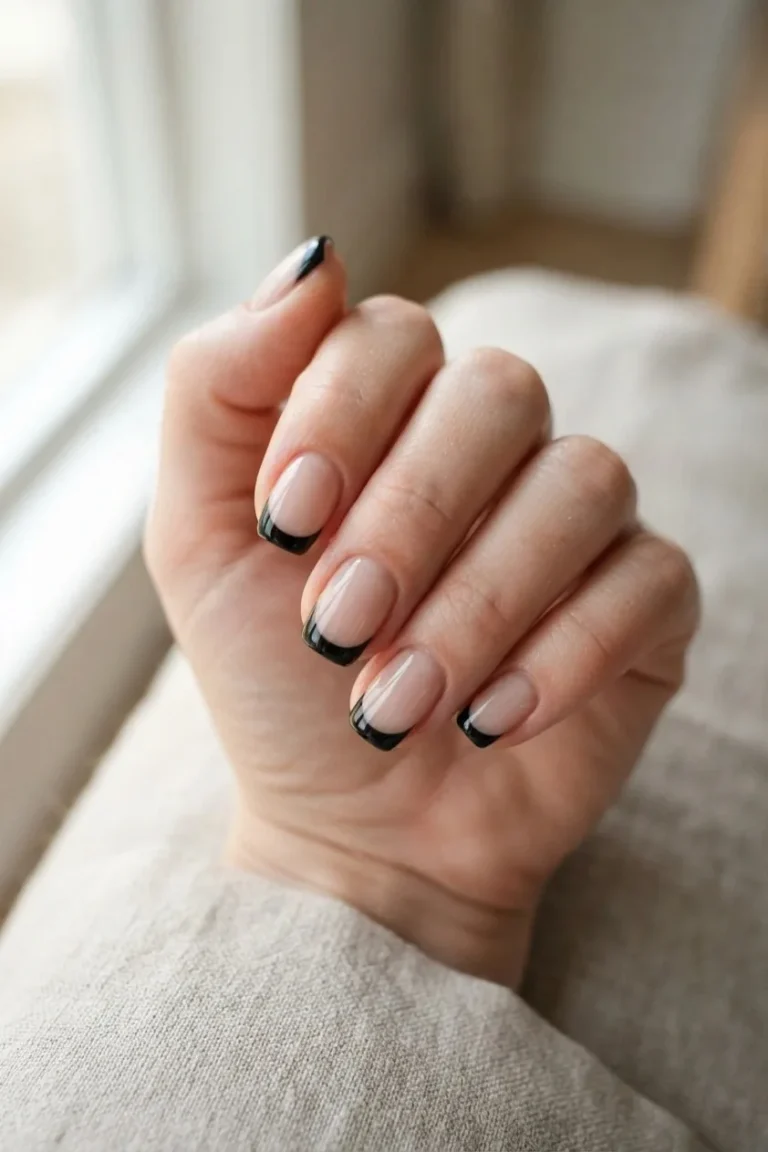
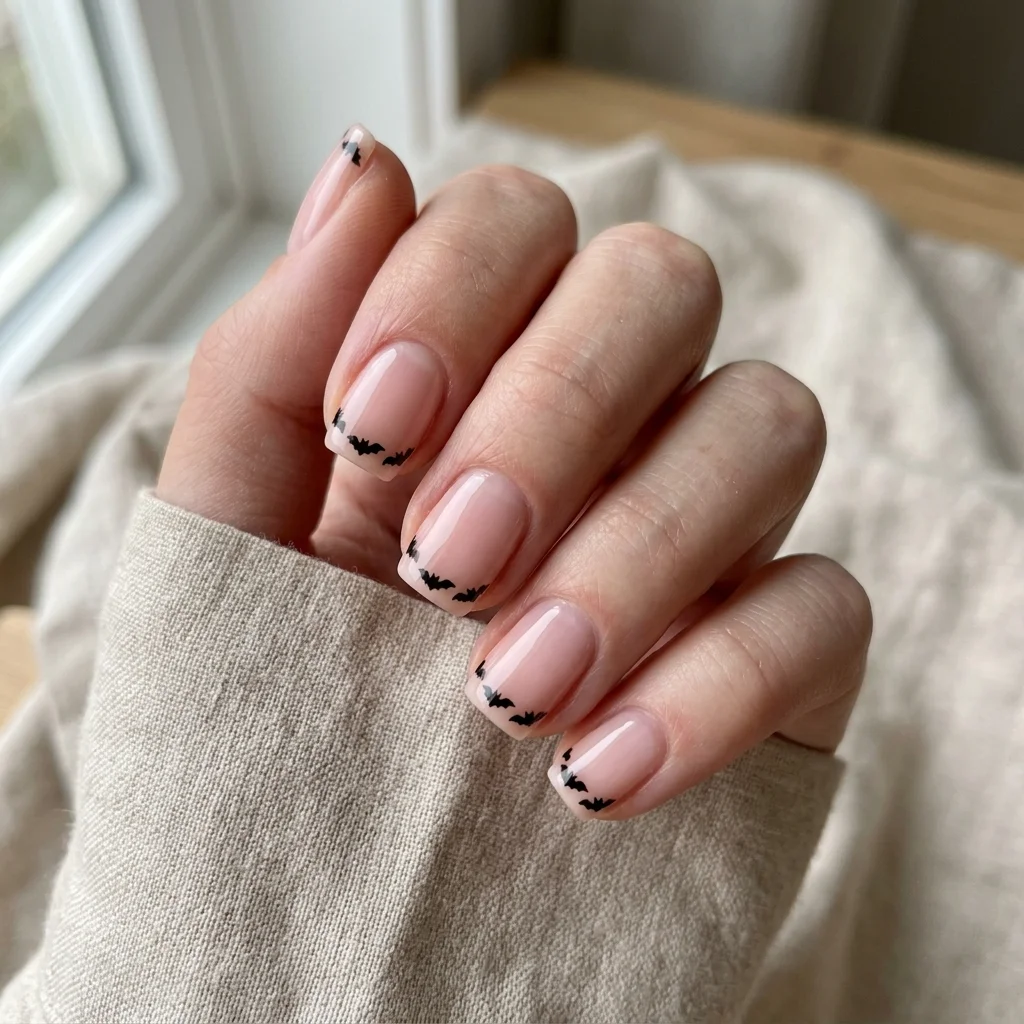
A standard French tip where the tip line is replaced by a row of tiny black bats. It keeps the shape of a manicure everyone recognises and smuggles the Halloween in at the edge. Works at any length but is genuinely better short, because the bats stay close together.
3 Tonal matte and gloss spiderweb
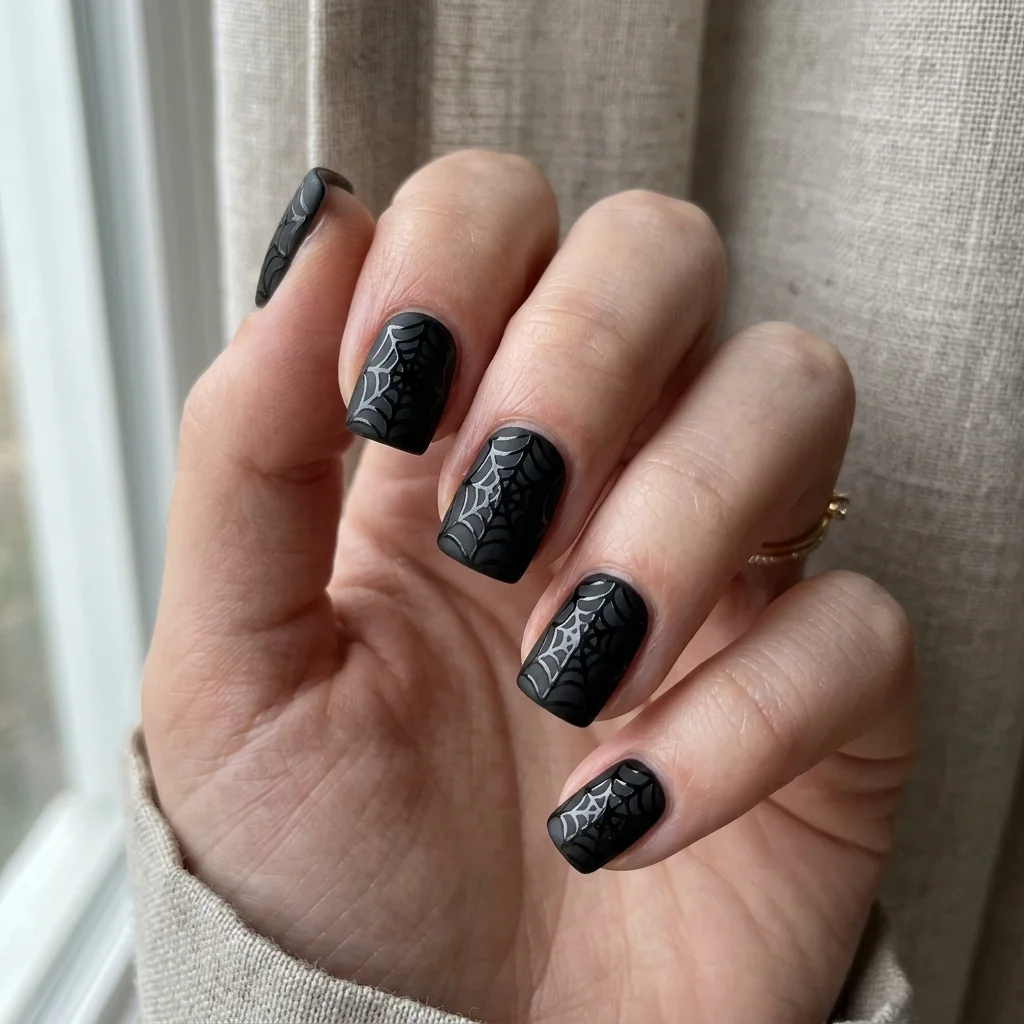
Black polish with a matte top coat, then a spiderweb painted over it in glossy black top coat. The web only shows when the light catches it. This is the most expensive-looking design on the list and one of the easiest, because a web drawn in clear top coat hides its own mistakes.
4 Orange chrome
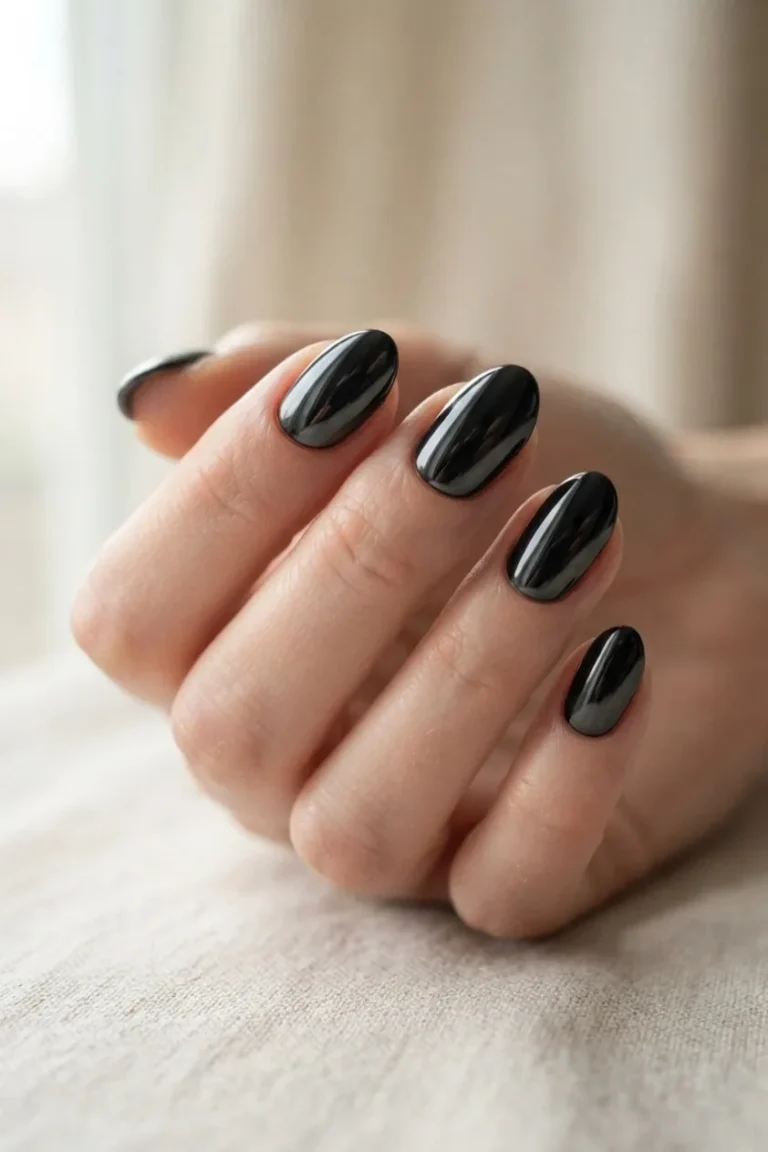
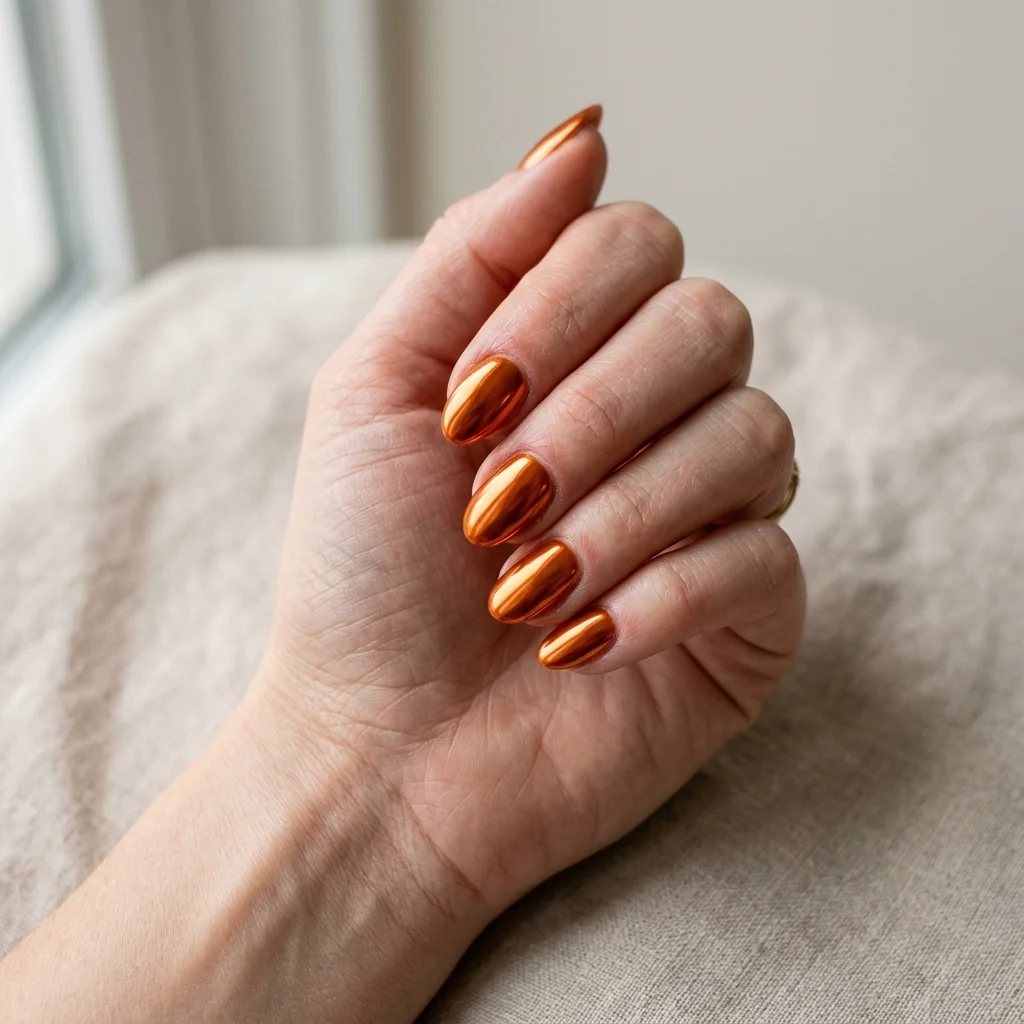
No motif at all, just a burnt orange chrome powder over a dark base. Chrome is the finish of the year and orange is the colour of the month, so this is the lowest-effort way to be on theme. It also suits people who want Halloween nails they can wear to work.
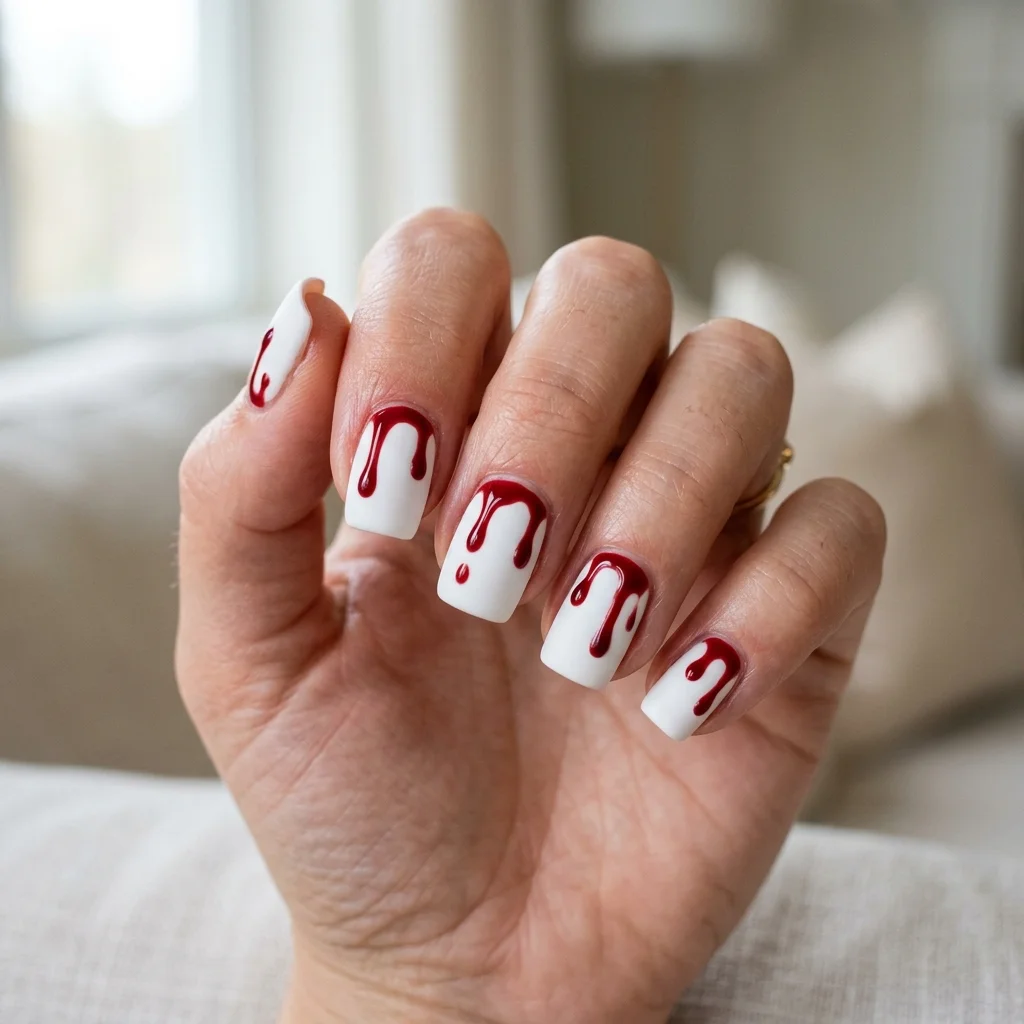
5 Blood drip tips
Deep red drips running down from the cuticle over a white or nude base. On short nails keep the drips shallow, no more than a third of the way down, or the nail disappears under them.
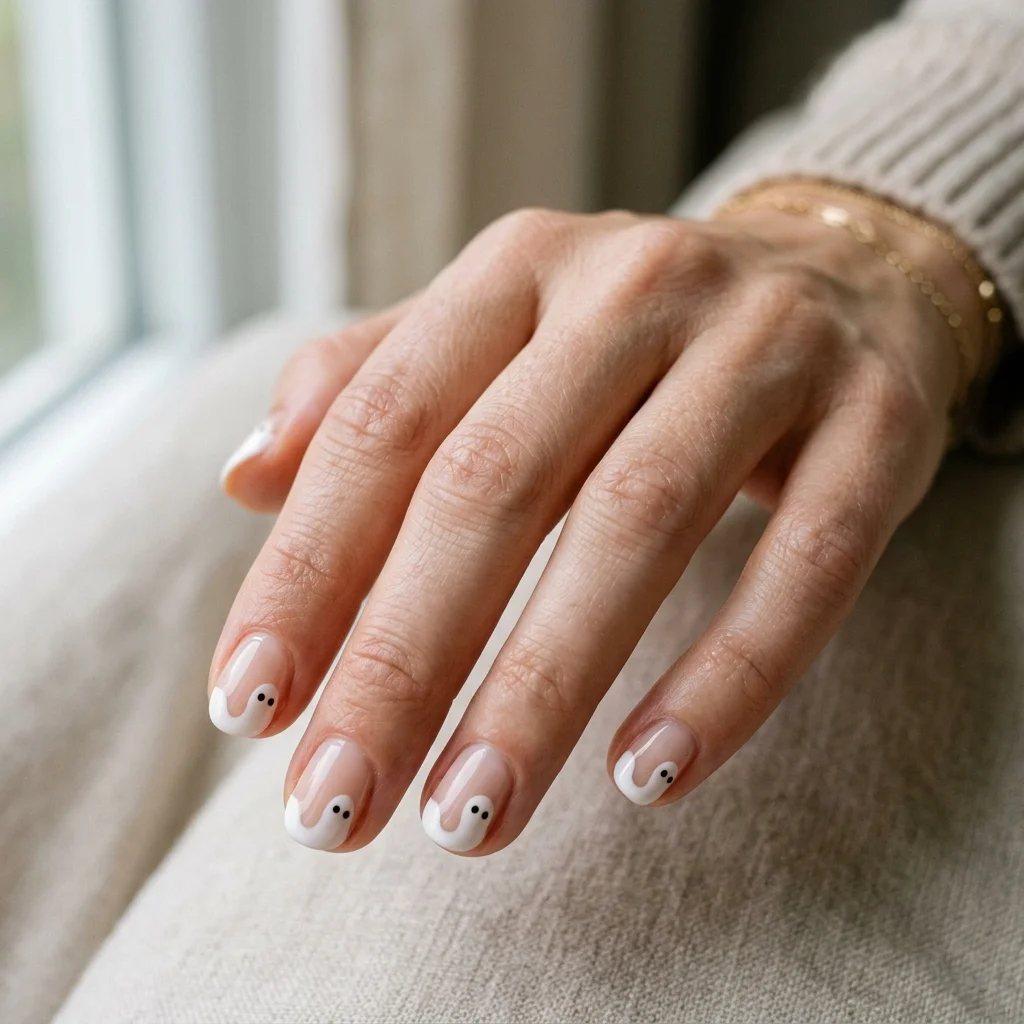
6 Ghost French tip
The tip is painted as a soft wavy ghost hem rather than a straight line, with two dots for eyes on each. It is the cute-not-scary lane in one design, and it is the single most pinnable idea in this post.
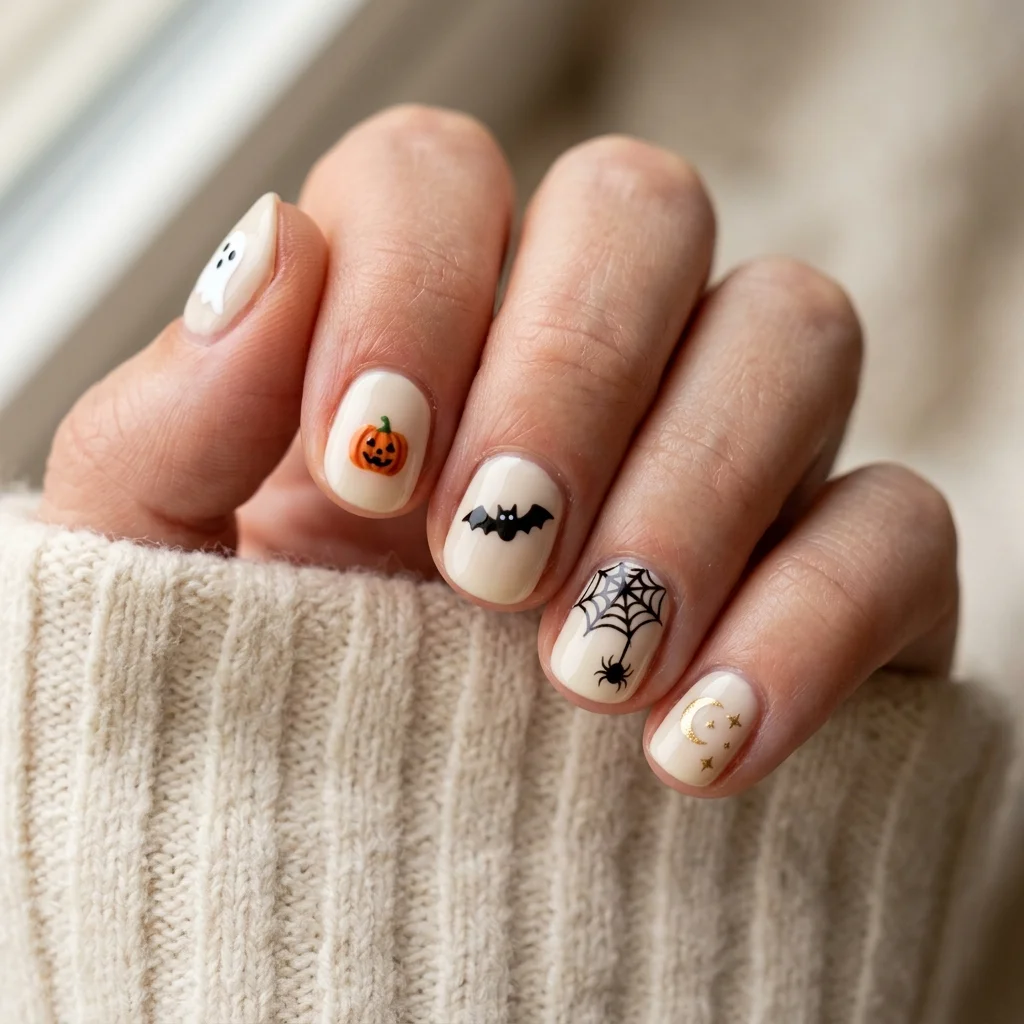
7 Mismatched motif set
One motif per nail on a shared base colour: ghost, pumpkin, bat, web, moon. The shared base is what stops it looking chaotic. Pick one background and do not vary it.
You may also like: Cute Ghost Nails: 22 Designs From One Accent Nail to a Full Set
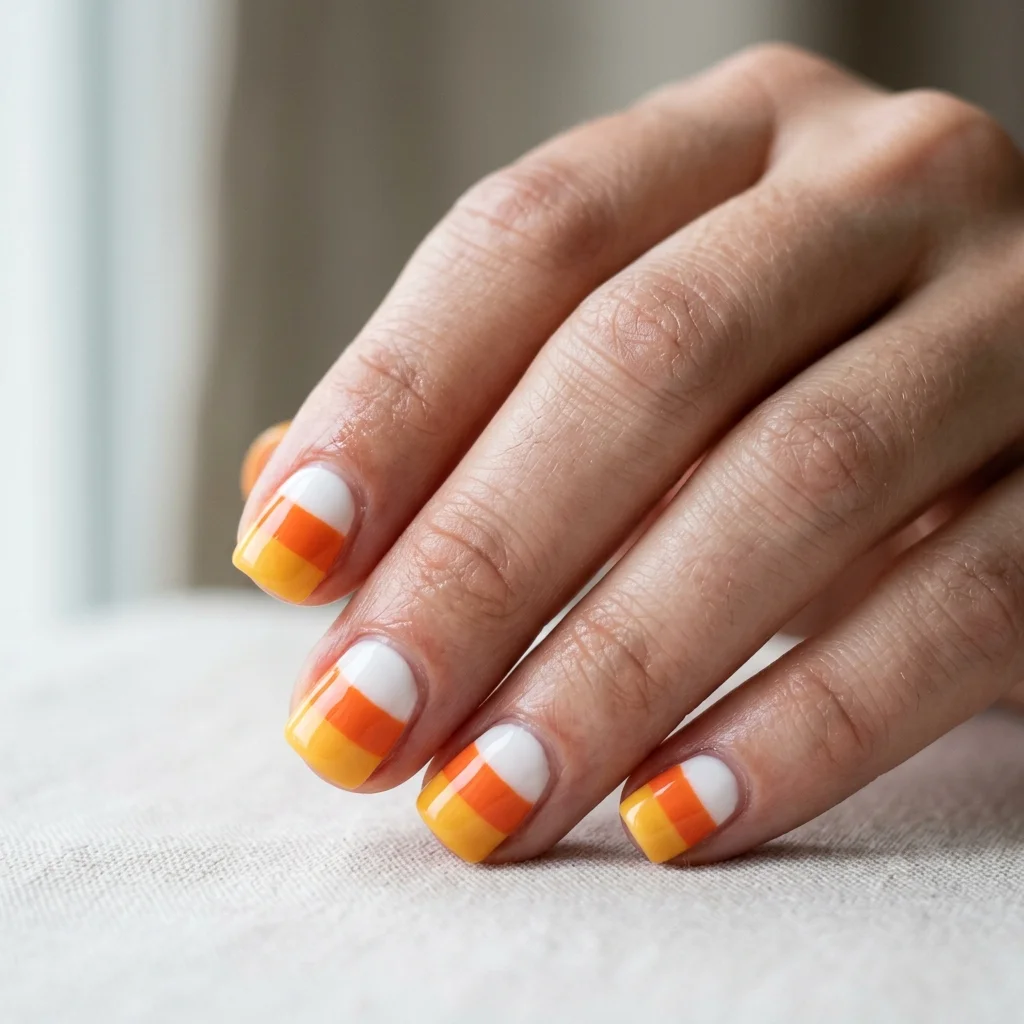
8 Candy corn tips
Three horizontal bands at the tip in white, orange and yellow. Short nails suit this better than long ones because the bands stay narrow and the proportions stay right.
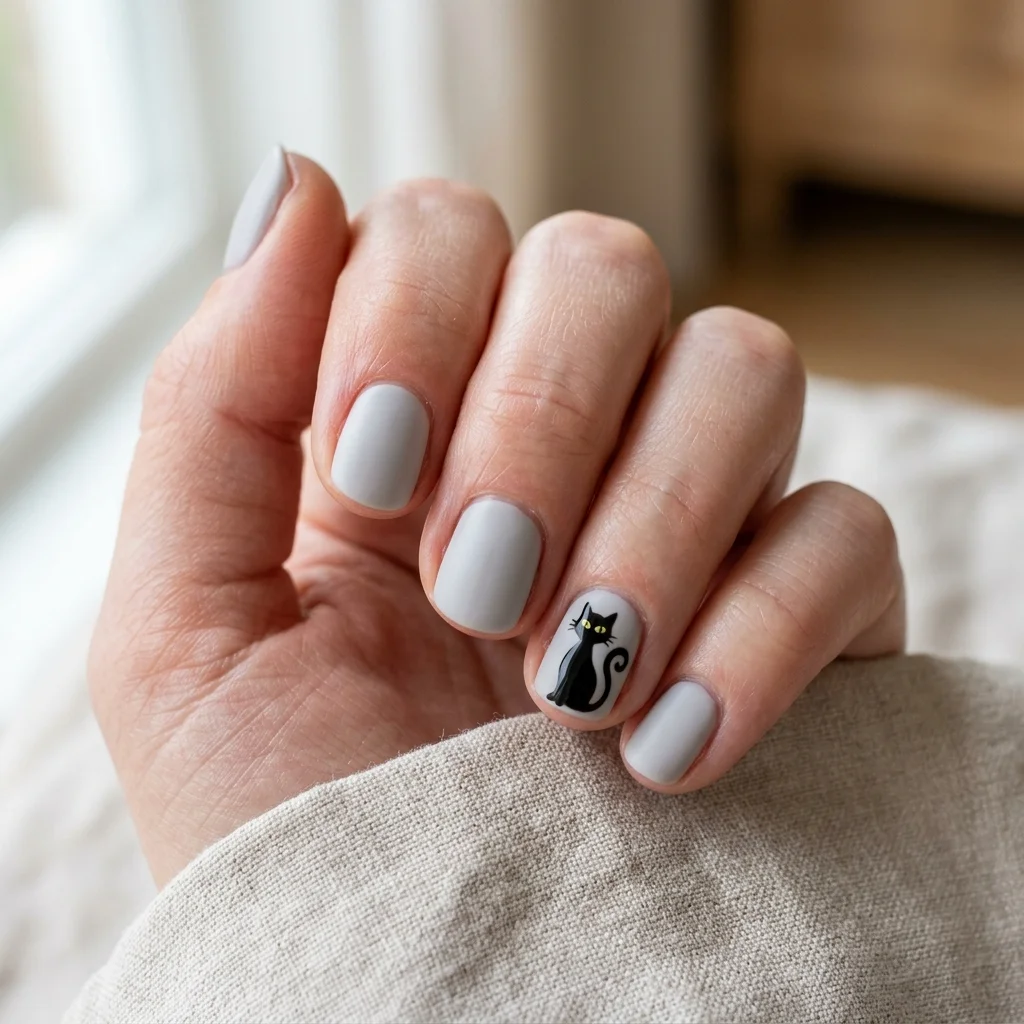
9 Black cat accent
A simple black cat silhouette, or just two ears and two eyes peeking over the free edge, on one nail. The peeking version is easier and reads better small.
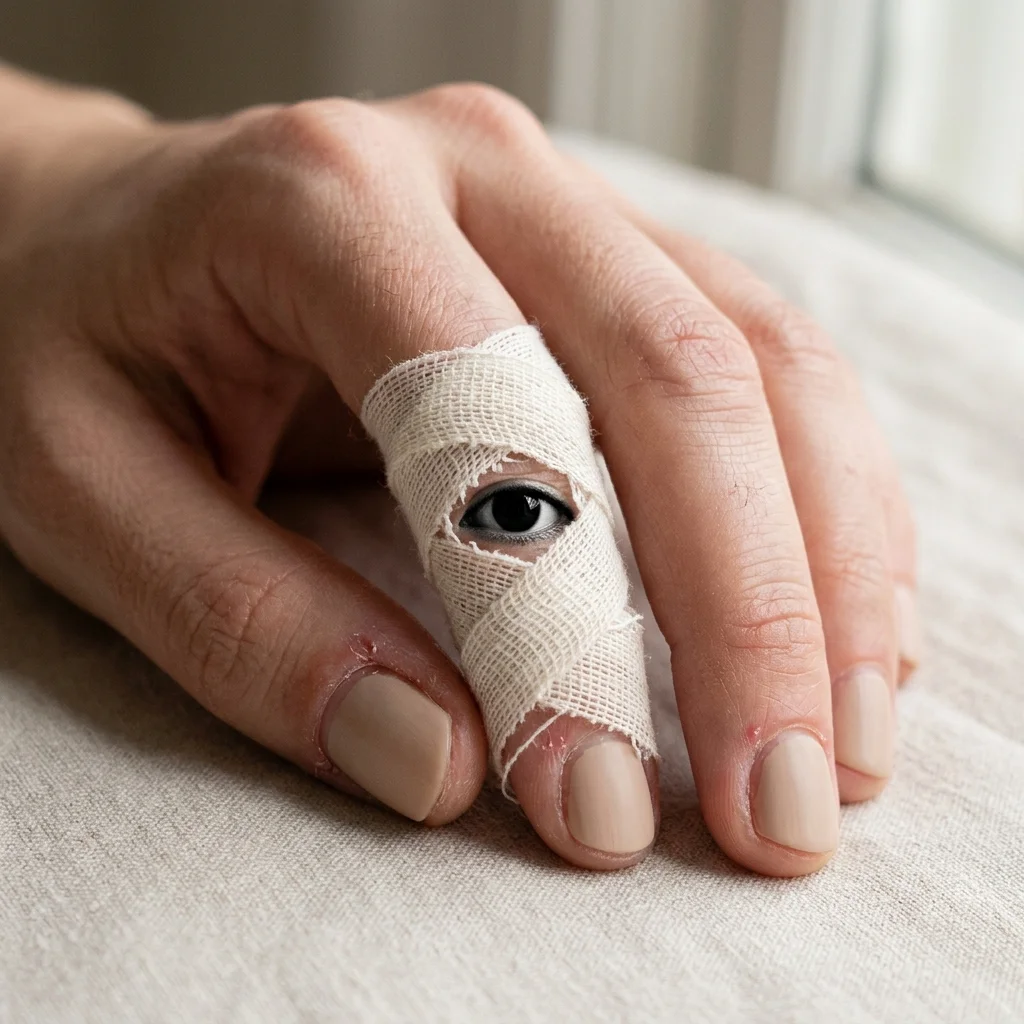
10 Mummy wrap
Off-white lines crossing at angles over a beige base, with one gap left for a single eye. Deliberate untidiness is the point, which makes it one of the most forgiving designs here.
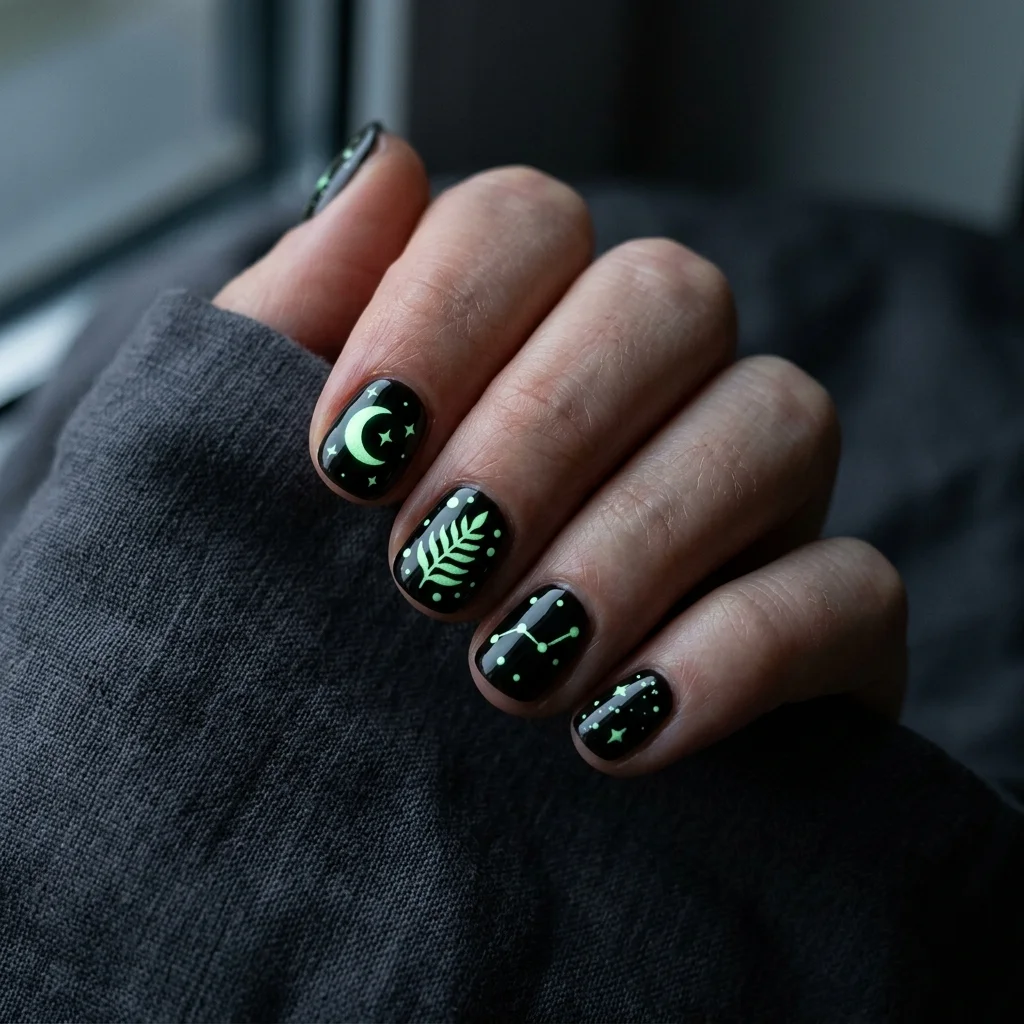
11 Glow in the dark top coat over black
Plain black nails in daylight, glowing motifs at night. Paint the motif in glow polish over black, then top coat. It looks like nothing until the lights go down, which is the entire appeal.
12 Vampy cherry jelly
Two or three sheer coats of a deep cherry jelly polish, built up so it stays translucent. No art at all. This is the design for anyone who wants the mood without the motif, and it is the most wearable thing on the list past October.

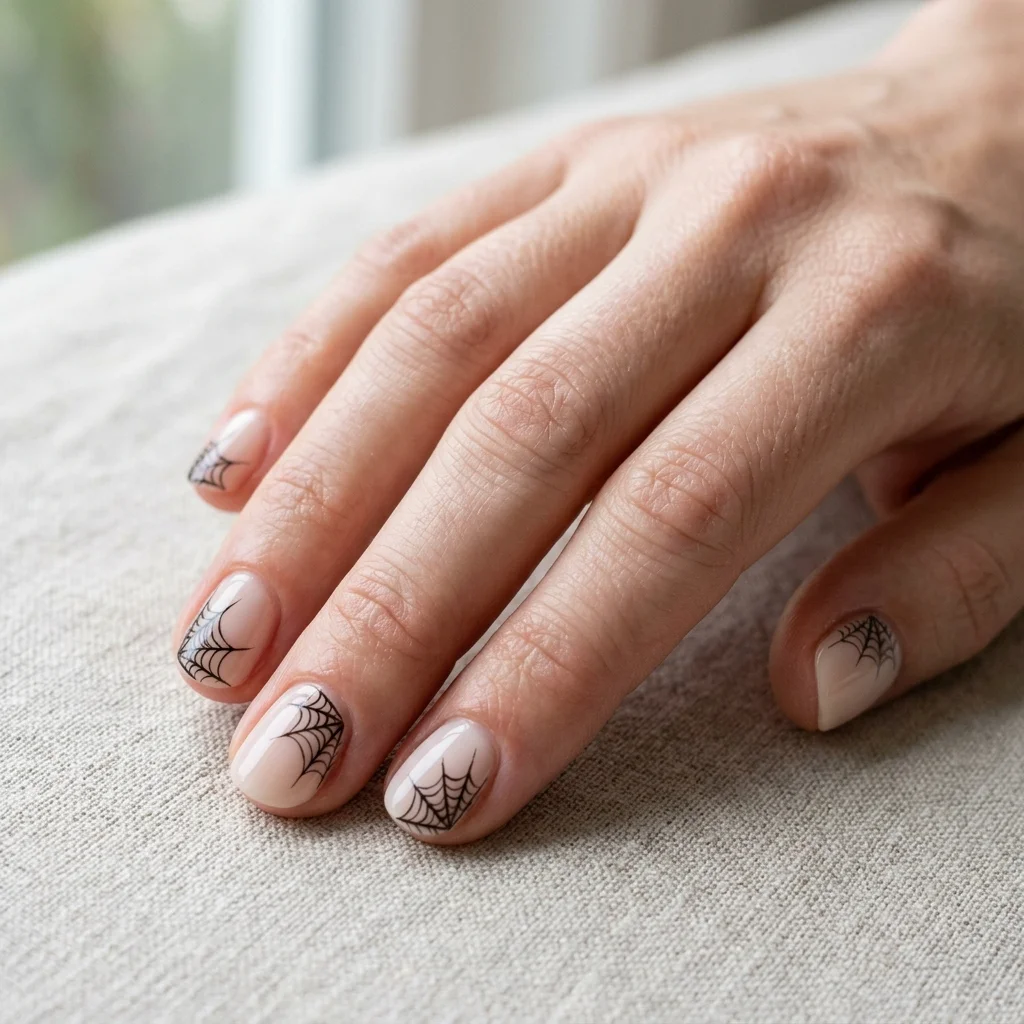
13 Cobweb corner
A web anchored in one corner of the nail rather than centred, spreading out across maybe a third of the surface. Far easier than a full web and it leaves the negative space that keeps short nails looking long.
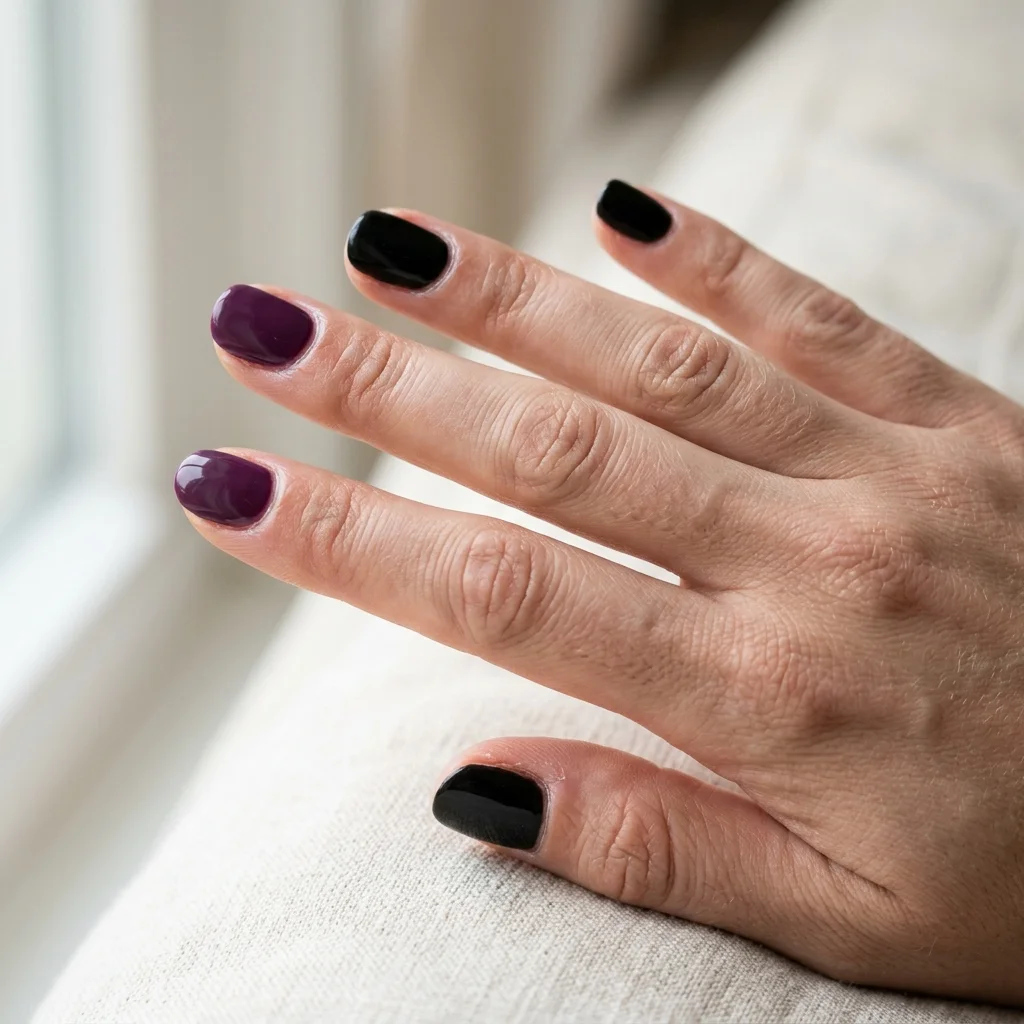
14 Purple and black mismatch
Alternating solid purple and solid black nails, nothing else. Purple is the underused Halloween colour and this takes ten minutes. Add a single glitter nail if it feels too plain.
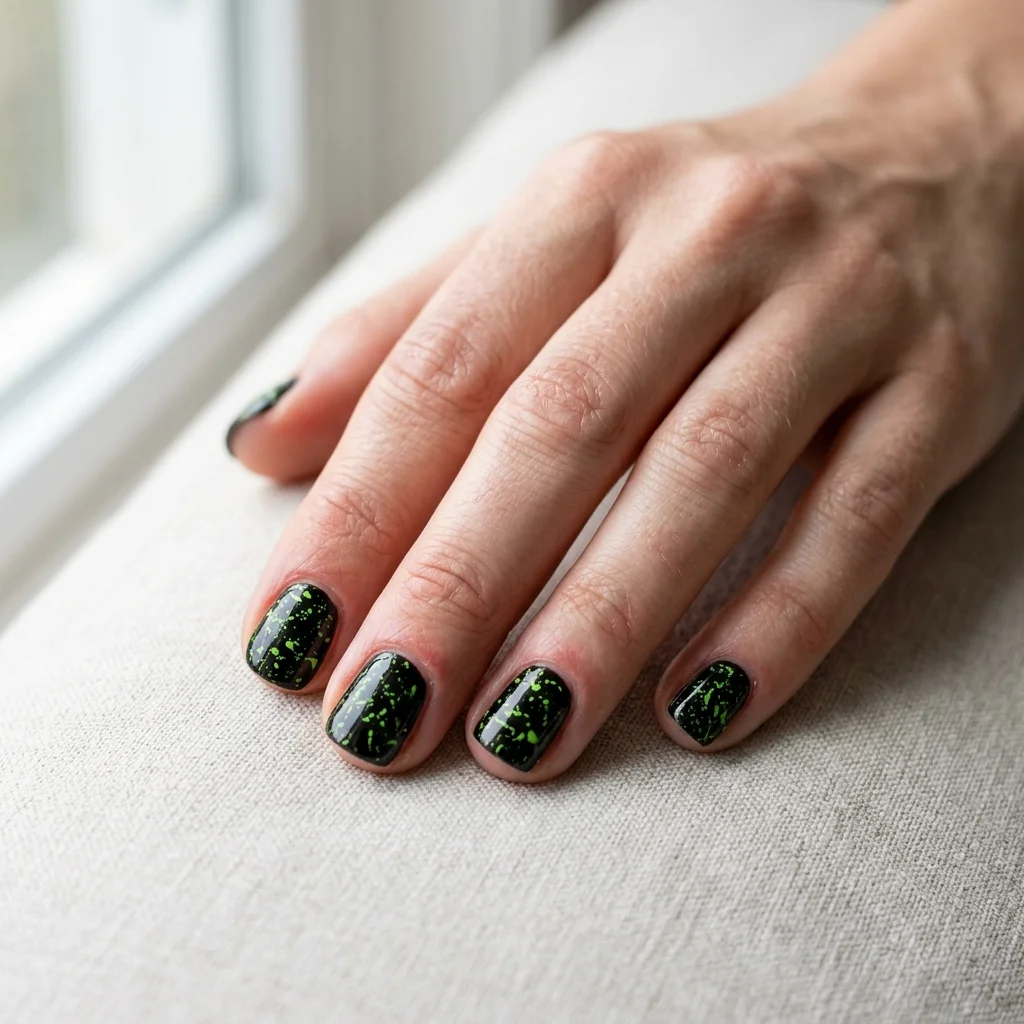
15 Witch’s brew splatter
Acid green flecks splattered over a black base. Thin the green polish slightly, load a brush, and flick it. Messy by design, so it suits an evening when patience is short. Do it over a sink.
More like this: Spider Web Nails and Halloween French Tip Nails
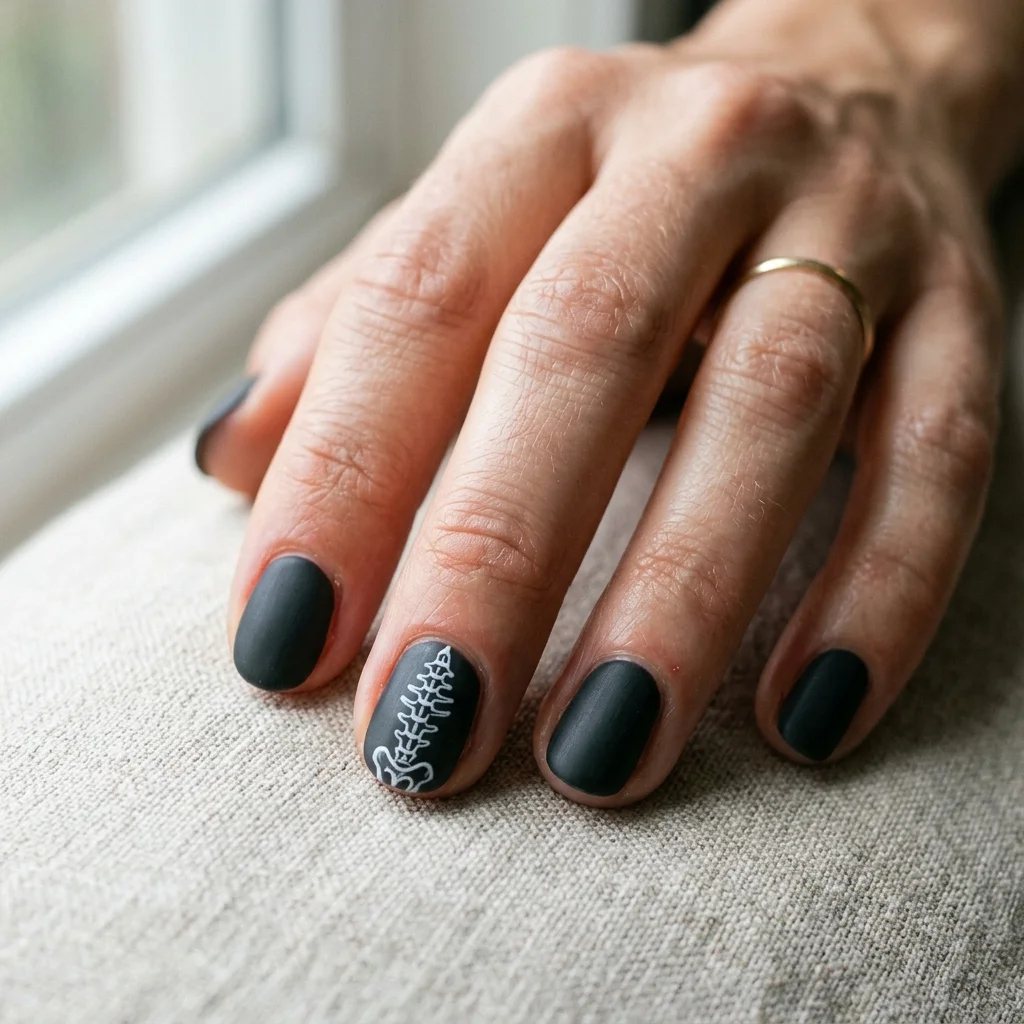
16 Skeleton hand accent
Thin white bone lines running up a single nail over a dark base, so the finger reads as a bone. Only works on one or two nails. Across all ten it becomes a costume rather than a manicure.
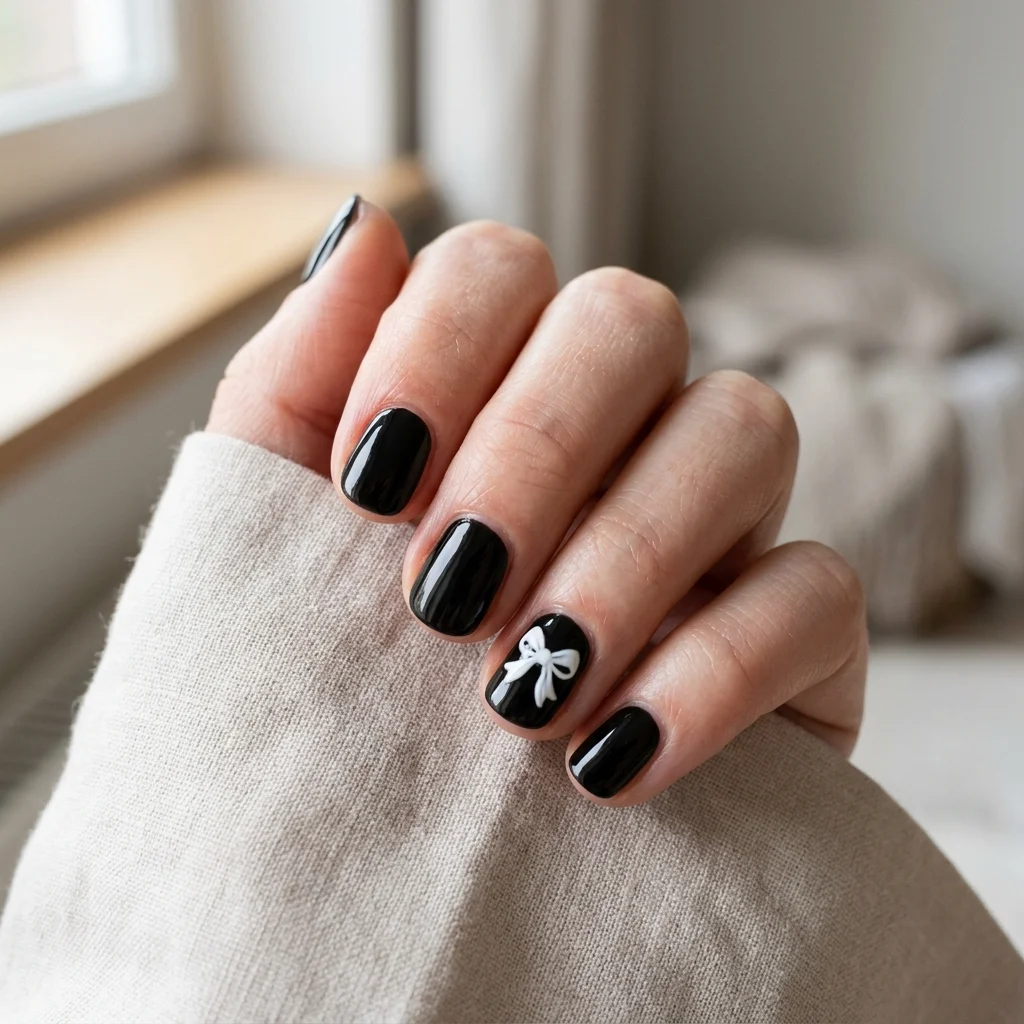
17 Tiny Bow on Black
A small white bow on one glossy black nail. The coquette and goth crossover that is doing a lot of work this year, and a bow is two strokes and a dot.
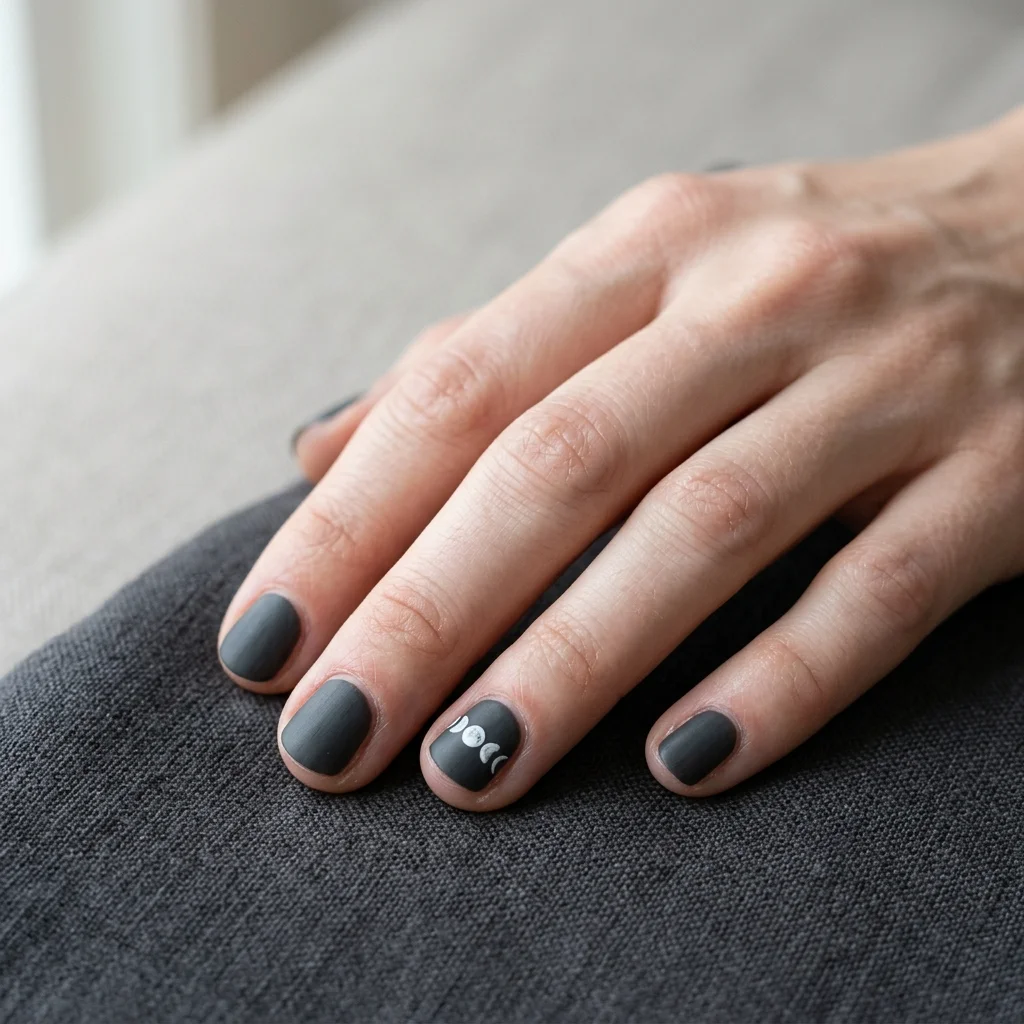
18 Moon Phase Accent
Five small moons running from new to full across one nail. Ask your tech for it in white on charcoal. Reads witchy without a single obvious Halloween motif.
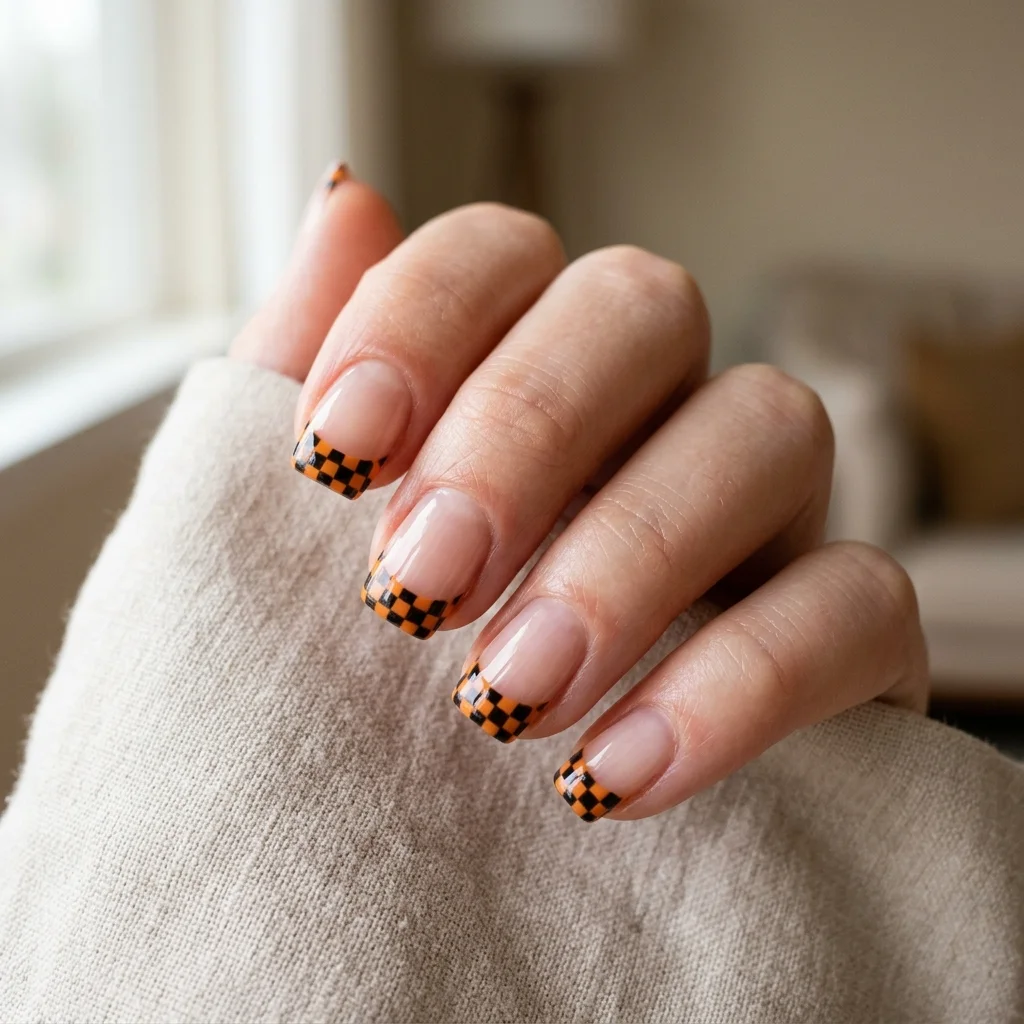
19 Checkerboard Tips
Orange and black checkerboard confined to the tip rather than the whole nail. Striping tape makes it manageable, and keeping it at the tip stops it shortening the nail.
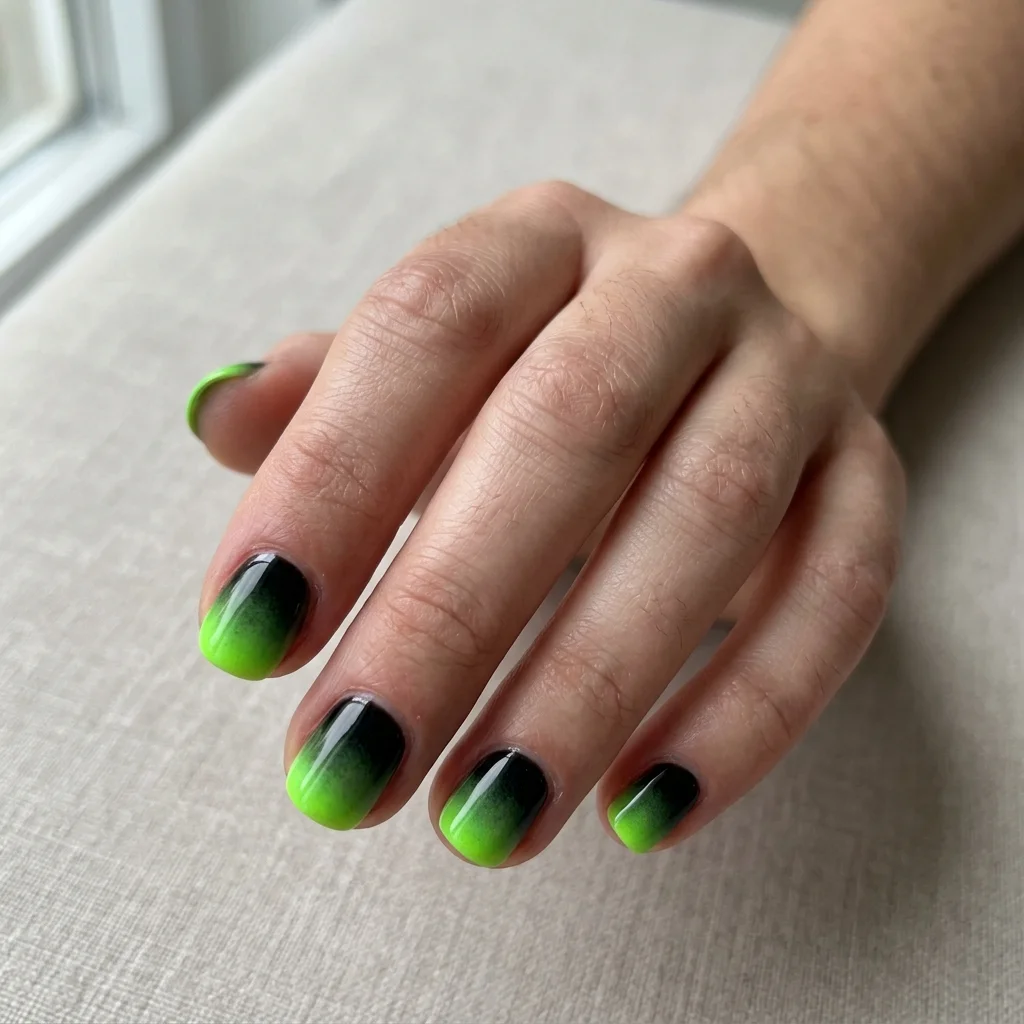
20 Potion Green Ombre
Acid green fading up from the tip into a black base, like something rising in a jar. Sponge it, and let the transition stay uneven.
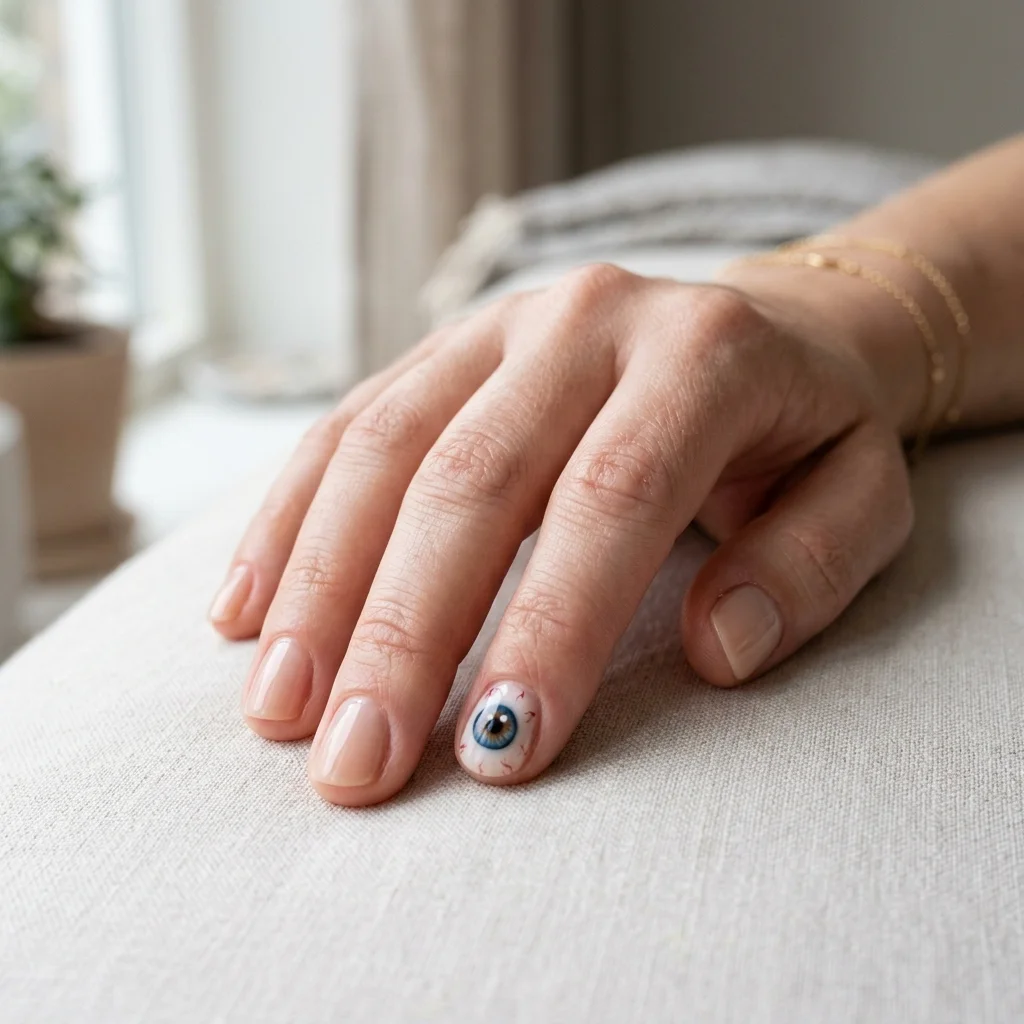
21 Single Eyeball
One eye on one nail, white with a coloured iris and a black pupil, over a nude base. More unsettling than a whole set of them and a fraction of the work.
22 Matte Plum with a Gloss Bat
Deep purple under a matte coat with a bat painted in clear gloss on top. The bat only shows when the light catches it, which is the entire appeal.

How to paint micro bat French tips
Design 2 is the one people ask about most, so here it is properly.
- Prep and buff, then apply base coat. Skipping base coat is what causes dark polish staining later.
- Two thin coats of sheer nude or pink. Let each dry properly. Thin coats are the whole game with sheers.
- Load a fine liner brush with black and wipe most of it off on the bottle neck. Too much polish on the brush is the main reason small motifs go blobby.
- Paint a shallow curve at the free edge, then two small peaks either side of it. That is a bat. Do not add detail beyond that at this size.
- Repeat two or three times along the tip, leaving a gap between each. Uneven spacing looks better than perfect spacing here.
- Wait five minutes, then top coat. Going in too early will drag the black into the base.
Making them last
Short nails chip at the free edge more than long ones because the edge takes more contact. Two things help more than anything else: cap the free edge by running the brush along the tip with every coat including top coat, and give it a second top coat two days later. That second coat is the difference between four days and nine.
If you used a dark base, expect some yellow staining if you skipped base coat. It grows out, and it is not damage.
Common questions
Can you do nail art on very short nails?
Yes, but choose motifs with few internal details. Ghosts, bats, webs and drips all work. Detailed faces, lettering and scenery do not, because there is no room for the detail to be legible.
What nail shape suits short Halloween designs best?
Short square or squoval gives the most flat surface for a motif. Short almond looks longer but curves the design at the edges, which can distort anything geometric.
How long do these take?
Between fifteen and sixty minutes depending on the design, plus drying. The times above are hands-on time and do not include waiting for coats to dry.
Do I need gel polish?
Only for the chrome design, which needs a gel top coat to hold the powder. Everything else on this list works in regular polish.