Most Christmas nail tutorials assume you own a striping brush and forty minutes. In December you have neither.
What you will find here
Every design here takes thirty minutes or less and uses a dotting tool, tape, a sponge, or nothing at all. No freehand line work anywhere. Fourteen of the twenty-one need only two colors.
What makes a design simple
- Dots forgive, lines do not. A dot slightly off center still reads as a dot. A wobbly line reads as a mistake.
- Fewer colors, fewer waits. Every additional color is another drying period. Two colors is the sweet spot for a weeknight.
- Accent nails count. One or two decorated nails looks deliberate and takes a fifth of the time.
- Finish does work for free. Matte or glitter changes a plain color into a design without a single extra step.
21 simple Christmas nail designs
Sorted by time, quickest first.
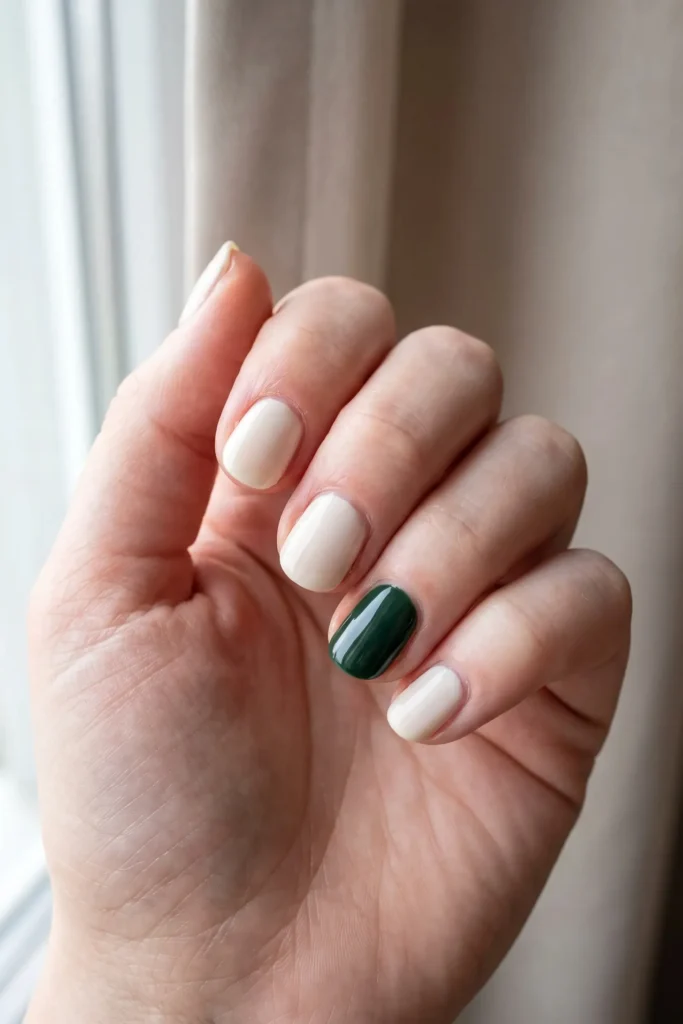
1 One green nail
Four nails in cream, one in deep pine green. The entire design is a decision and it takes as long as a plain manicure.
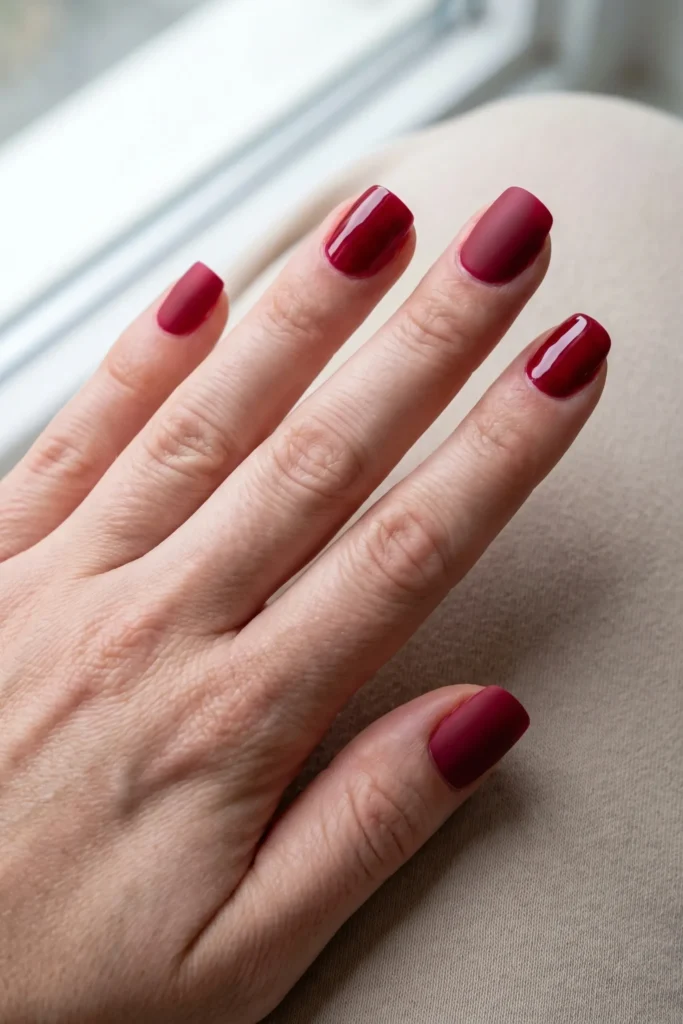
2 Matte and glossy red
One red, two topcoats, alternating across the hand. No second color and no tools.
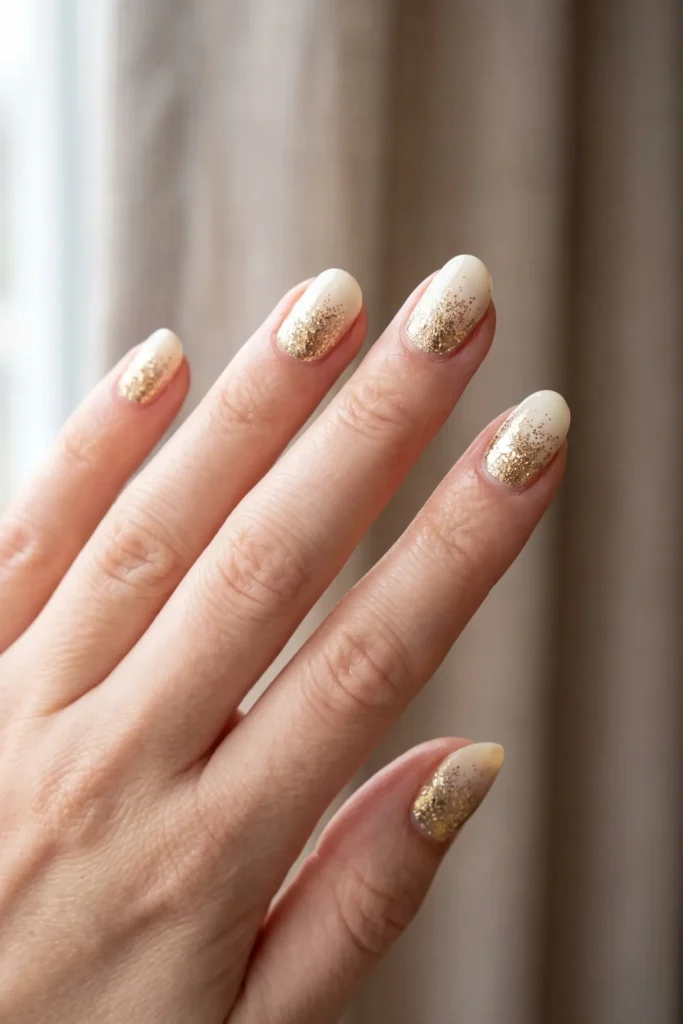
3 Gold glitter tips
Gold glitter polish brushed over the tips only, heaviest at the edge. The glitter creates the fade by itself.
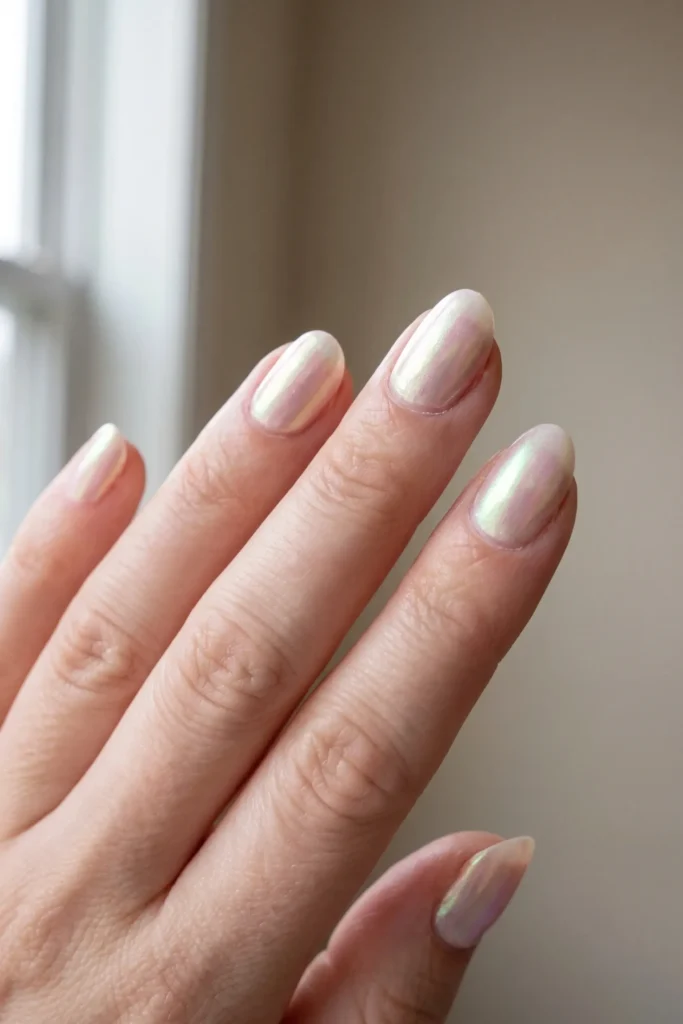
4 Iridescent topper
A pearlescent topcoat over whatever you already have on. One step, and it shifts color as the hand moves.
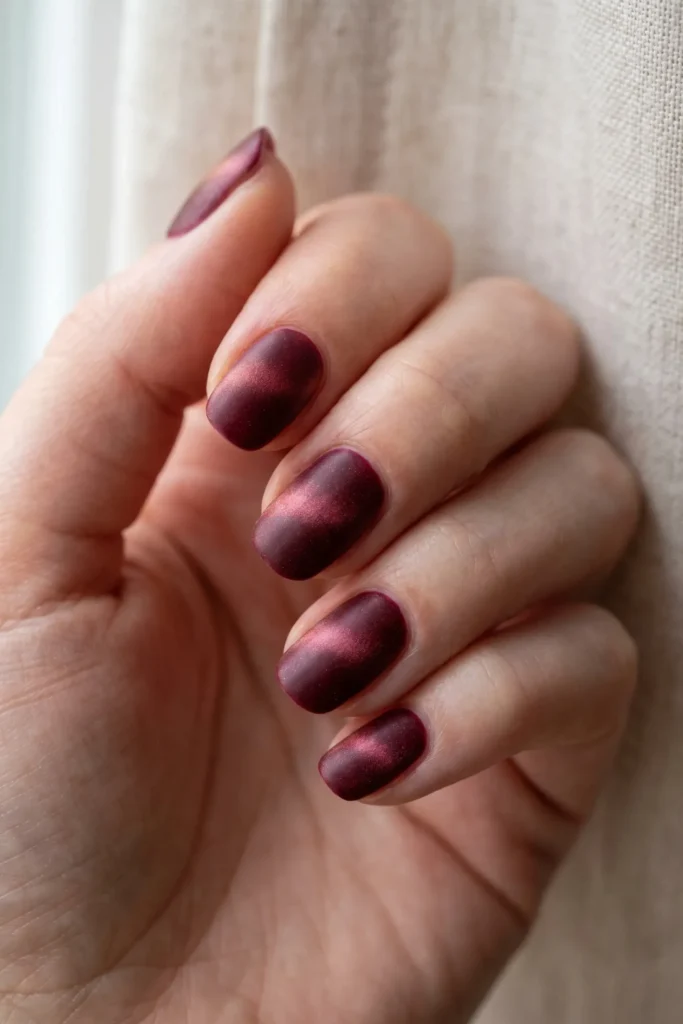
5 Red velvet
Magnetic red polish held under a magnet for ten seconds so the shimmer gathers in a band. Looks like salon work, needs no skill.
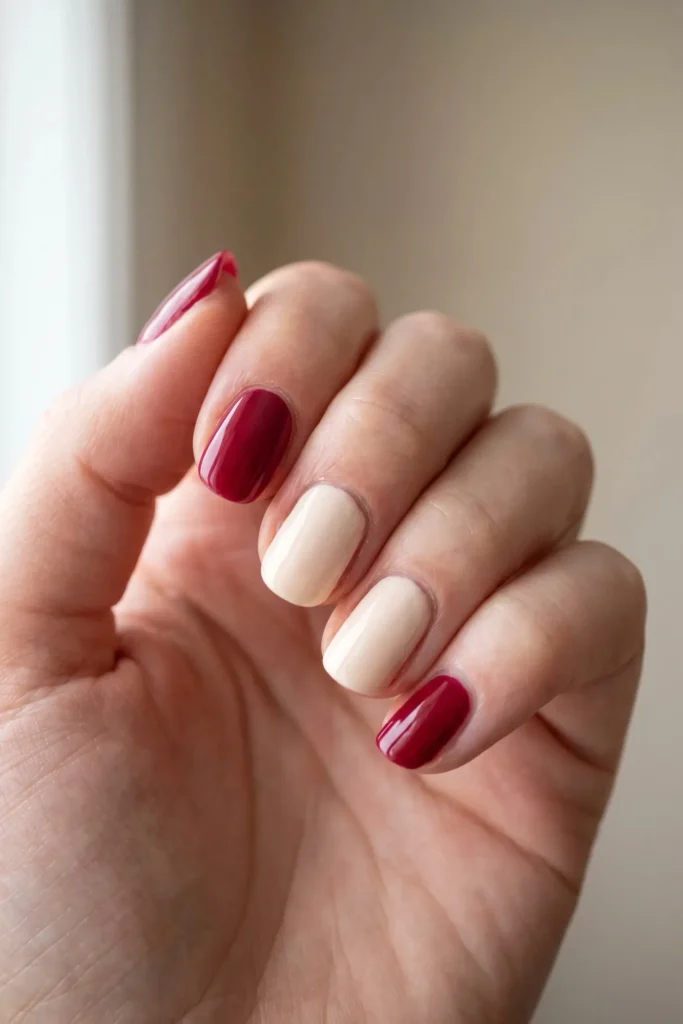
6 Cranberry and cream
Two nails cranberry, two cream, one cranberry. No painting on top of anything.
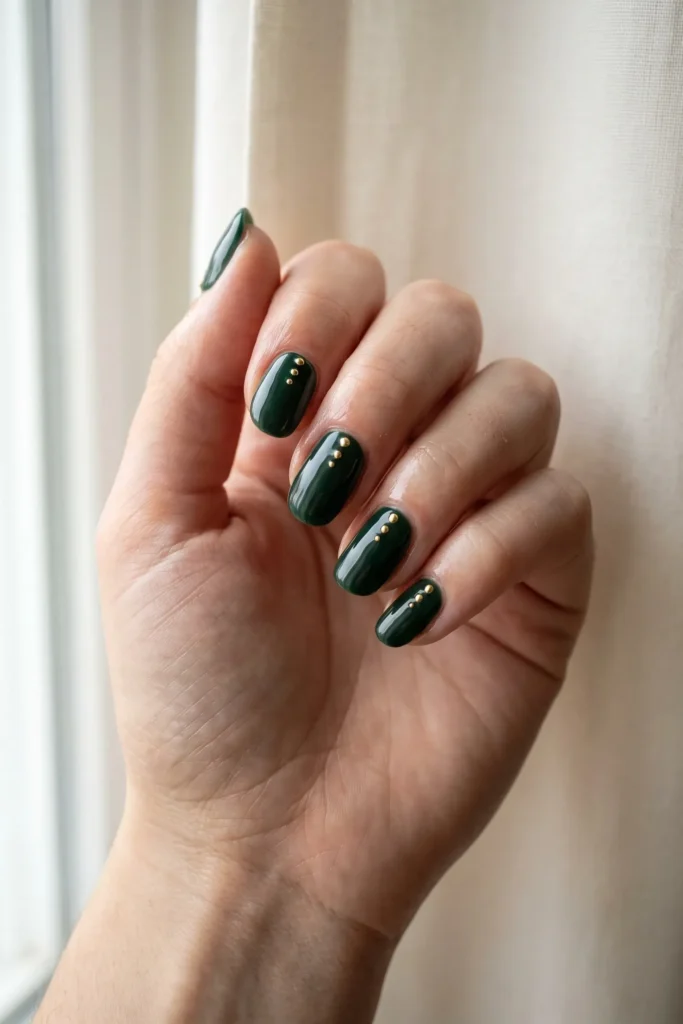
7 Gold dot cluster
Three small gold dots in a descending arc on a green base. One tool, three marks per nail.
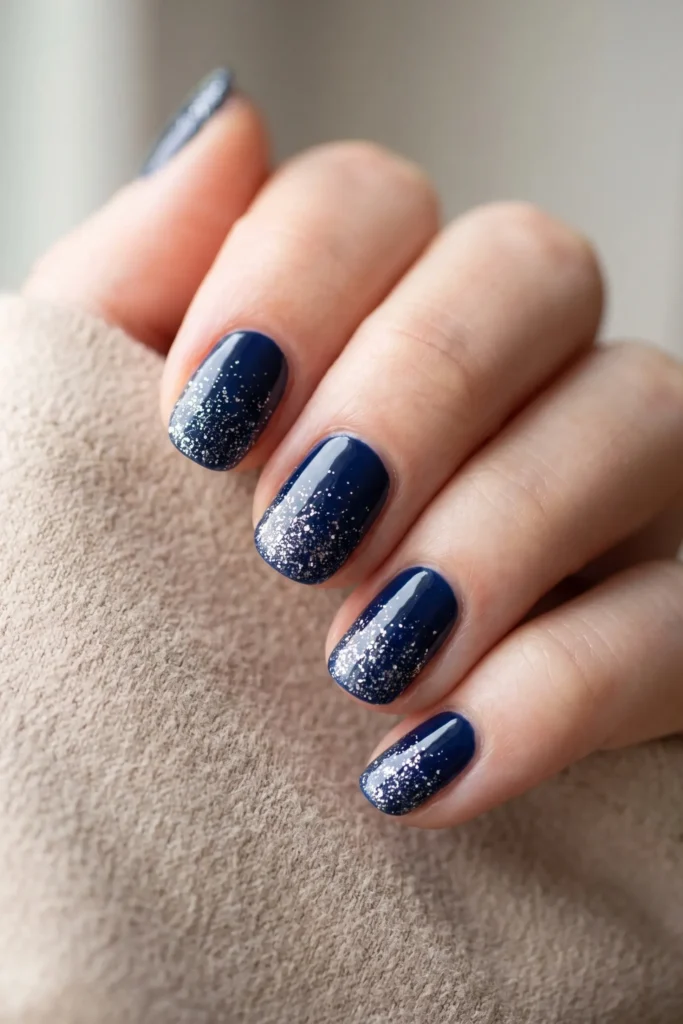
8 Silver glitter fade
Fine silver glitter sponged up from the free edge and thinning toward the middle. Dab, do not wipe, or the glitter streaks.
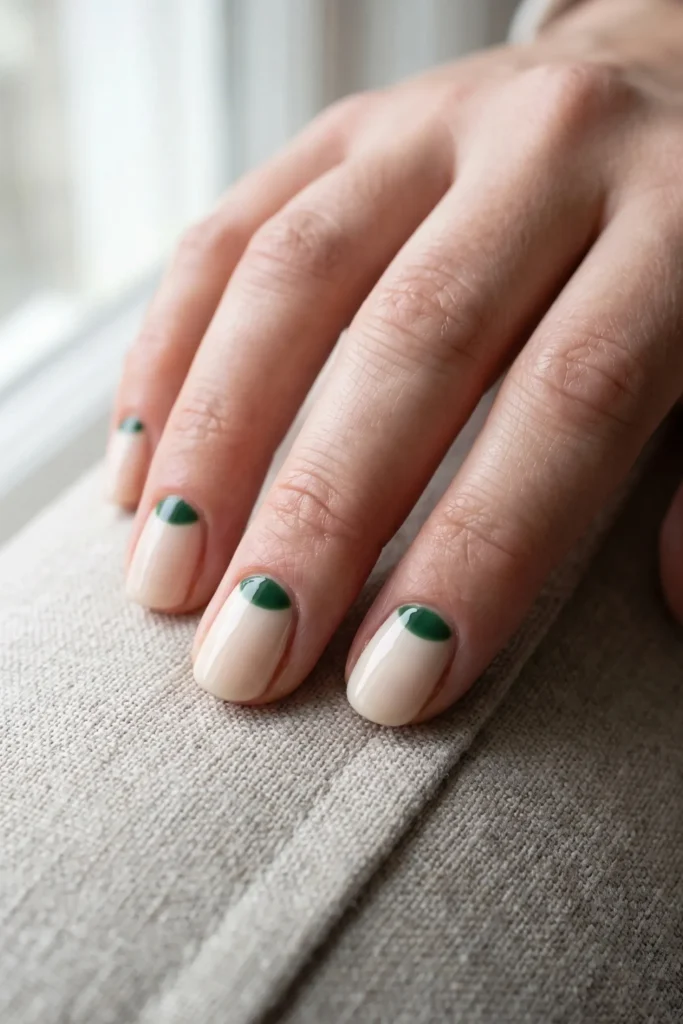
9 Green half moon
Cream nails with a green curve at the cuticle, masked with a hole-punch reinforcement sticker. The sticker does all the precision.
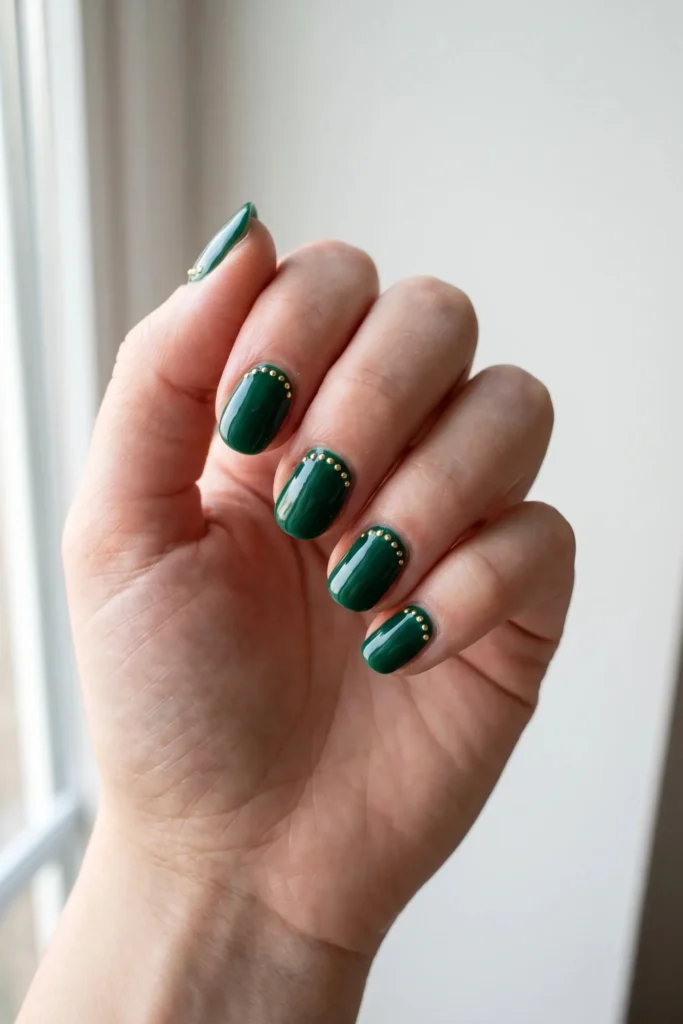
10 Gold dot garland
A curved line of small gold dots arcing across each nail like a string of lights. Abstract enough to wear past Christmas.
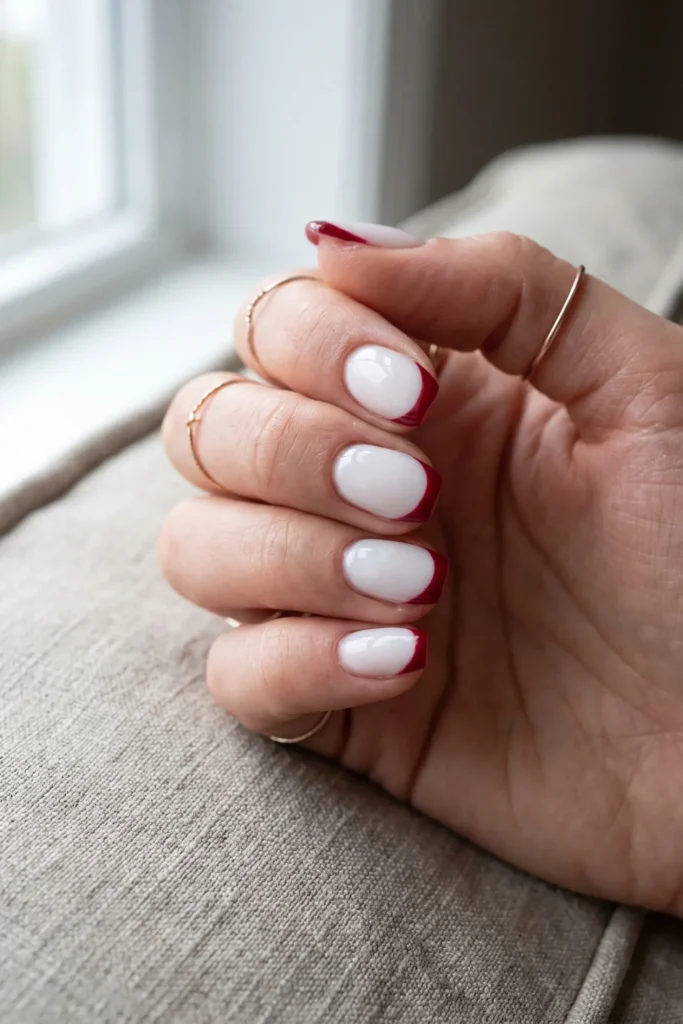
11 White with a red tip
A plain French tip in red instead of white. Familiar shape, seasonal color, no motif.
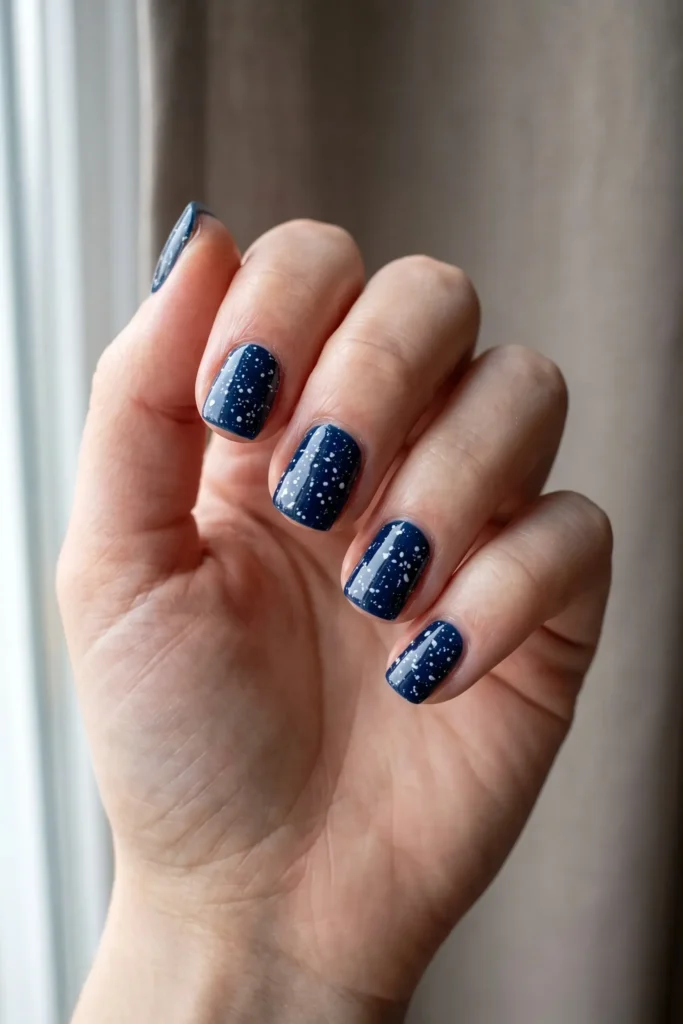
12 Snow speckle
Thinned white polish blown across a navy base through a drinking straw. Fast, and no two nails come out alike.
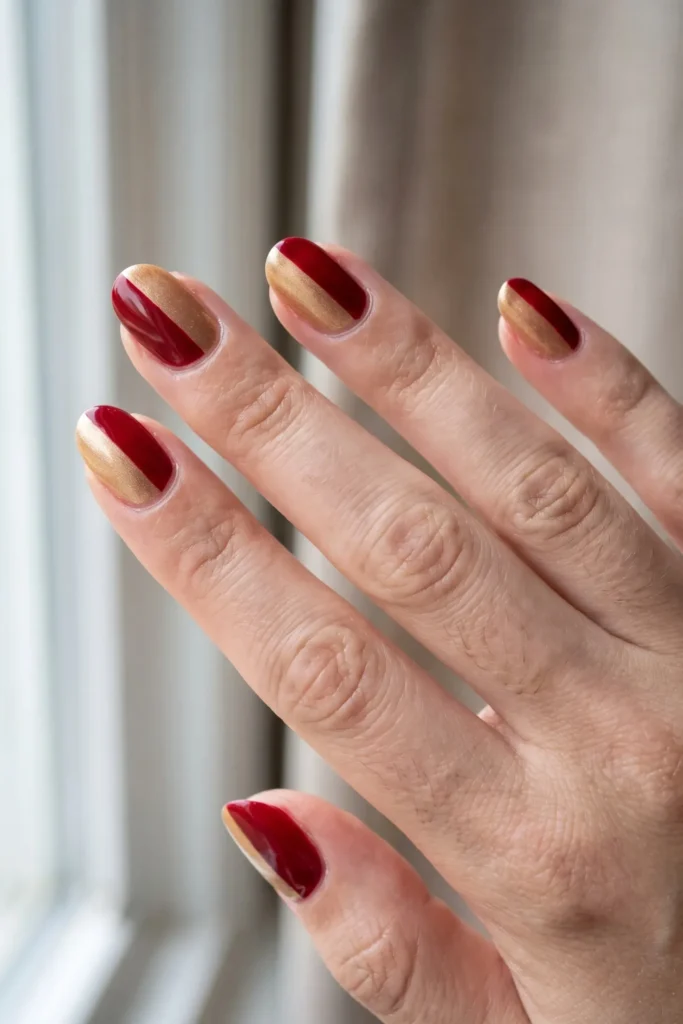
13 Red and gold diagonal
The nail split diagonally, half red and half gold, divided with striping tape. The angle hides an imperfect line.
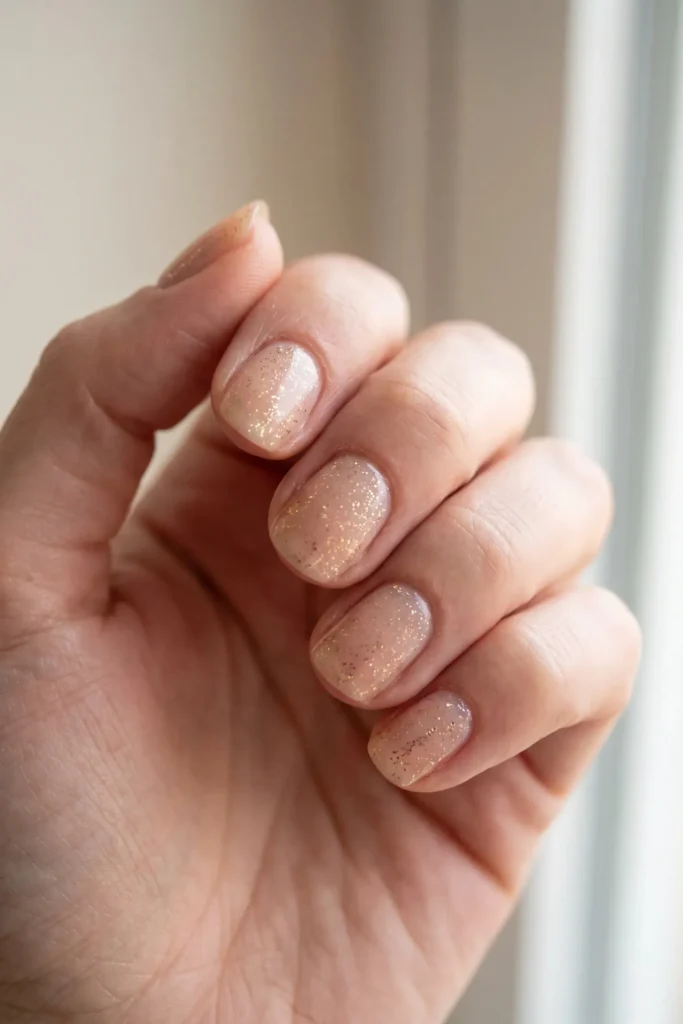
14 Champagne glitter over nude
Fine gold glitter scattered over a sheer nude base. Sparkle without committing to a strong color.
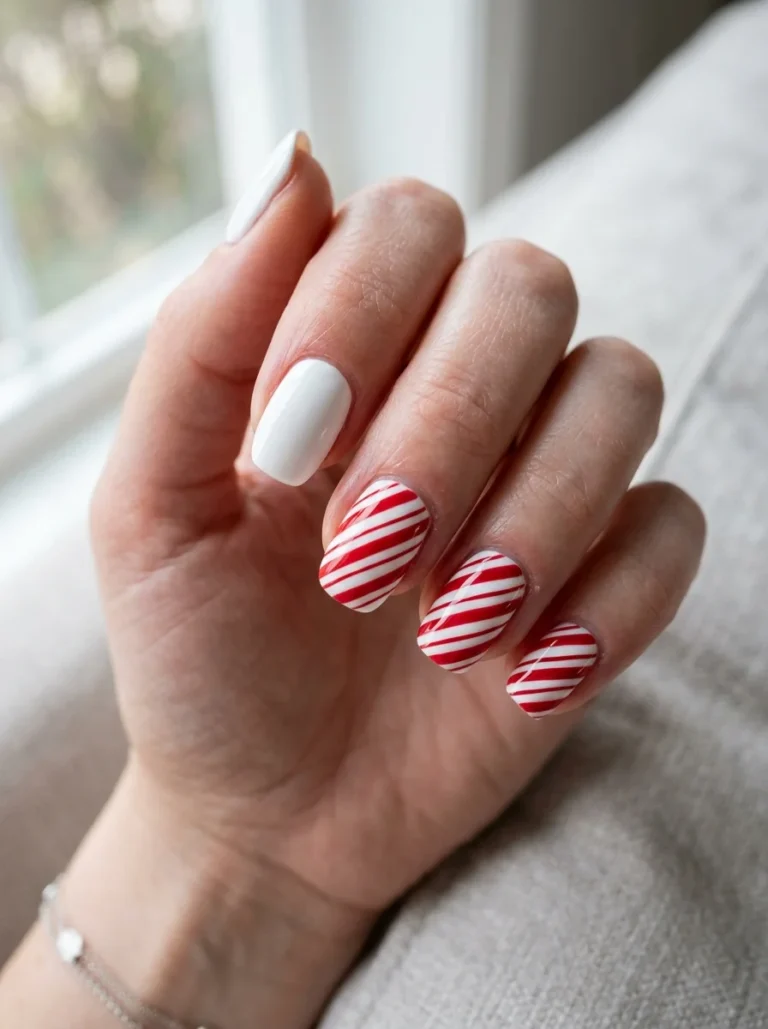
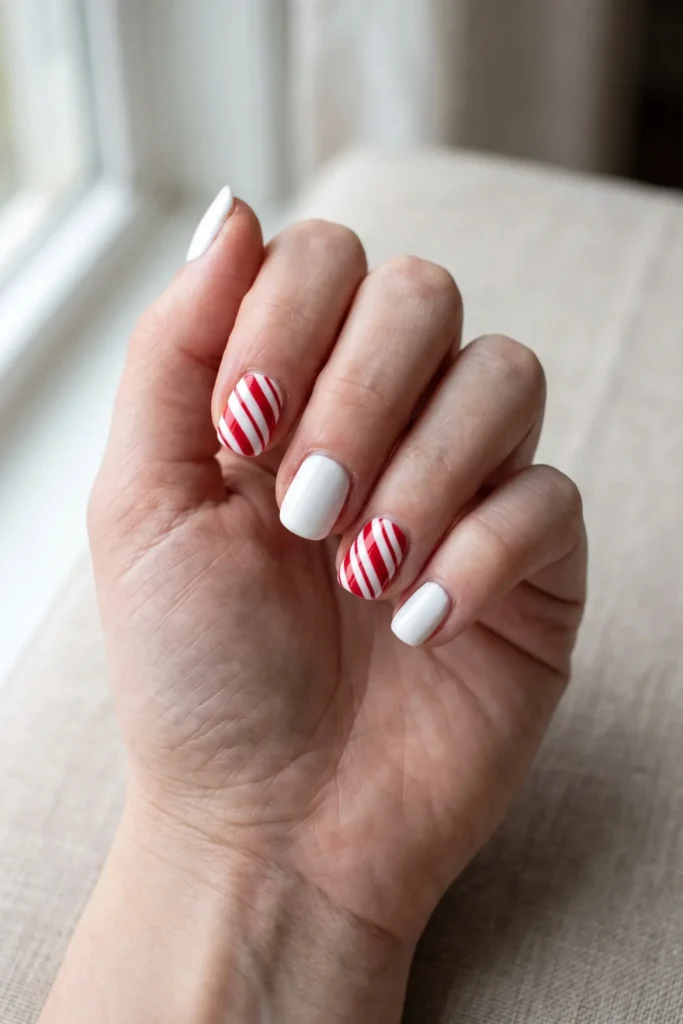
15 Candy cane stripe
Diagonal red stripes over white, laid down with striping tape. Pull the tape while the red is still wet or it takes the polish with it.
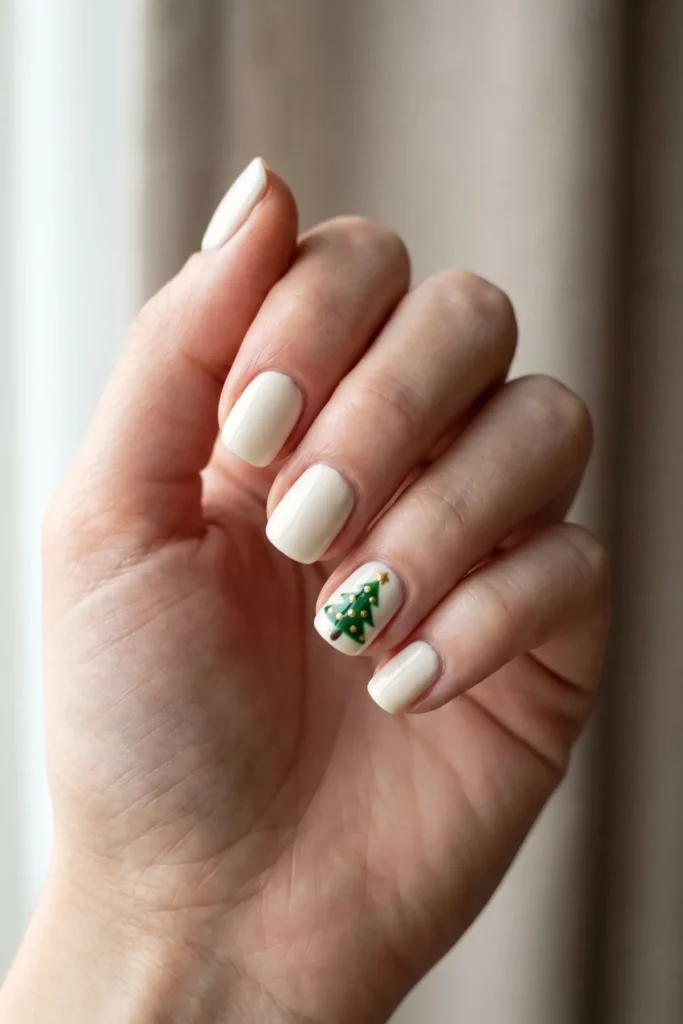
16 Minimal tree
A small green triangle with three tiny gold dots. No branches. At this scale a triangle reads as a tree and branches read as a smudge.
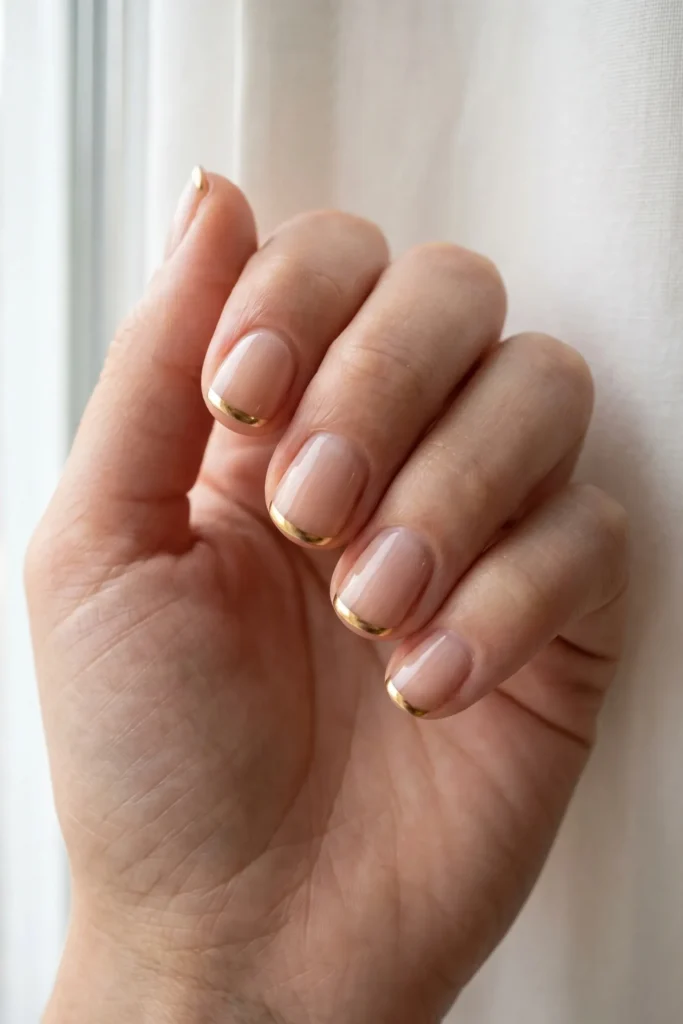
17 Reverse French in gold
Gold at the cuticle instead of the tip, edge masked with a sticker. Keep the band narrow and it looks deliberate.
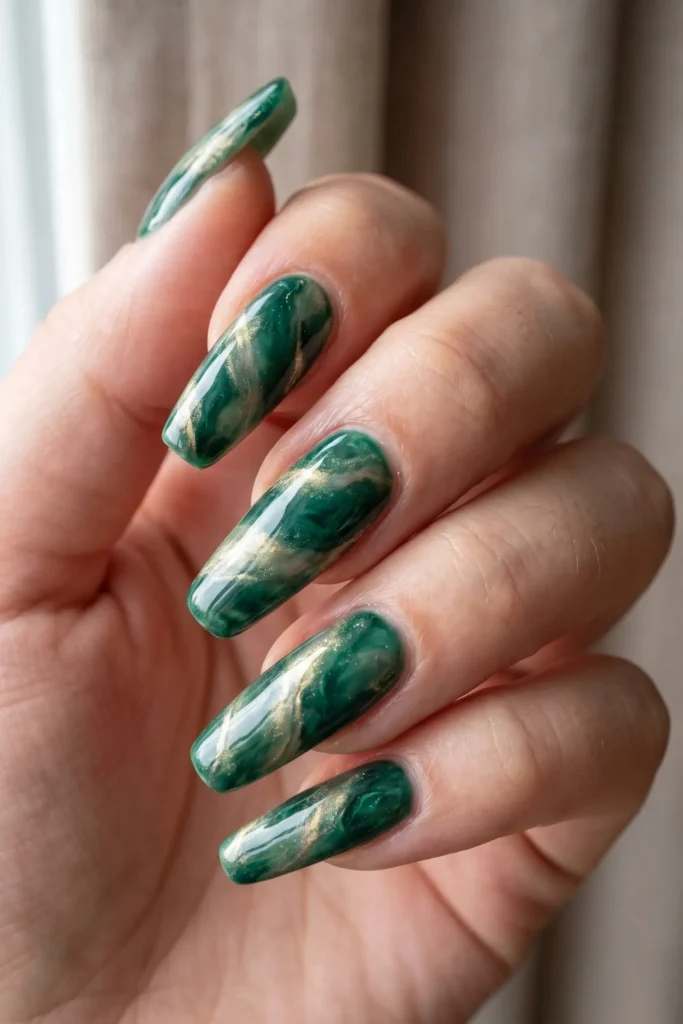
18 Toothpick marble
Two coats of green, a drop of gold while wet, swirled once with a toothpick. Once only. A second pass muddies it.
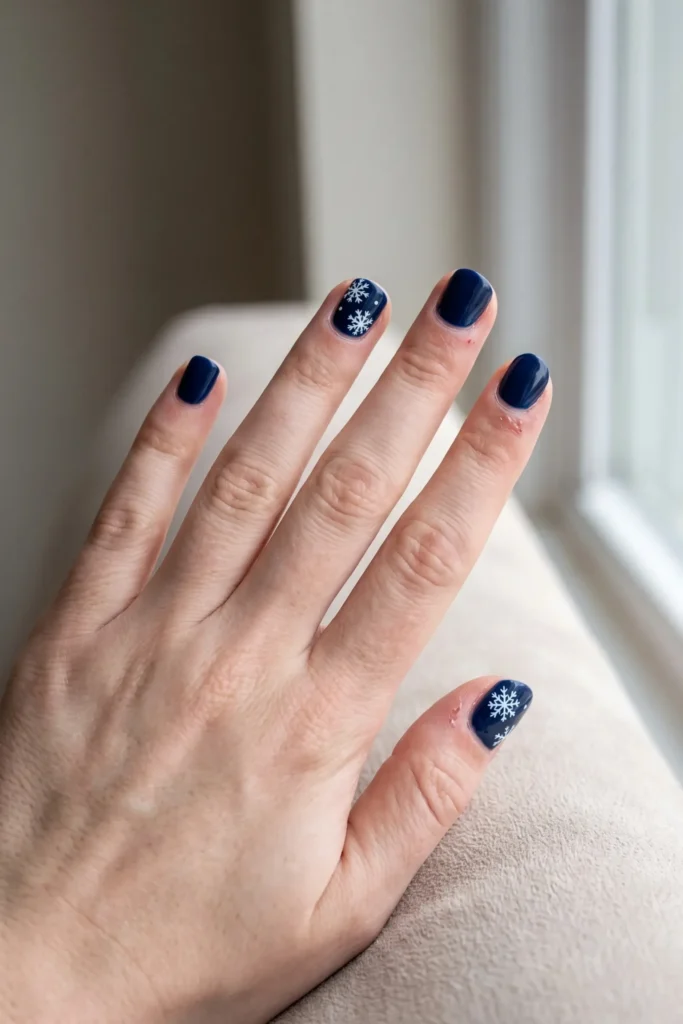
19 Simple snowflake
Six short lines crossing at a center point, with a small dot at each end. That is the whole snowflake.
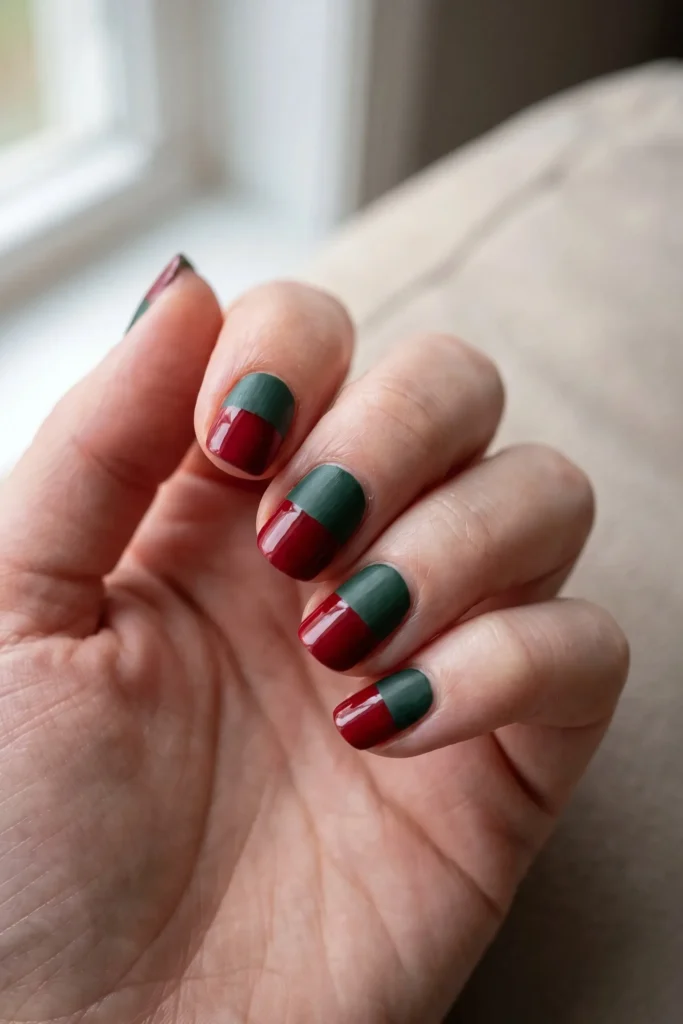
20 Colorblock red and green
The nail split in half horizontally, red at the base and green at the tip, taped between coats.
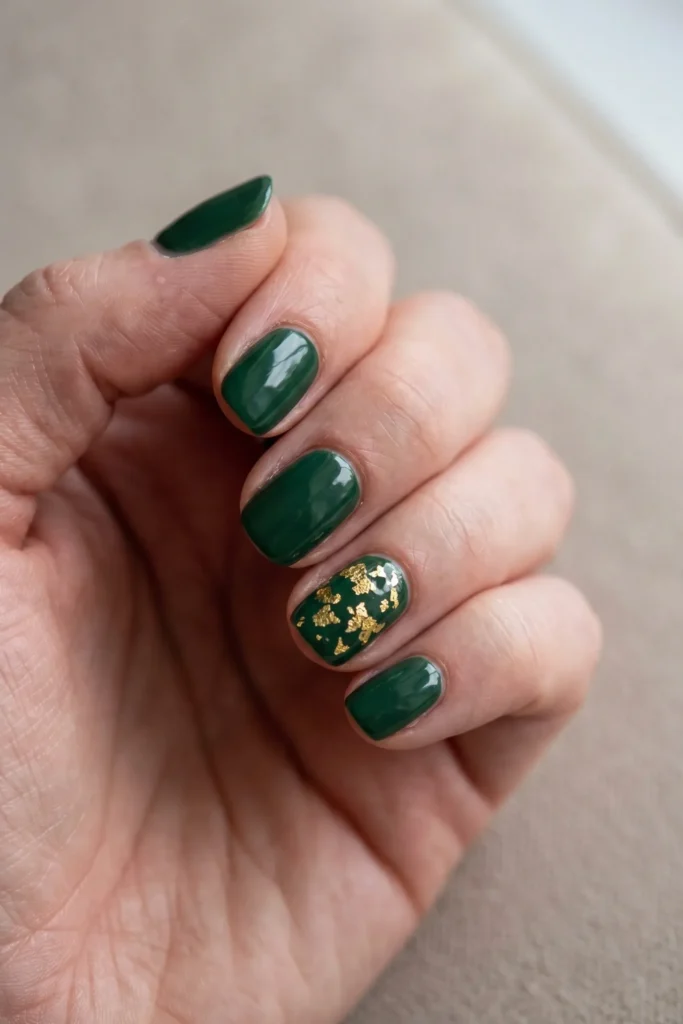
21 Gold flake accent
Loose gold leaf flakes pressed onto a wet topcoat over one nail. Irregular by nature, so there is nothing to get wrong.
How to do a design in one sitting
Most of the thirty minutes in these designs is drying time, not painting time. Managing the waiting is what makes the difference between a weeknight manicure and an abandoned one.
Paint in rounds, not in nails. Do the base coat on all ten, then the first color on all ten, then the second. By the time you finish the tenth nail the first one is ready for the next layer.
Use a fast-dry topcoat as a mid-layer. A thin coat between colors cuts the wait roughly in half and stops the layer underneath dragging.
Set everything out first. Opening a bottle with wet nails is how most of these get ruined. Bottles open, tools out, remover and brush ready before you start.
Two thin coats beat one thick one. A heavy coat stays soft underneath for an hour and dents on contact. Thin layers are faster overall despite feeling slower.
Do not rush the topcoat. This is where a design dies. Topcoat over a dot or a stripe that has not set will smear it. Fifteen minutes, light hand, and float the brush rather than pressing.
For anything with tape, the rule reverses. Pull the tape while the top color is still wet. Waiting until it dries means the tape lifts the polish and leaves a torn edge.
Common questions
What is the fastest design here?
One green nail, matte and glossy red, and the iridescent topper all come in around fifteen minutes including drying. None of them need a tool.
Do I need a dotting tool?
For six of the twenty-one, yes, and the rounded end of a bobby pin works just as well. The other fifteen need only tape, a sponge, or nothing at all.
How do I get a clean line with tape?
Press the tape down firmly along the edge you care about, paint away from the tape rather than into it, and pull it off while the polish is still wet at a low angle.
Which designs work on short nails?
All the solid colors and finishes. The candy cane stripe and the horizontal colorblock both need a little length to read properly, and the snowflake gets tight below about eight millimeters.
Can I do these with gel?
Yes, and the timing improves considerably since each layer cures in under a minute. The tape designs are the exception, since gel stays wet until cured and lifts under tape.
What if I only own two polishes?
Fourteen of these need exactly two colors. Red and white, or green and gold, will cover most of the list.